 My Small Nest
Kitchen counters are the hardest-working surfaces in your home — and the easiest to let spiral into chaos. But a well-styled counter isn’t about owning less; it’s about choosing what earns its place.
These 15 modern kitchen counter styling ideas walk the line between beautiful and functional: tray groupings, coffee stations, cutting board displays, and the art of leaving space empty. Your kitchen is about to look effortlessly put together.
1. Clear Everything Off First
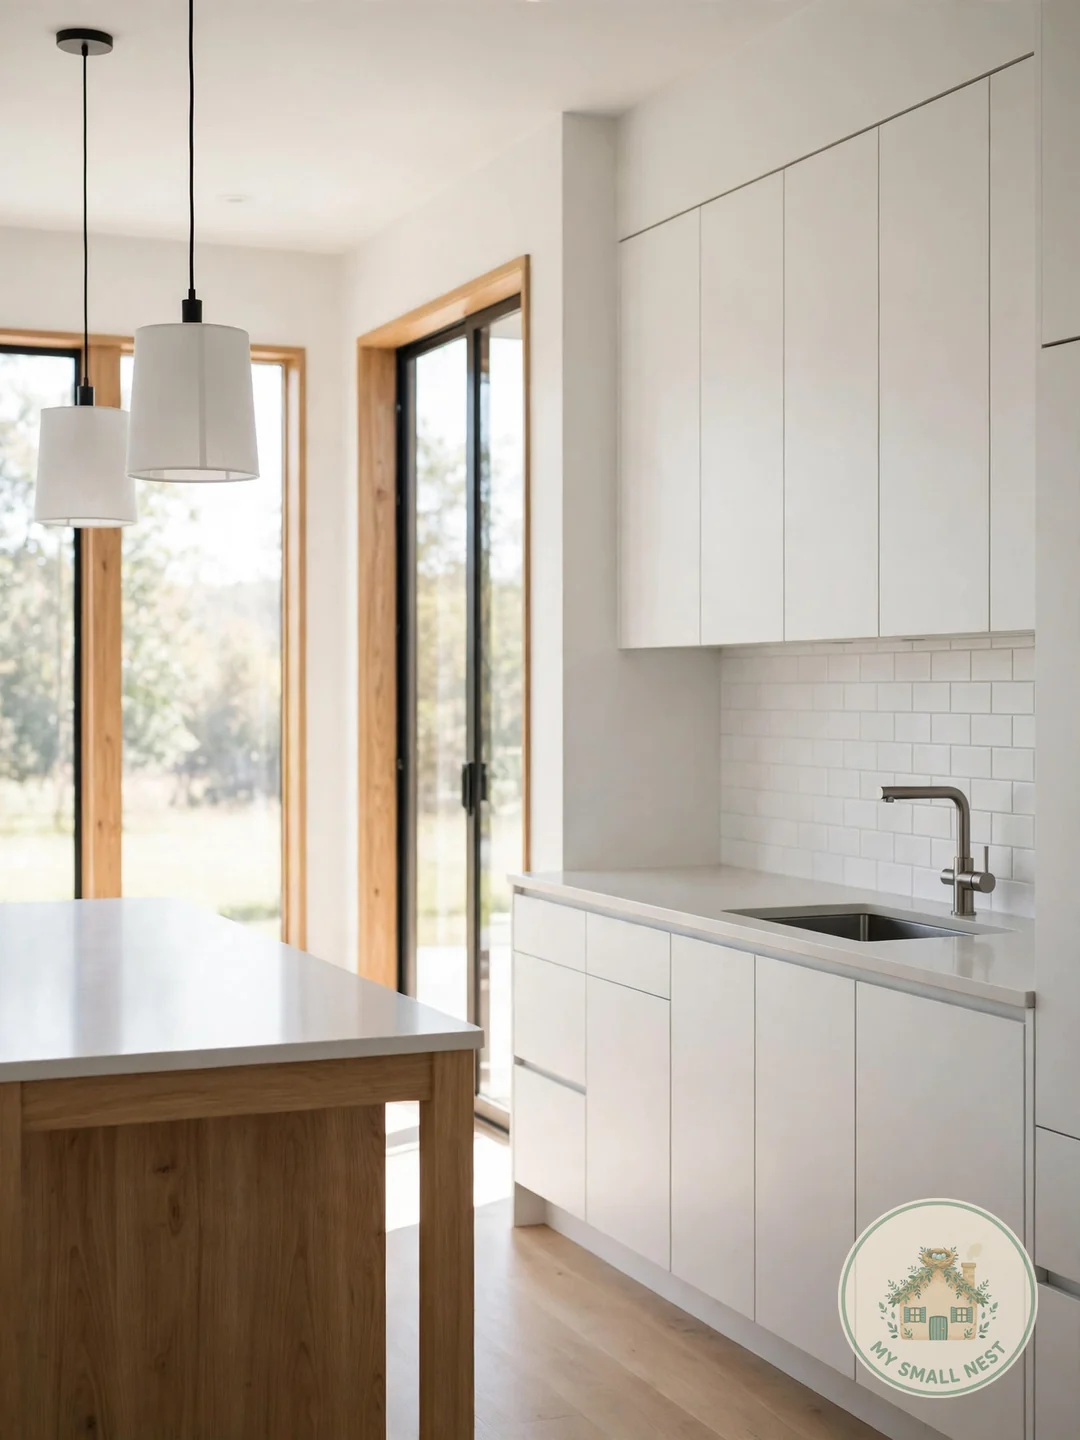
Before styling anything, strip the counters completely bare. Clean them, then add back only what you love or use daily. You’ll be shocked how different the kitchen feels with a blank slate.
This reset reveals what was visual noise versus what actually belongs. Most people put back less than half of what was there — and the kitchen instantly feels bigger, calmer, and easier to clean.
Where to start: Do this on a weekend morning when you can see the kitchen in daylight. Wipe down the backsplash too — clean surfaces make styling pop.
 Pin it
2. Create One Focal Corner
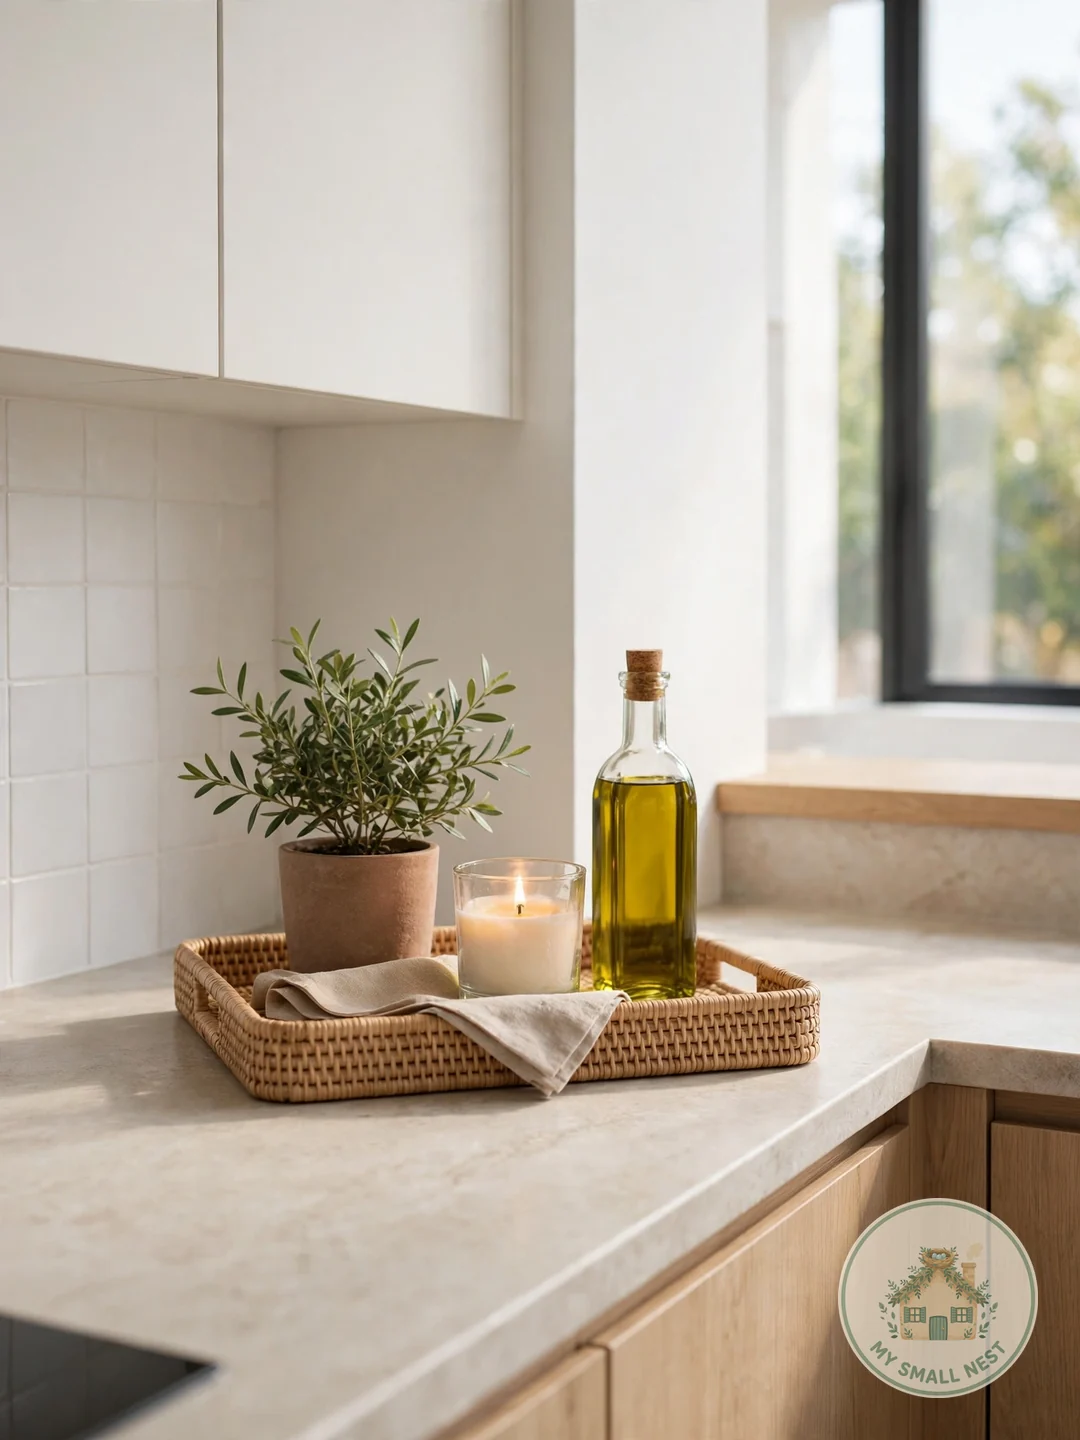
Instead of spreading decor across the whole counter, build one strong focal corner: a tray with a plant, a candle, and a beautiful oil bottle. One styled moment beats scattered bits every time.
The eye needs a landing place. A single intentional vignette makes the entire kitchen feel designed, while decor sprinkled everywhere just reads as clutter. Choose the corner farthest from the stove and sink — the low-traffic zone where decor won’t get splashed.
Where to start: Odd-numbered groupings (3 or 5 items) look best. Start with three and add only if it feels sparse.
 Pin it
3. Use a Tray to Group Items
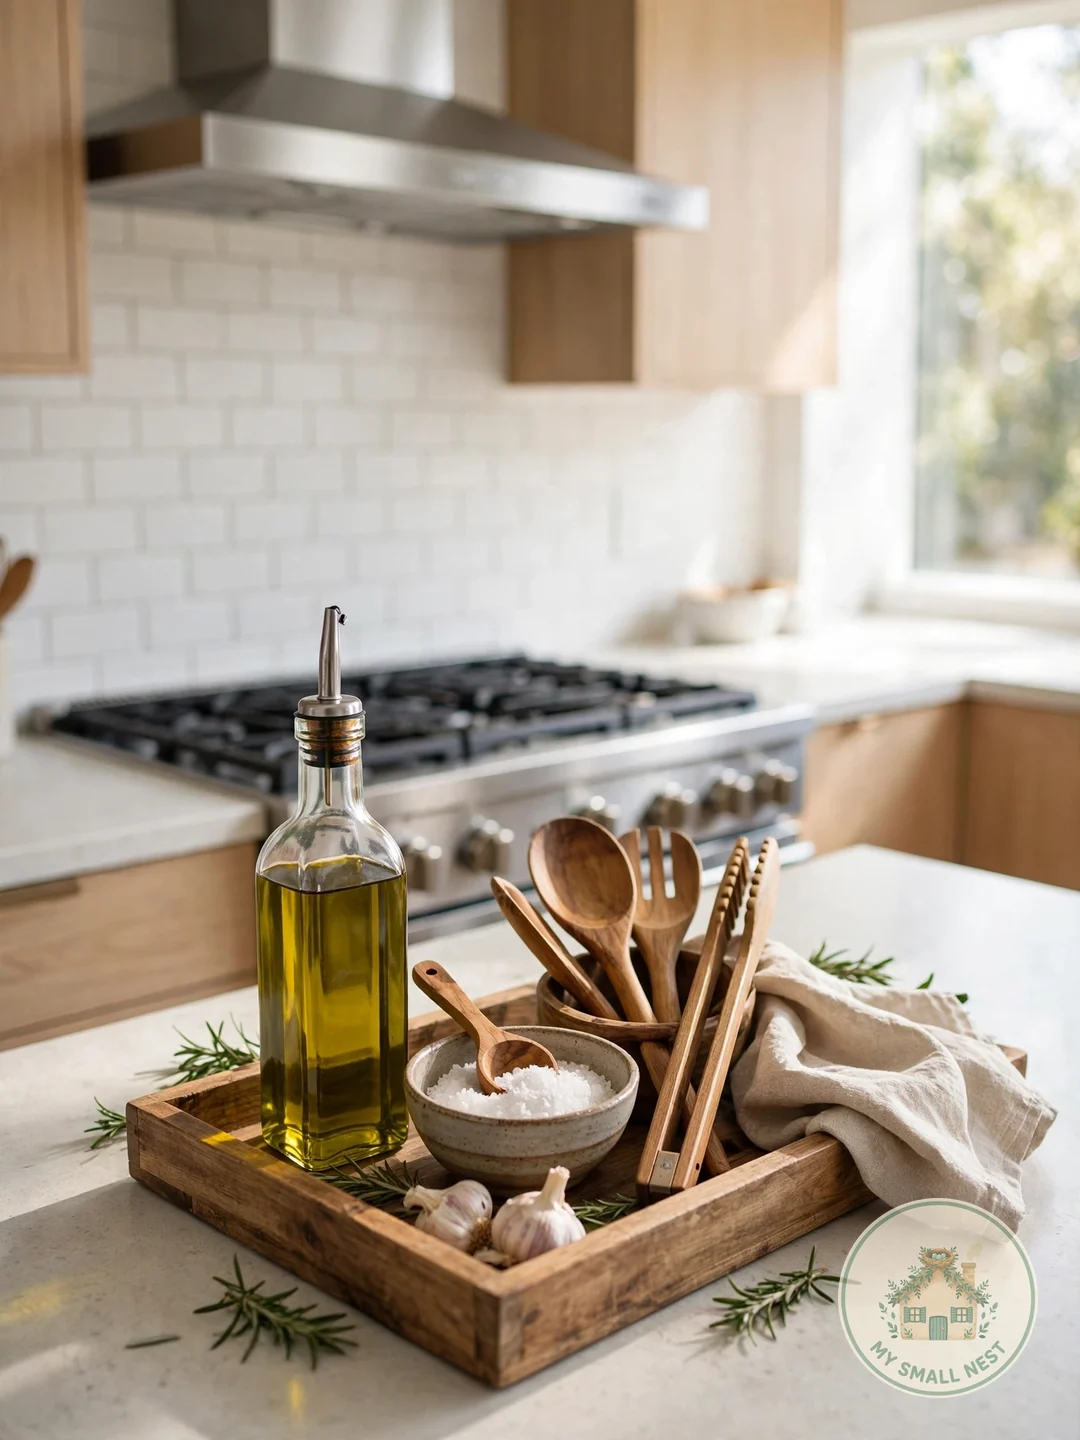
A tray is the single best counter styling tool: it corrals oils, salt, and utensils into one intentional-looking cluster instead of scattered clutter. The tray’s edge is what transforms “stuff on the counter” into “styled.”
Wood, marble, or matte black trays each set a different tone — pick one that echoes your kitchen’s finishes. Keep the tray near the stove for cooking essentials, or near the coffee maker for a morning station. One tray per zone, max; more than that and you’re back to clutter with borders.
Where to start: A 12- to 16-inch tray handles a cooking-oil-and-salt cluster perfectly without hogging the counter.
 Pin it
4. Lean Cutting Boards for Height
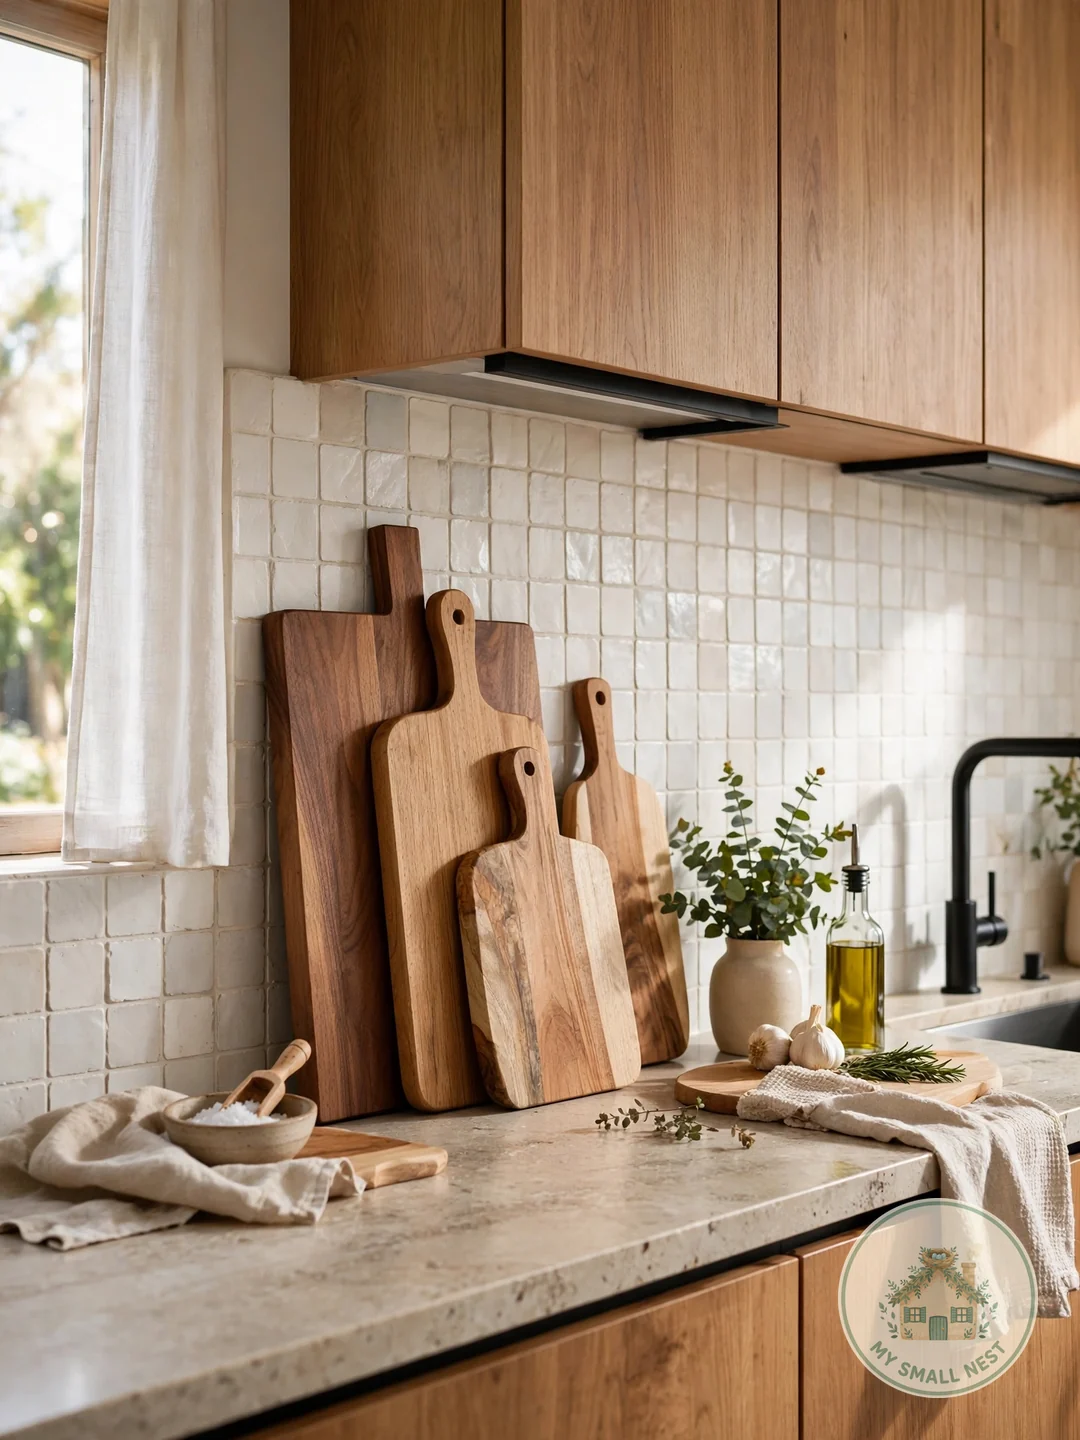
Leaning a beautiful cutting board (or two) against the backsplash adds instant height, warmth, and texture — and they’re functional when you need them. It’s the kitchen equivalent of leaning art.
Mix wood tones and shapes: one large rectangular board with a smaller round one in front creates depth. Choose boards pretty enough to display — acacia, walnut, or marble. Lean, don’t lay flat; the vertical line is what adds the design interest.
Where to start: Place boards in a low-splash zone. Even pretty boards suffer next to a splattering skillet.
 Pin it
5. Add a Small Plant
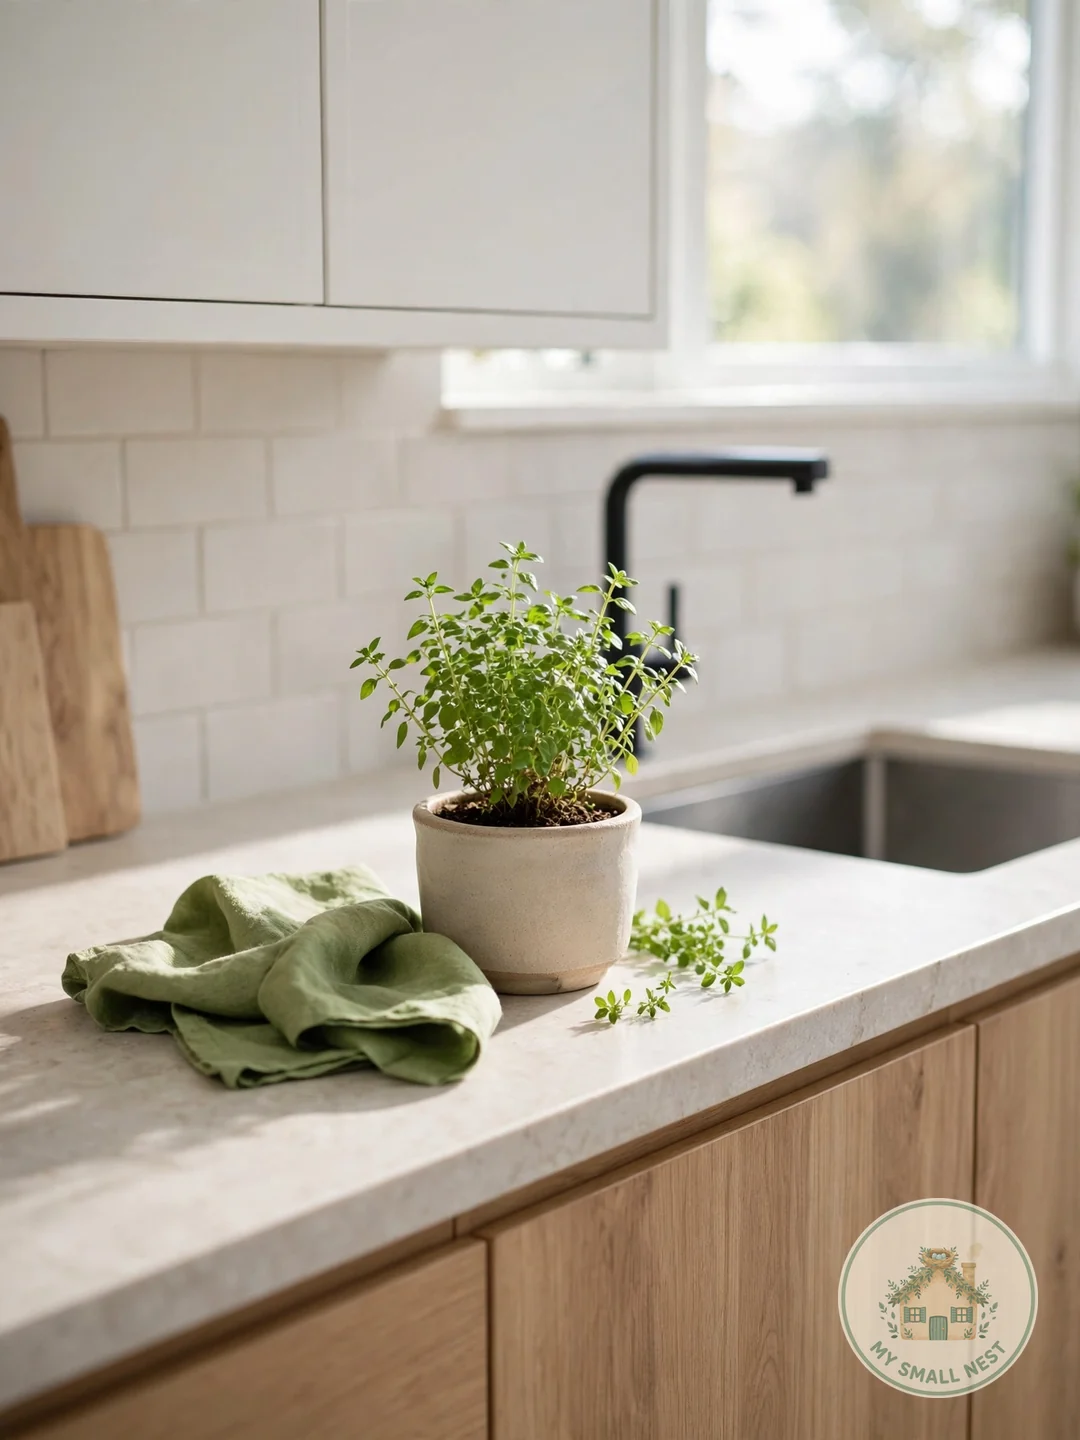
A little green life softens all the hard surfaces in a kitchen. Herbs do double duty — pretty and practical — while a trailing pothos adds movement and life to a shelf or corner.
Keep it small: a 4-inch pot is plenty, and one plant per counter run is the right scale. Basil, rosemary, and mint thrive on sunny counters and get used in cooking. A small pot in a ceramic planter looks intentional; plastic nursery pots don’t.
Where to start: If your counters lack sun, a pothos tolerates low light better than most herbs and still looks great.
 Pin it
6. Create a Coffee Station
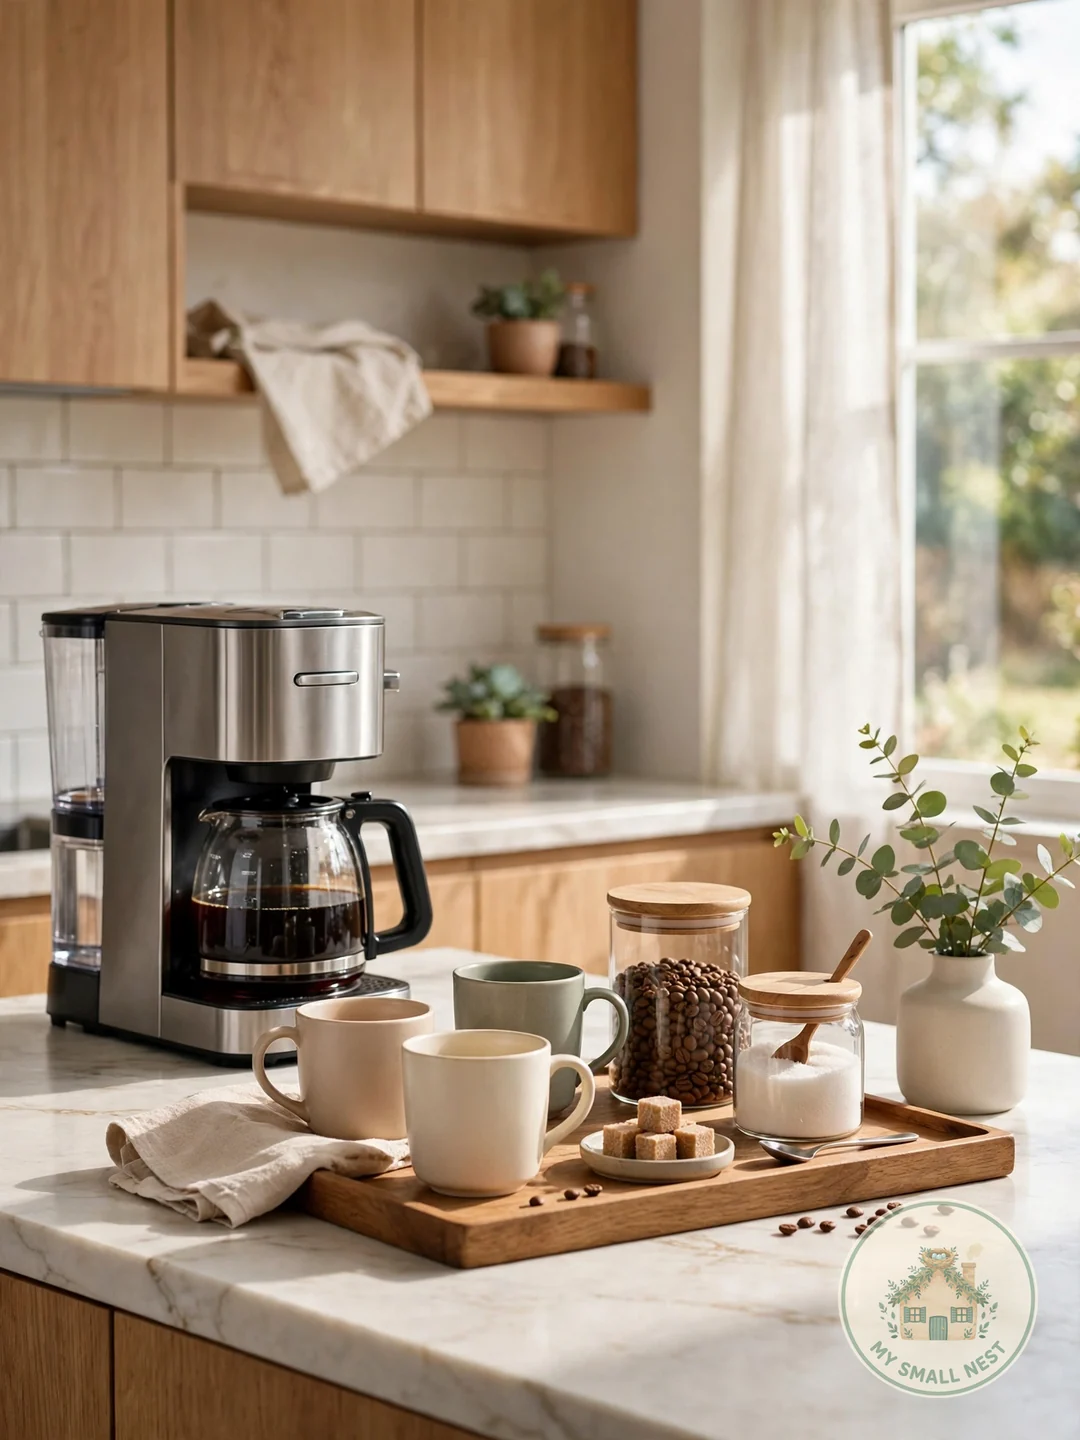
Corral the coffee maker, mugs, beans, and sugar into one dedicated station. It streamlines mornings and looks far better than appliances scattered around the kitchen.
A small tray or a defined counter section marks the zone. Hang mugs on hooks underneath a cabinet to save surface space, and keep only what you use every morning in the station — occasional items live in a cabinet. A tiny vase with fresh flowers elevates it from utility to ritual.
Where to start: Near an outlet and the sink is the practical sweet spot — short cord runs and easy water access.
 Pin it
7. Keep Only Daily-Use Appliances Out
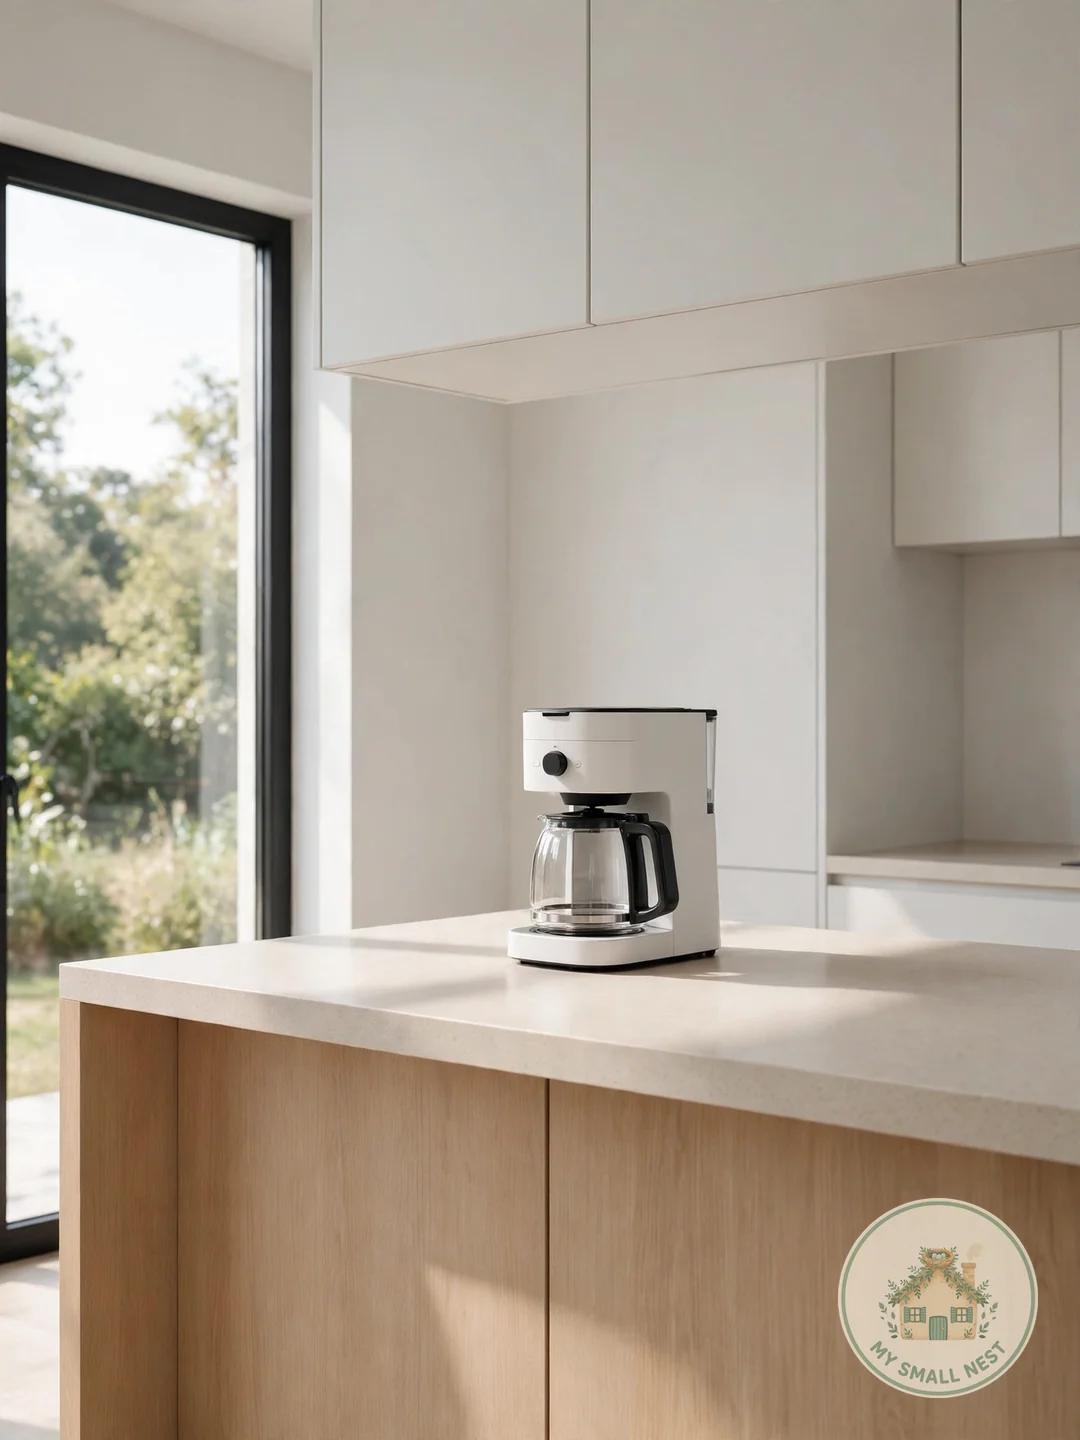
The fastest way to calm a counter: store every appliance you don’t use daily. The waffle maker, food processor, and stand mixer earn cabinet space, not counter space. Most kitchens only need one or two appliances out (usually the coffee maker and maybe the toaster).
Everything else is visual weight you don’t need. Be honest about “daily” — weekly doesn’t count. Appliance garages or a designated cabinet shelf make the put-away painless enough that you’ll actually do it.
Where to start: If an appliance hasn’t been touched in two weeks, it moves to a cabinet today. No auditions, no appeals.
 Pin it
8. Add Something Personal
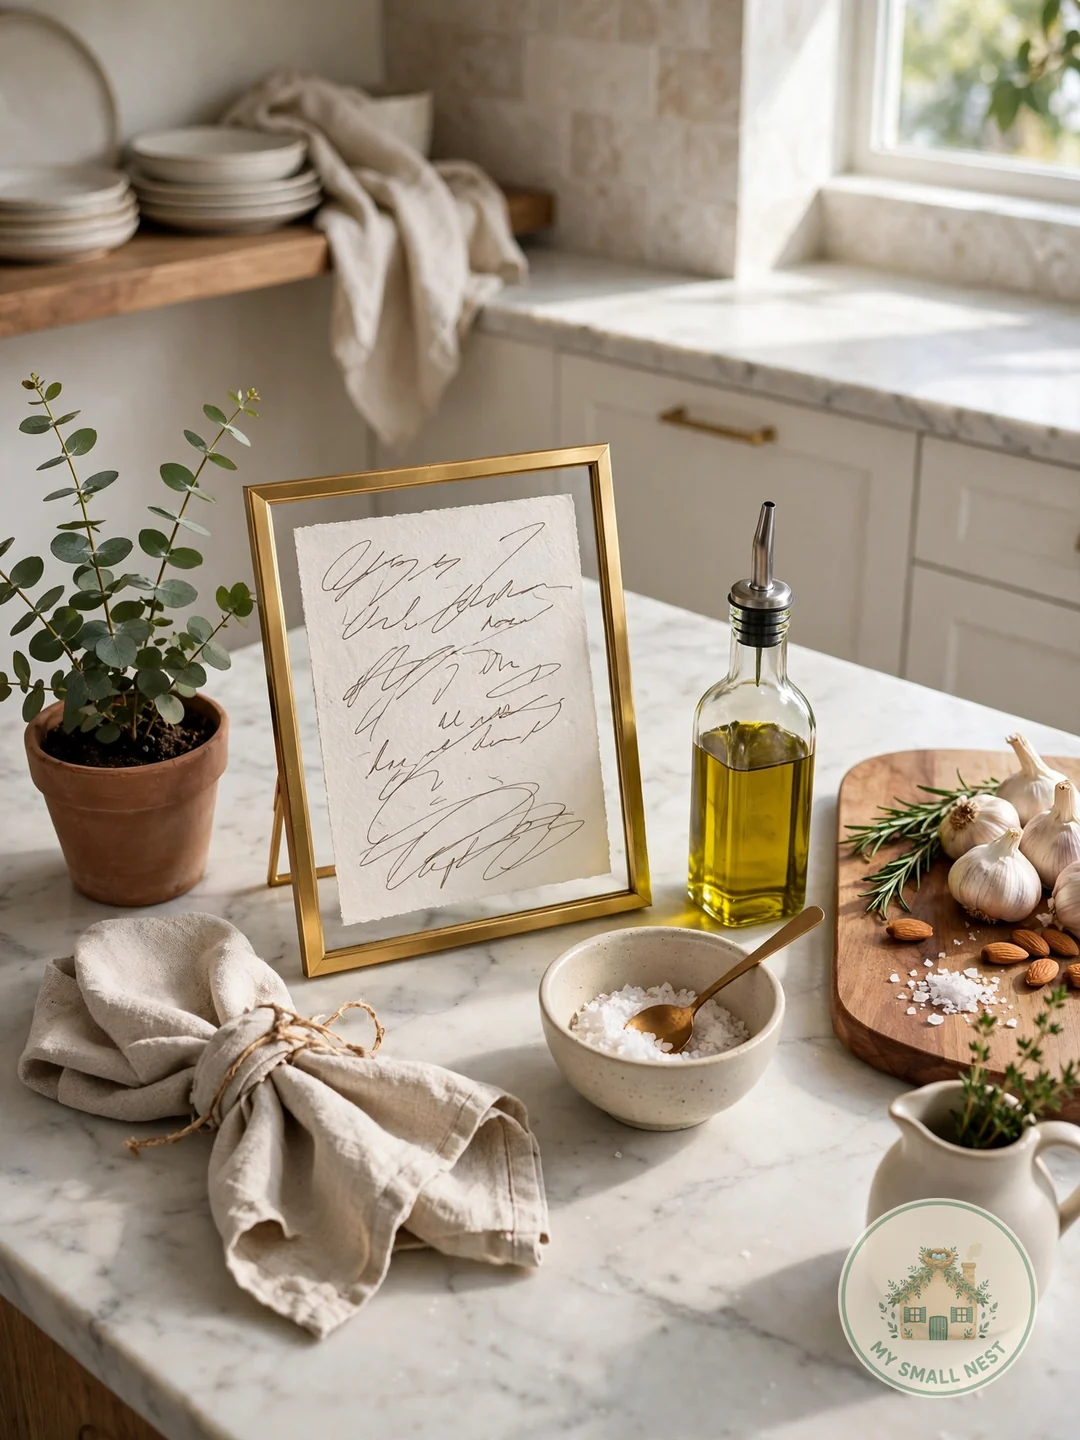
A kitchen with zero personality feels like a showroom. One personal item — a framed family recipe, a handmade mug, a vintage find — makes it yours without tipping into clutter.
Personal doesn’t mean crowded. One meaningful piece among the functional items is the sweet spot. A handwritten recipe card in a small frame is deeply personal and costs nothing; rotate the piece seasonally to keep it fresh.
Where to start: Choose something with a story you’d actually tell a guest. If there’s no story, it’s decor, not personal.
 Pin it
9. Play with Height and Layers
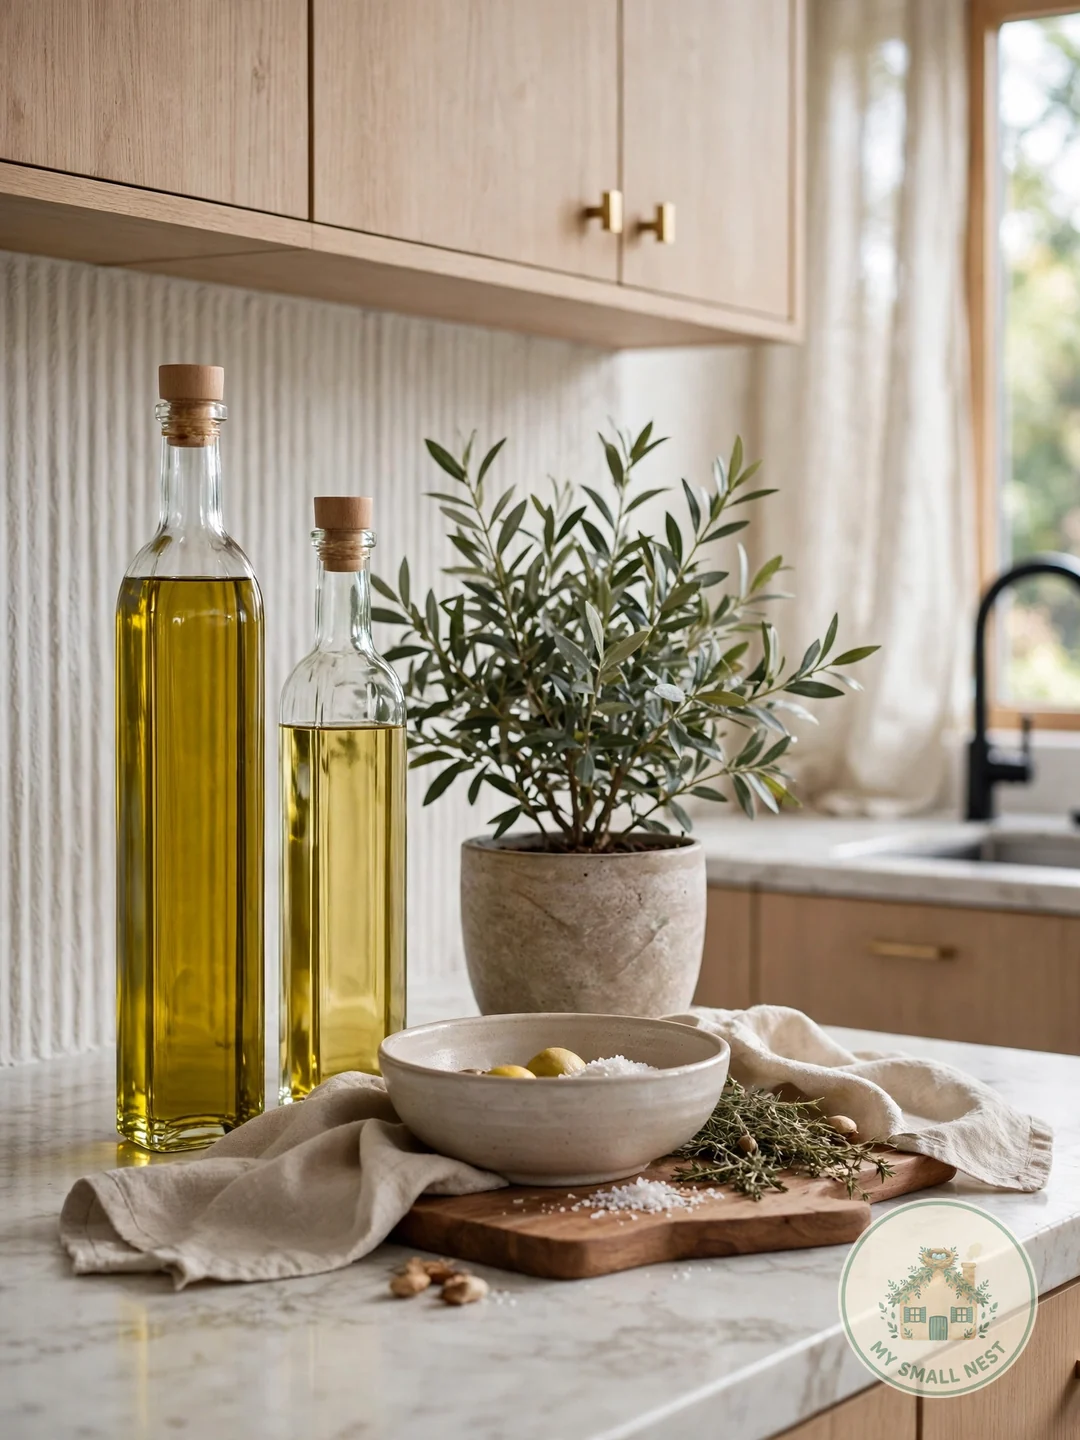
Flat counters look boring; styled counters have topography. Vary heights — tall oil bottles, medium plants, low bowls — so the eye moves through the layers instead of skimming one flat line.
Use risers (a small stand, a stack of books, an overturned bowl) to lift shorter items. Height variation is what separates “placed” from “styled.” Aim for three height levels in each vignette.
Where to start: Step back and squint — if everything blends into one flat line, add something taller.
 Pin it
10. Use Baskets for Functional Storage
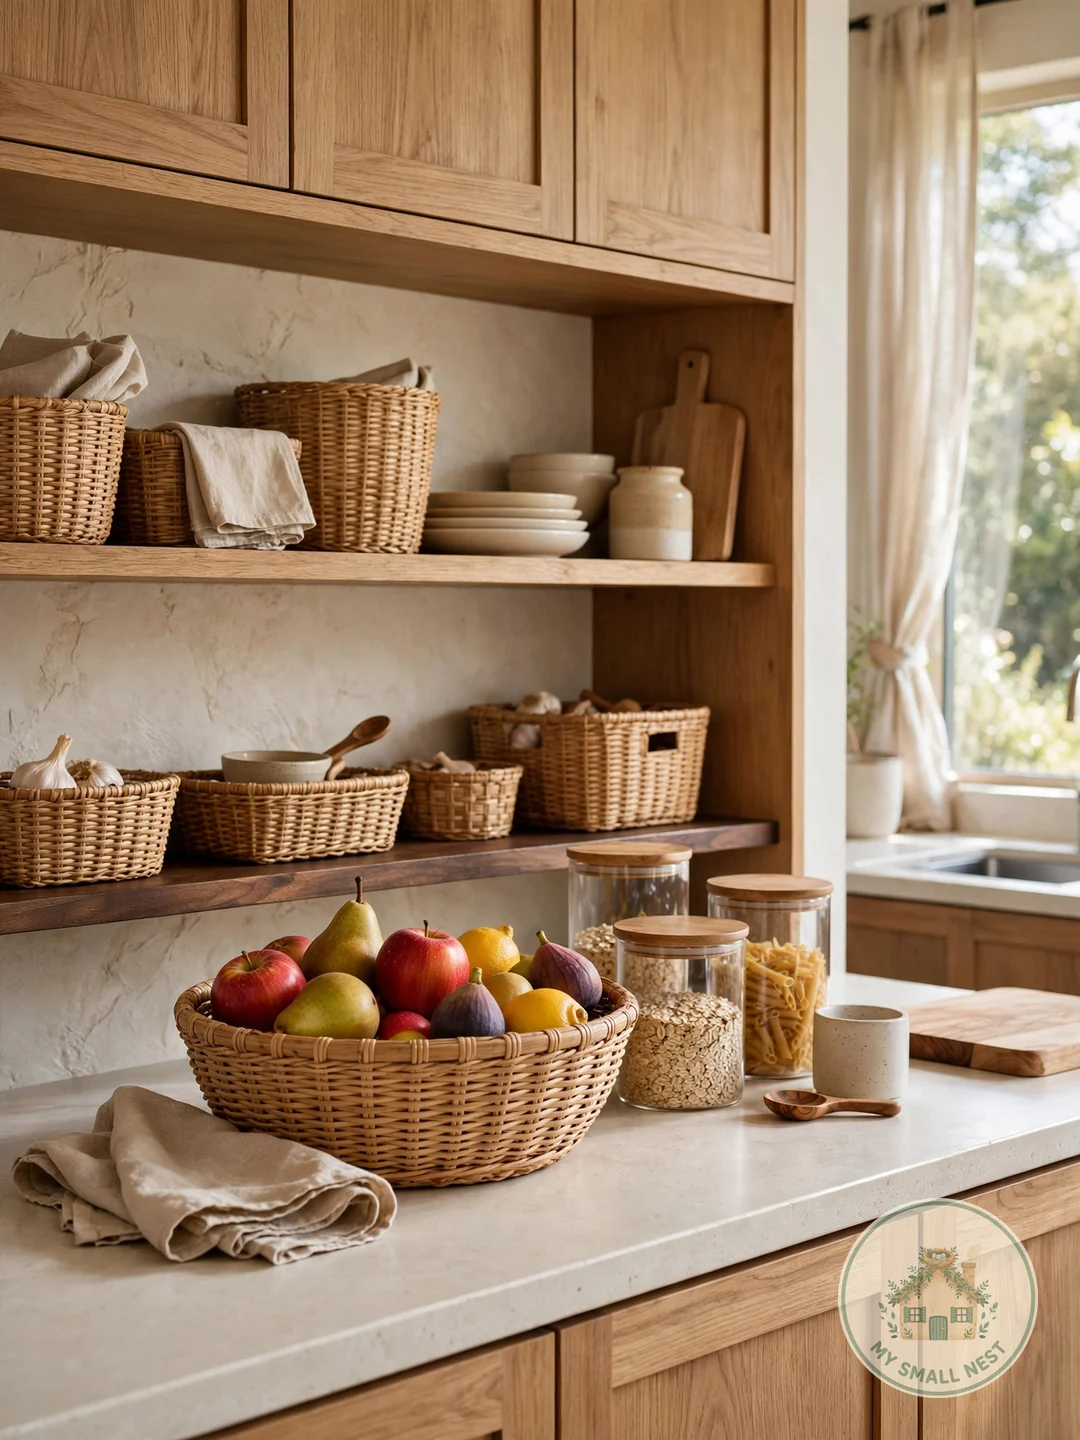
Woven baskets on the counter hide the ugly-but-necessary: snack packets, chargers, random bits. They add texture while swallowing clutter — the rare storage that also decorates.
One medium basket is plenty; more starts to look like storage, not styling. Choose a basket that matches your kitchen’s warmth, and give it a job (fruit, bread, or catch-all) so it doesn’t become a junk drawer. Lidded baskets hide more; open ones display better.
Where to start: A lidded basket for the catch-all and an open one for fruit covers 90% of counter clutter.
 Pin it
11. Leave Some Space Empty
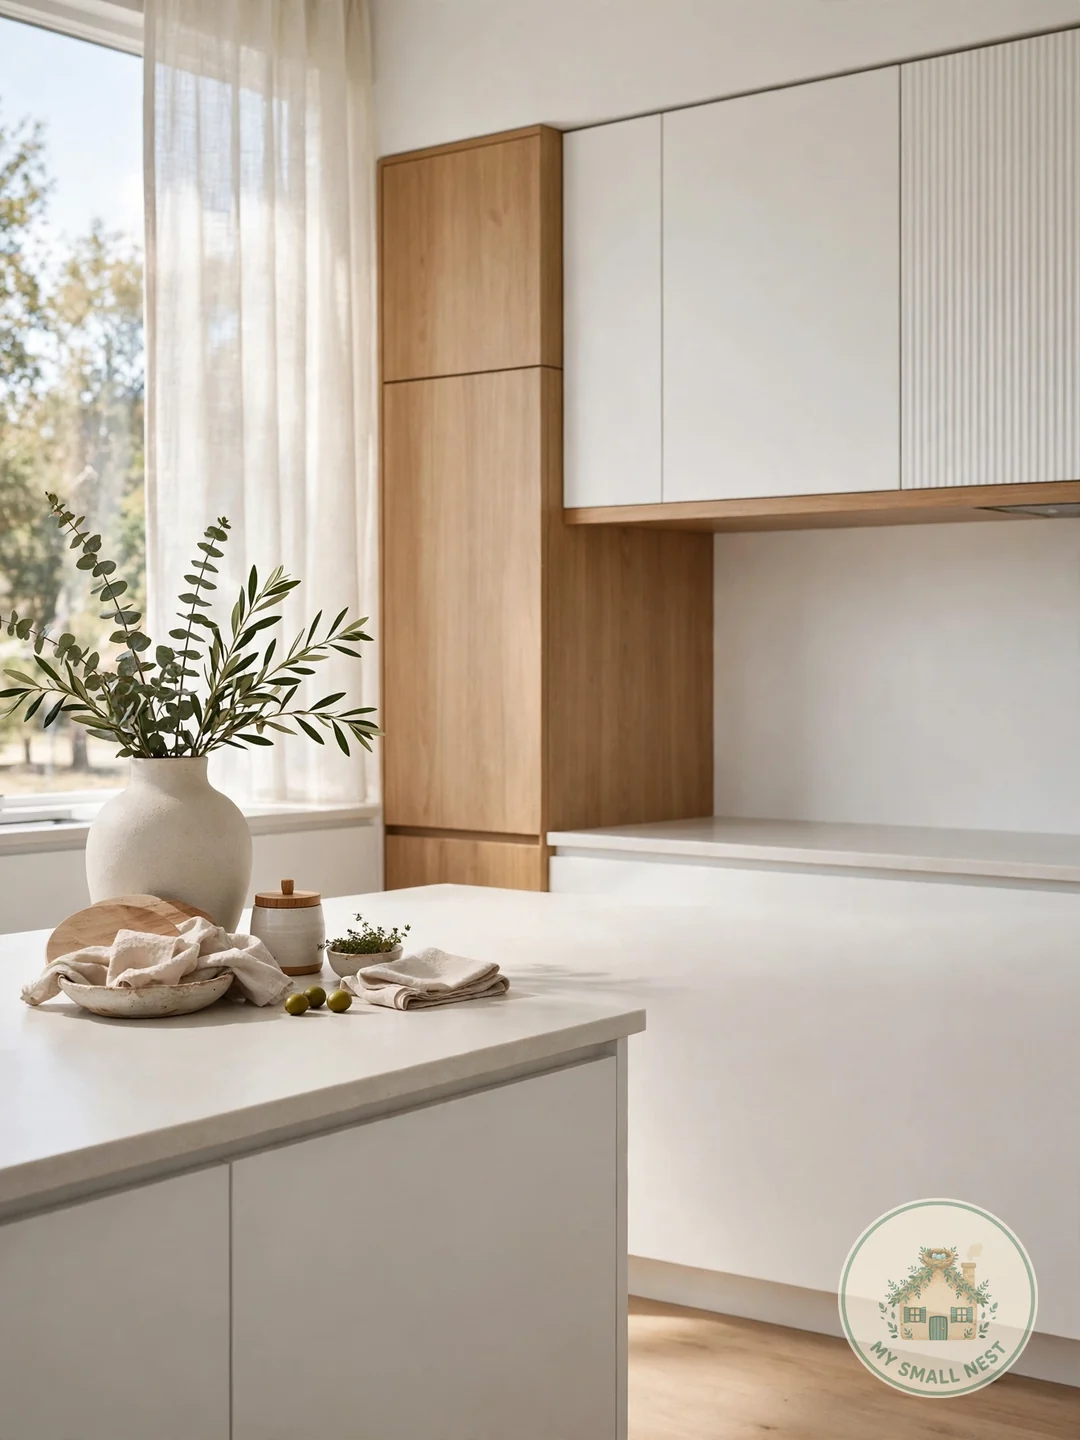
The most underrated styling move: empty counter. Negative space makes the styled areas look intentional and gives you room to actually cook — which is, after all, the counter’s job.
Aim for at least one clear 2-foot stretch. Empty space is a design choice, not a failure to decorate. The prep zone next to the stove is the natural empty area — keep it clear and your future self will thank you every dinner.
Where to start: Clear the single most-used prep area first. You’ll feel the difference the same day.
 Pin it
12. Stick to a Simple Color Palette
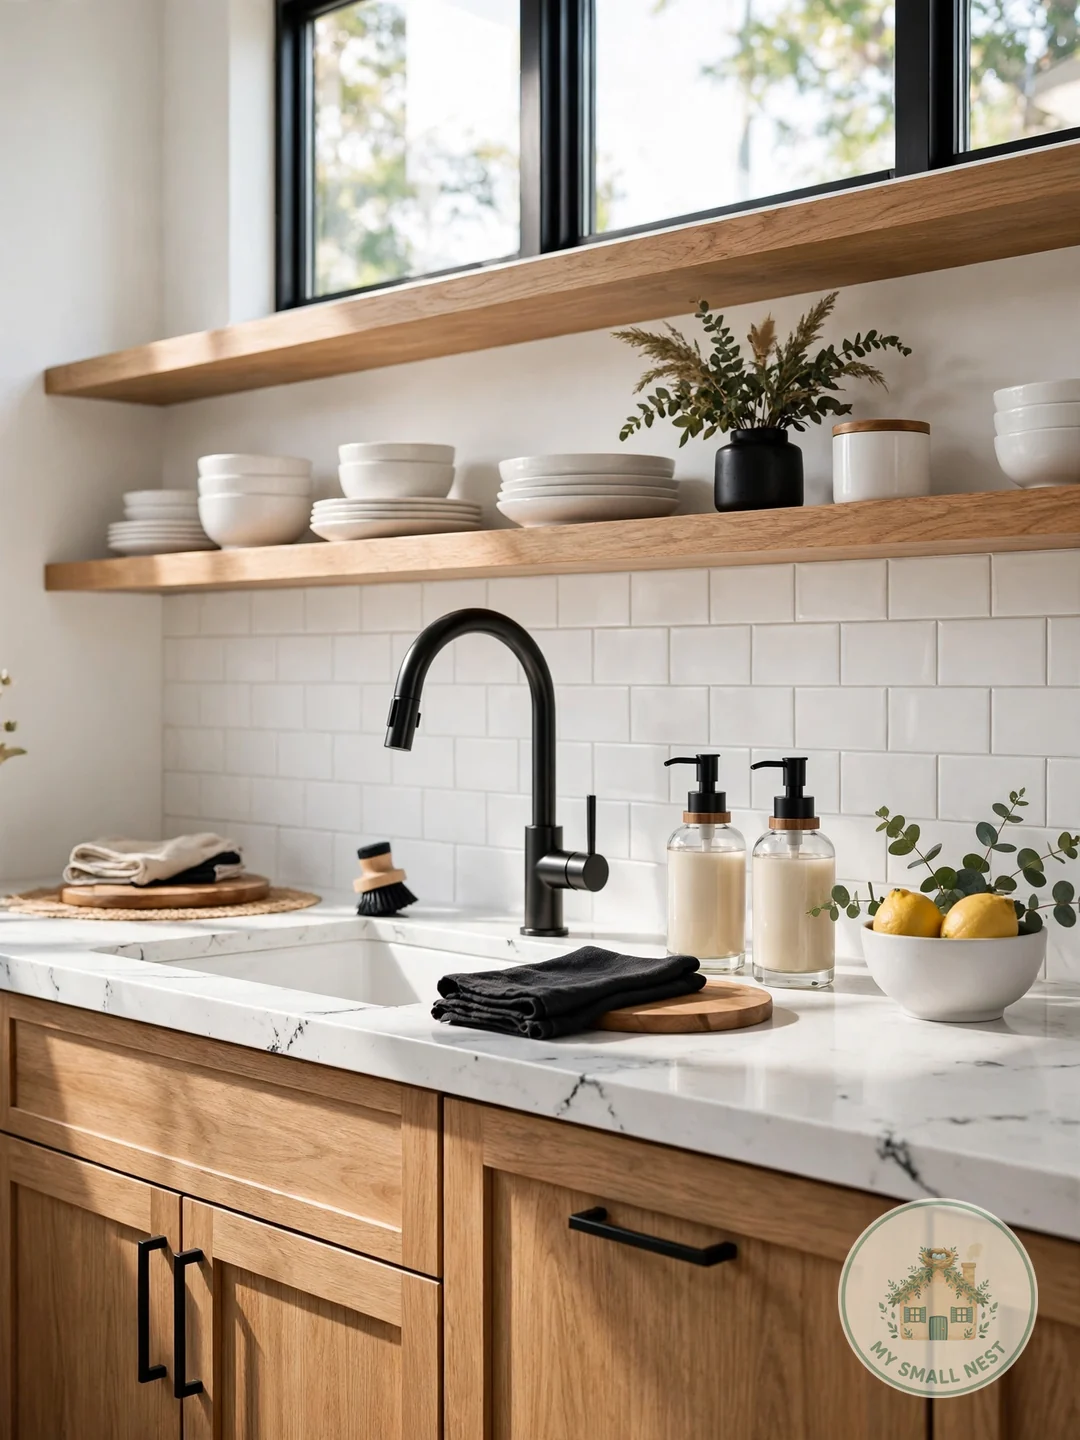
Limit counter items to 2–3 colors plus neutrals. When everything coordinates, even purely practical items look like decor. Wood, white, black, and one green (plants) is a foolproof modern palette.
Match small appliances to the palette where you can, and decant dish soap and oils into matching dispensers — mismatched packaging is the number one source of visual chaos. One $10 dispenser set transforms the sink area.
Where to start: The sink area first. It’s the most visually chaotic spot in most kitchens and the fastest win.
 Pin it
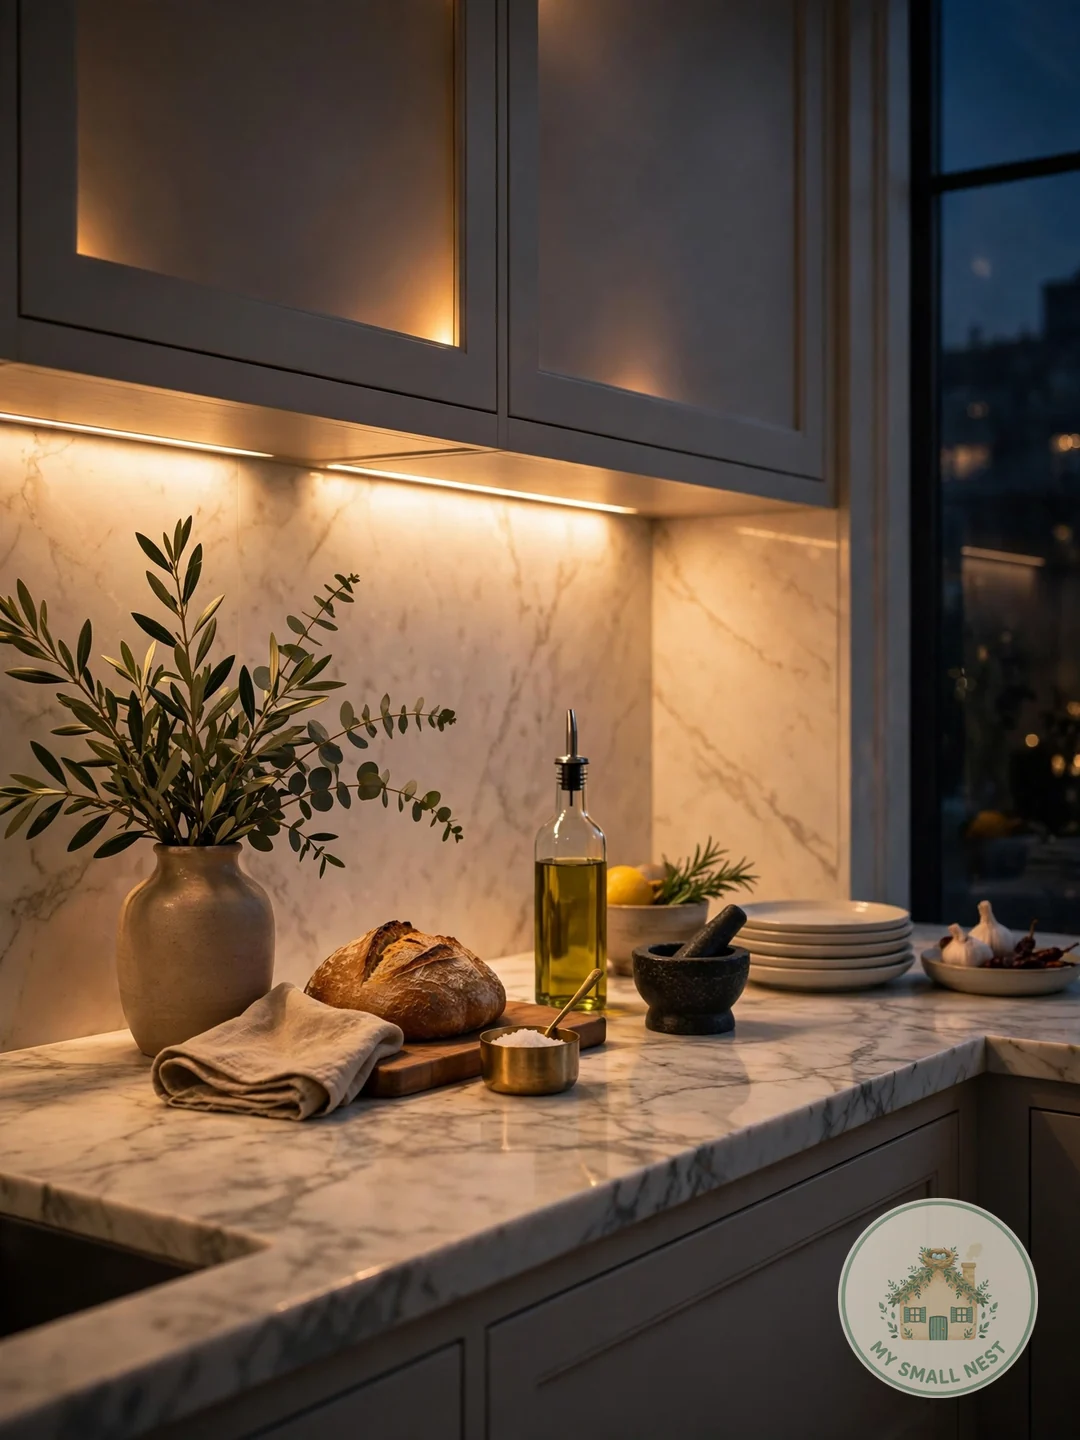
13. Add Under-Cabinet Lighting for Glow
Under-cabinet lighting transforms counters after dark — styled items glow, the backsplash shines, and the kitchen feels twice as expensive. It’s the highest-impact upgrade per dollar in this entire list.
LED strip lights are inexpensive and easy to install (many are plug-in or battery-operated). Choose warm white (2700–3000K) — it flatters food and finishes, while cool white feels clinical. Put them on a timer so the glow greets you every evening.
Where to start: Measure the cabinet runs before ordering, and buy 10% extra length for corners and mistakes.
 Pin it
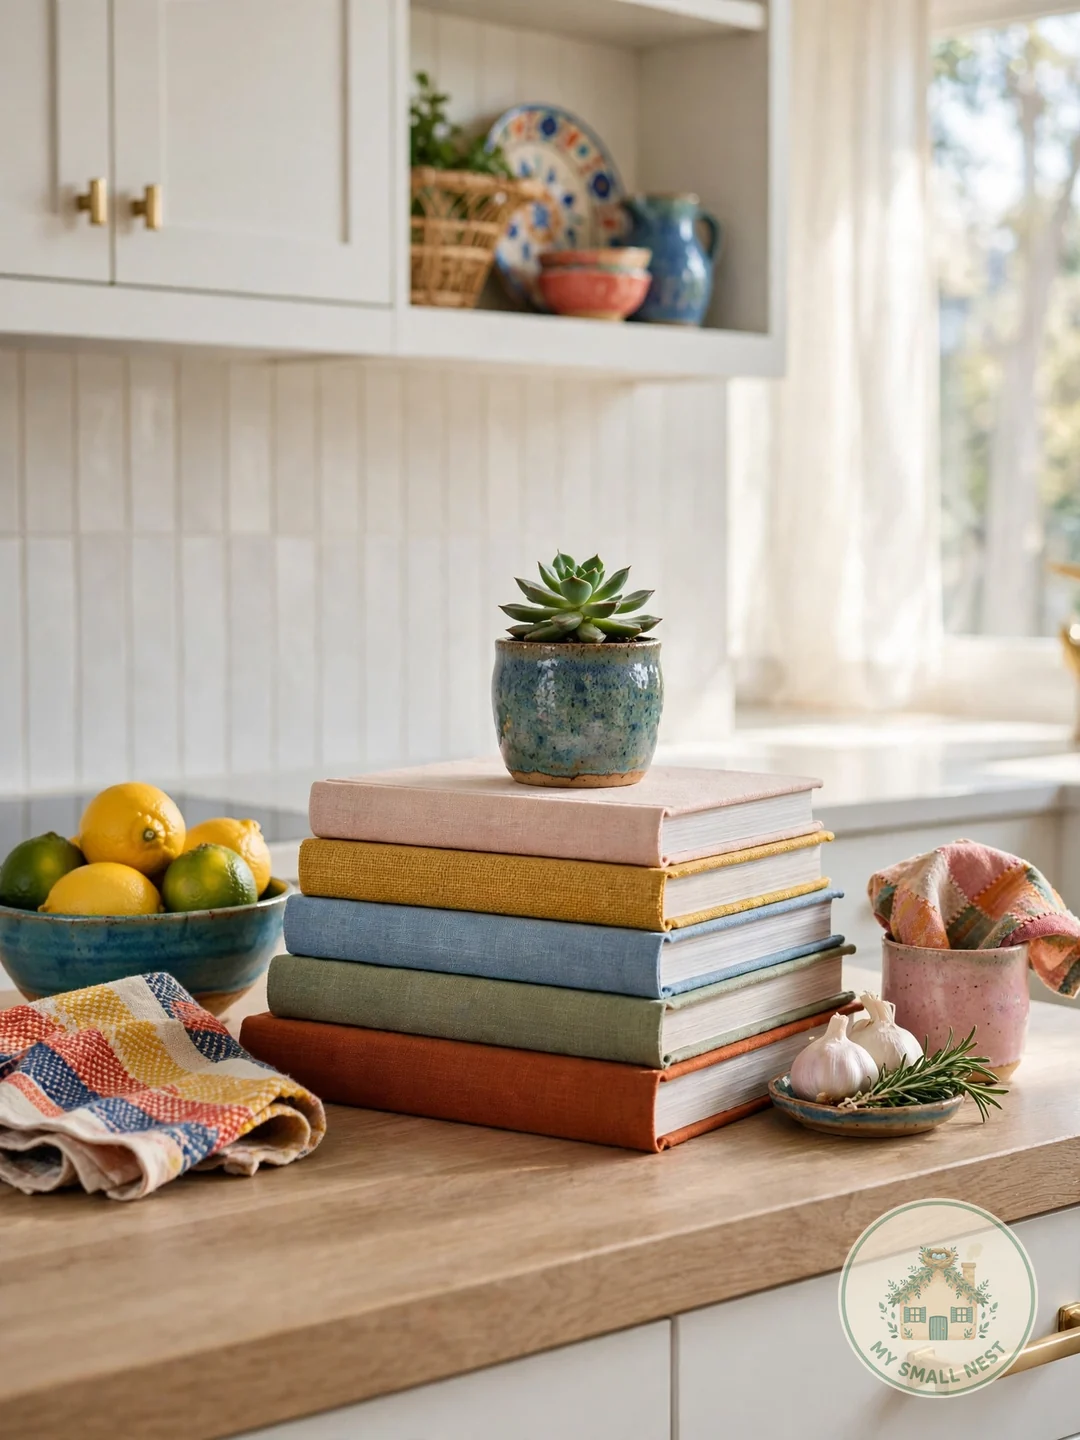
14. Display a Curated Cookbook Stack
A short stack of beautiful cookbooks adds personality, height, and color — and they’re actually useful. Two to four books is the right scale; more becomes a pile, not a display.
Choose books with attractive spines and turn the prettiest cover outward. Top the stack with a small plant or candle, and keep the stack near the prep zone so it gets used, not just admired. A book stand for the current recipe turns the stack interactive.
Where to start: Your two most-used cookbooks plus one beautiful aspirational one. That’s the whole formula.
 Pin it
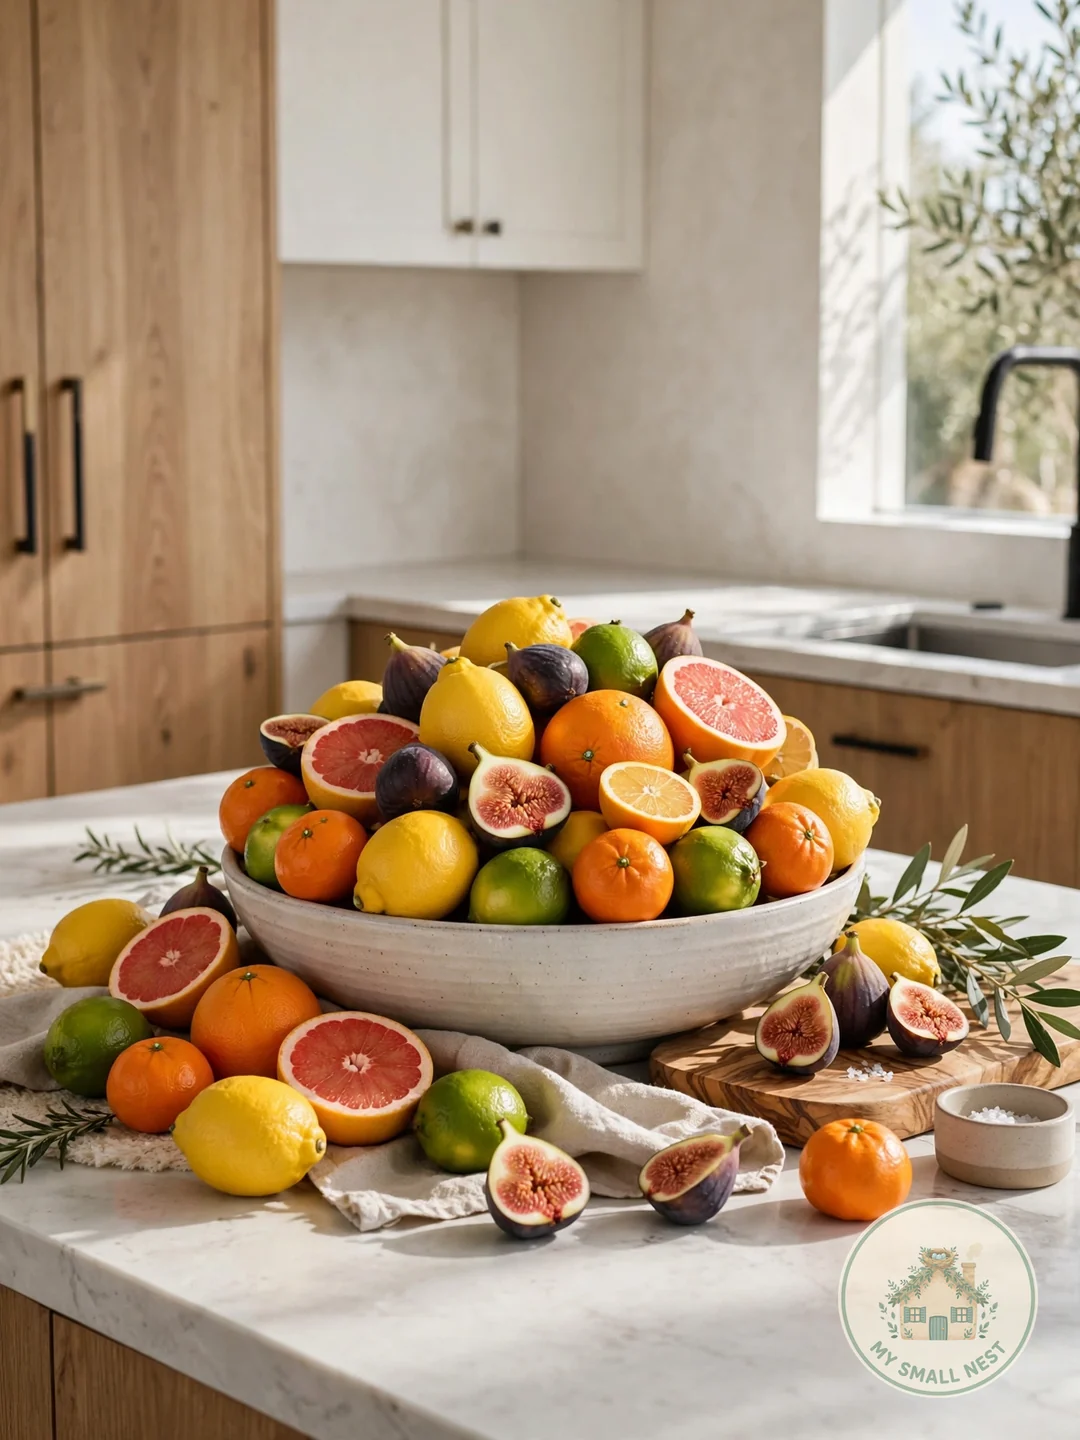
15. Style a Statement Fruit Bowl
A generous bowl of fresh fruit is the oldest kitchen styling trick — color, life, and a healthy snack in one. Go abundant, not sparse; a skimpy fruit bowl looks sadder than no bowl at all.
A wide, low bowl shows off the most color. Mix citrus, apples, and something unexpected like figs or pomegranates. Refill with real fruit weekly — a dusty fake-fruit bowl is worse than none. In between, a bowl of lemons alone looks effortlessly chic.
Where to start: Citrus keeps longest at room temperature, so build the base of the bowl with lemons and oranges.
 Pin it
5 Counter Styling Mistakes to Avoid
Styling before decluttering
Adding decor to a cluttered counter just makes styled clutter. Clear ruthlessly first — styling only works on a calm base.
Blocking the work zones
Beautiful counters you can’t cook on are a failure. Keep prep areas, the stove landing zone, and the sink clear. Style the in-between and end zones instead.
Too many small items
Ten tiny objects read as mess; three substantial ones read as style. When in doubt, remove the smallest thing and see if the vignette improves.
Ignoring the backsplash
Styling floats in front of the backsplash — they need to work together. If the backsplash is busy, keep counters minimal; if it’s plain, counters can carry more.
Forgetting function
Every styled item near a work zone should survive real cooking: splashes, steam, and heat. Put delicate decor in low-traffic corners only.
Kitchen Counter Styling FAQs
How do I style my kitchen counters without clutter?
Group items on trays, limit yourself to one vignette per counter section, and leave empty space. Every item should be beautiful or daily-useful — ideally both. If you haven’t touched it in a week, it lives in a cabinet.
What should stay on kitchen counters?
Daily-use items only: coffee maker, knife block or magnetic strip, cooking oils, salt, a cutting board, and maybe a fruit bowl. Everything else — small appliances, specialty tools, decor overflow — belongs in cabinets.
How do I make my kitchen look expensive on a budget?
Matching dispensers, under-cabinet lighting, and a cohesive color palette do most of the work for under $50. Decanting mismatched packaging into uniform containers is the highest-impact cheap upgrade.
Should kitchen counters be completely clear?
Not necessarily — completely bare counters can feel cold. The sweet spot is styled but breathable: a few intentional vignettes with generous empty space between them. Think curated, not cleared.
How do I style a small kitchen counter?
Go vertical (wall-mounted shelves, hanging rails), choose one focal vignette, and be ruthless about what stays out. A small tray that holds just the essentials keeps limited space looking intentional.
Beautiful counters aren’t about perfection — they’re about intention. Every item earns its place, everything has breathing room, and the kitchen still works hard.
Start with the clear-off reset this weekend, then build back slowly with these ideas. Your counters (and your cooking) will thank you.
What readers are saying
No comments yet — yours could be the first.