 My Small Nest
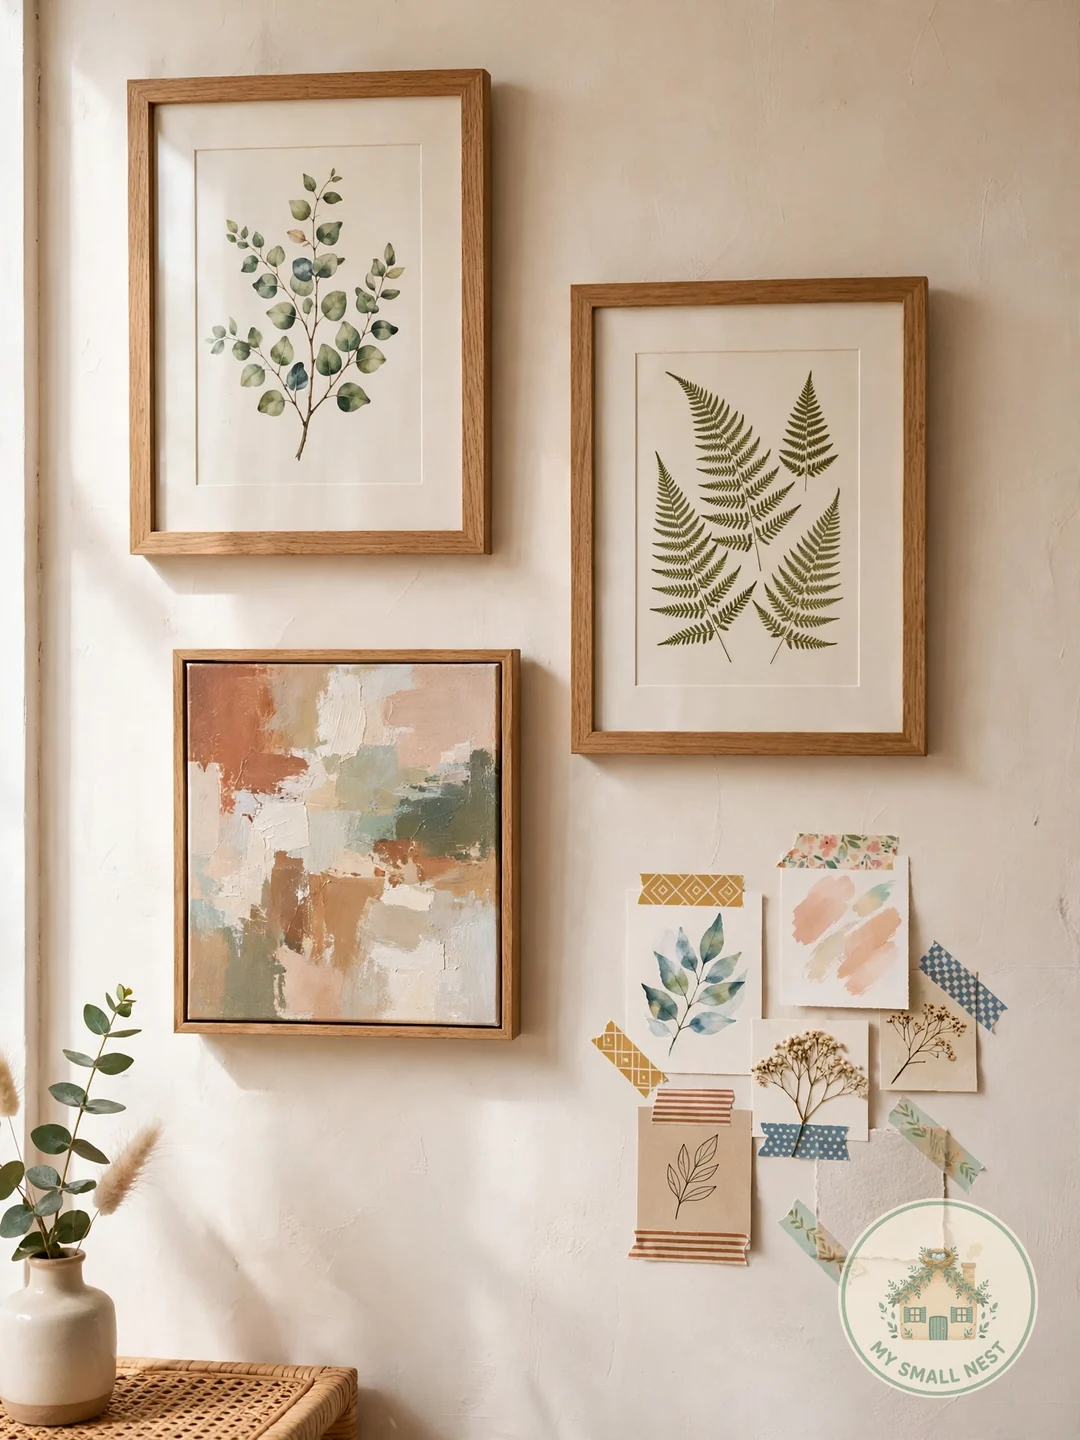
Blank walls can make even the coziest small home feel unfinished, but real art gets expensive fast — a single framed print from a home store easily runs $60–$100. The good news: some of the most charming pieces you will ever hang cost almost nothing to make.
Here are 8 easy DIY wall art projects that look genuinely beautiful — not crafty — each under $20. This guide is for renters and small-space dwellers who want real art on their walls this weekend, with no fancy tools and no damage deposits at risk.
1. Framed Botanical Prints from Your Own Pressed Leaves
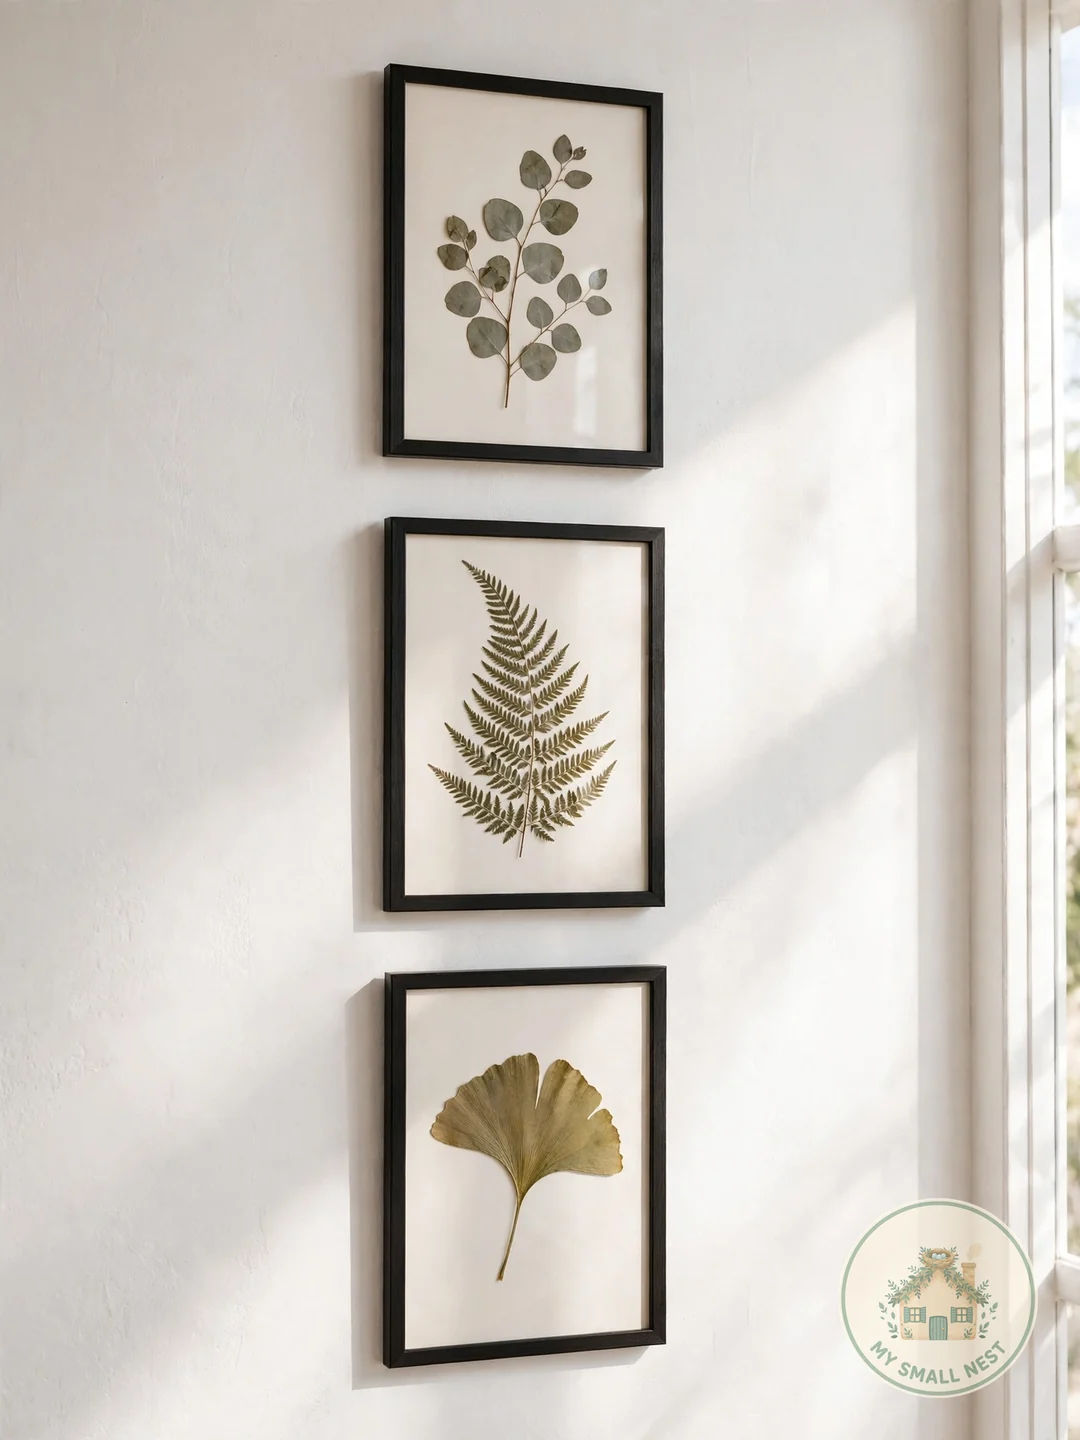
Pressed leaves framed on cream paper make timeless botanical art with a high-end look — and the leaves come from your own walks, which makes this DIY wall art deeply personal. Thrifted 8×10 frames cost about $3 each, and acid-free cream cardstock ($6 for 50 sheets at Michaels) keeps the leaves from yellowing. Fern fronds, eucalyptus sprigs, and maple leaves press beautifully and look like something from a $40 Anthropologie frame.
Make it work: Press leaves for two full weeks until completely flat, and arrange odd numbers per frame.
%
 Pin it
%
2. Painted Abstract Canvas in Two Colors
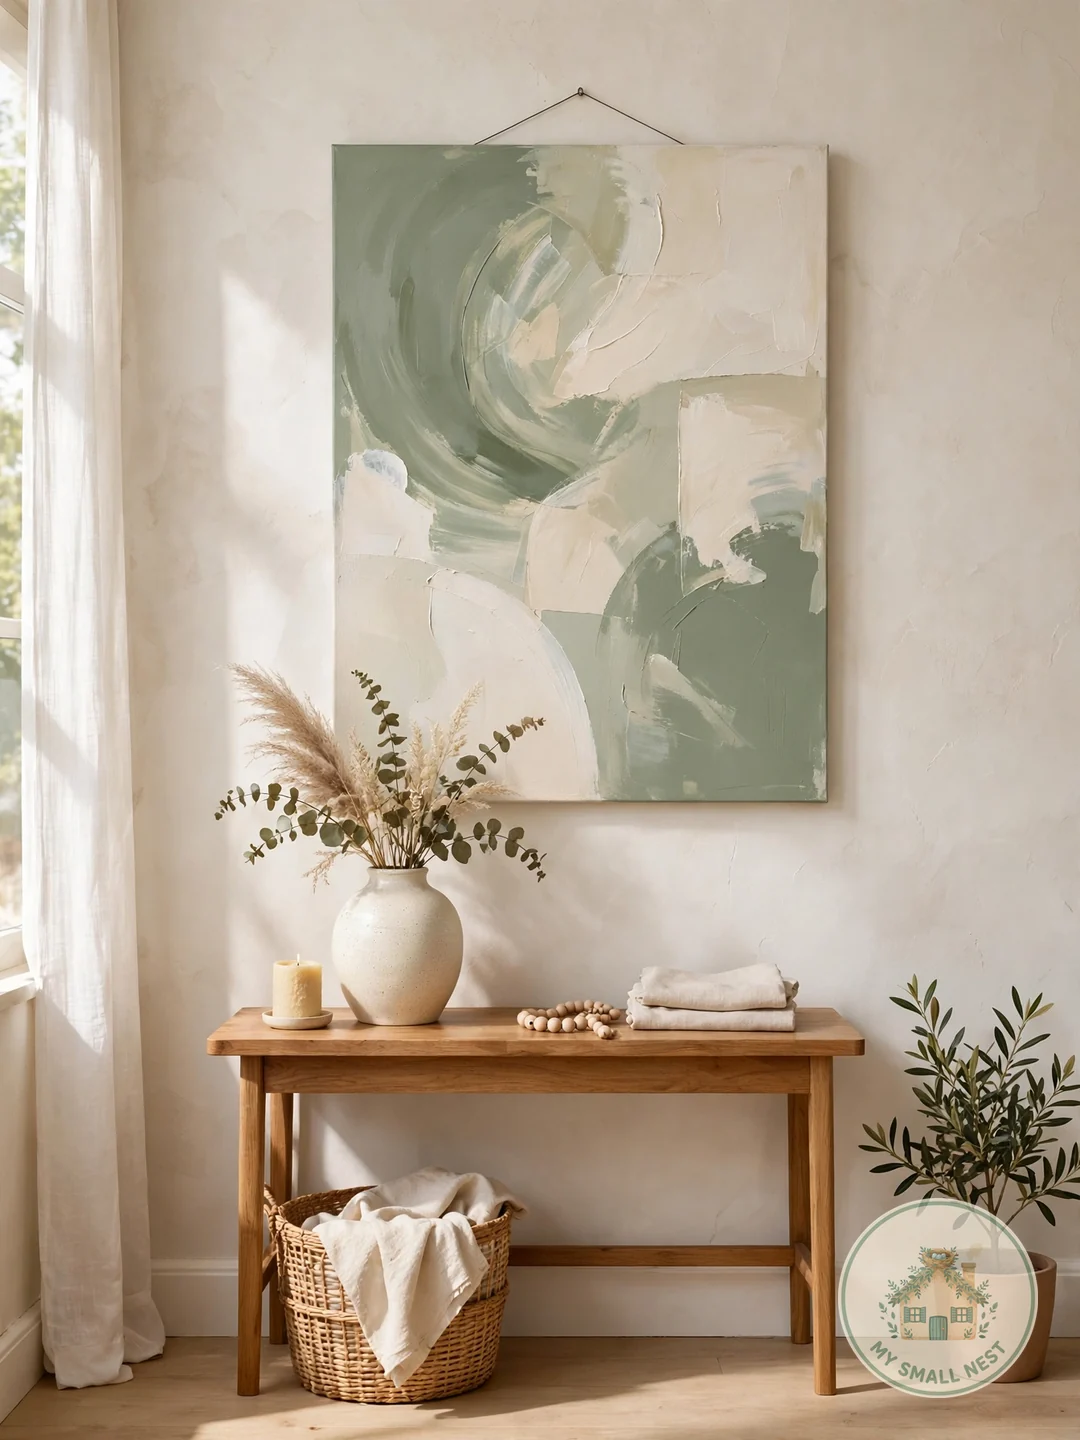
You need zero painting skills for this — pick two colors you love and layer soft brush strokes on a small canvas. Abstract DIY wall art works in small spaces because you can match your room’s palette exactly. A 12×16 canvas plus two paint tubes costs about $10 at Michaels or Target, and one 45-minute session finishes the piece. Stick to colors already in your bedding or rug and the art will look like it was commissioned for the room.
Make it work: Paint one solid base color first, let it dry, then add 3–5 large soft strokes of the second color.
%
 Pin it
%
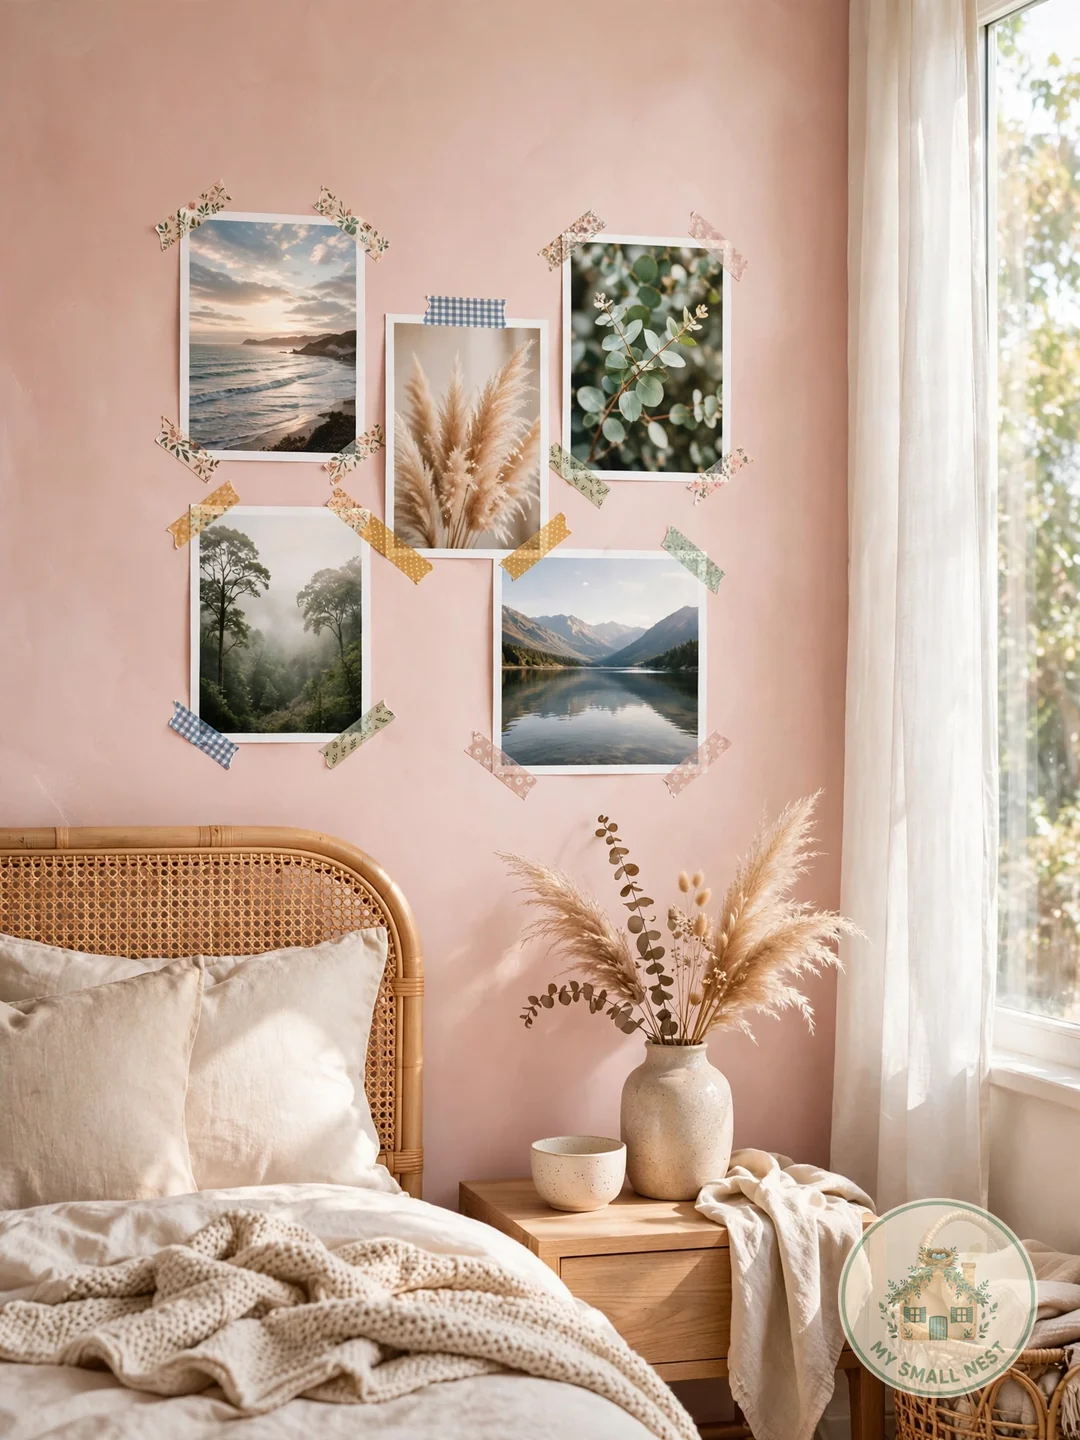
3. Washi Tape Gallery Frames
Frame prints directly on the wall with patterned washi tape — no frames, no nails, no holes. This renter-friendly DIY wall art trick costs about $8 in tape and looks polished when tape colors coordinate with your prints. I tried this in my studio above my desk with free printable art and two rolls of $4 washi tape, and visitors keep assuming the “frames” are painted on — it is the most complimented $8 in the whole apartment.
Make it work: Keep a 2-inch tape border around each print and repeat one tape pattern across the cluster.
%
 Pin it
%
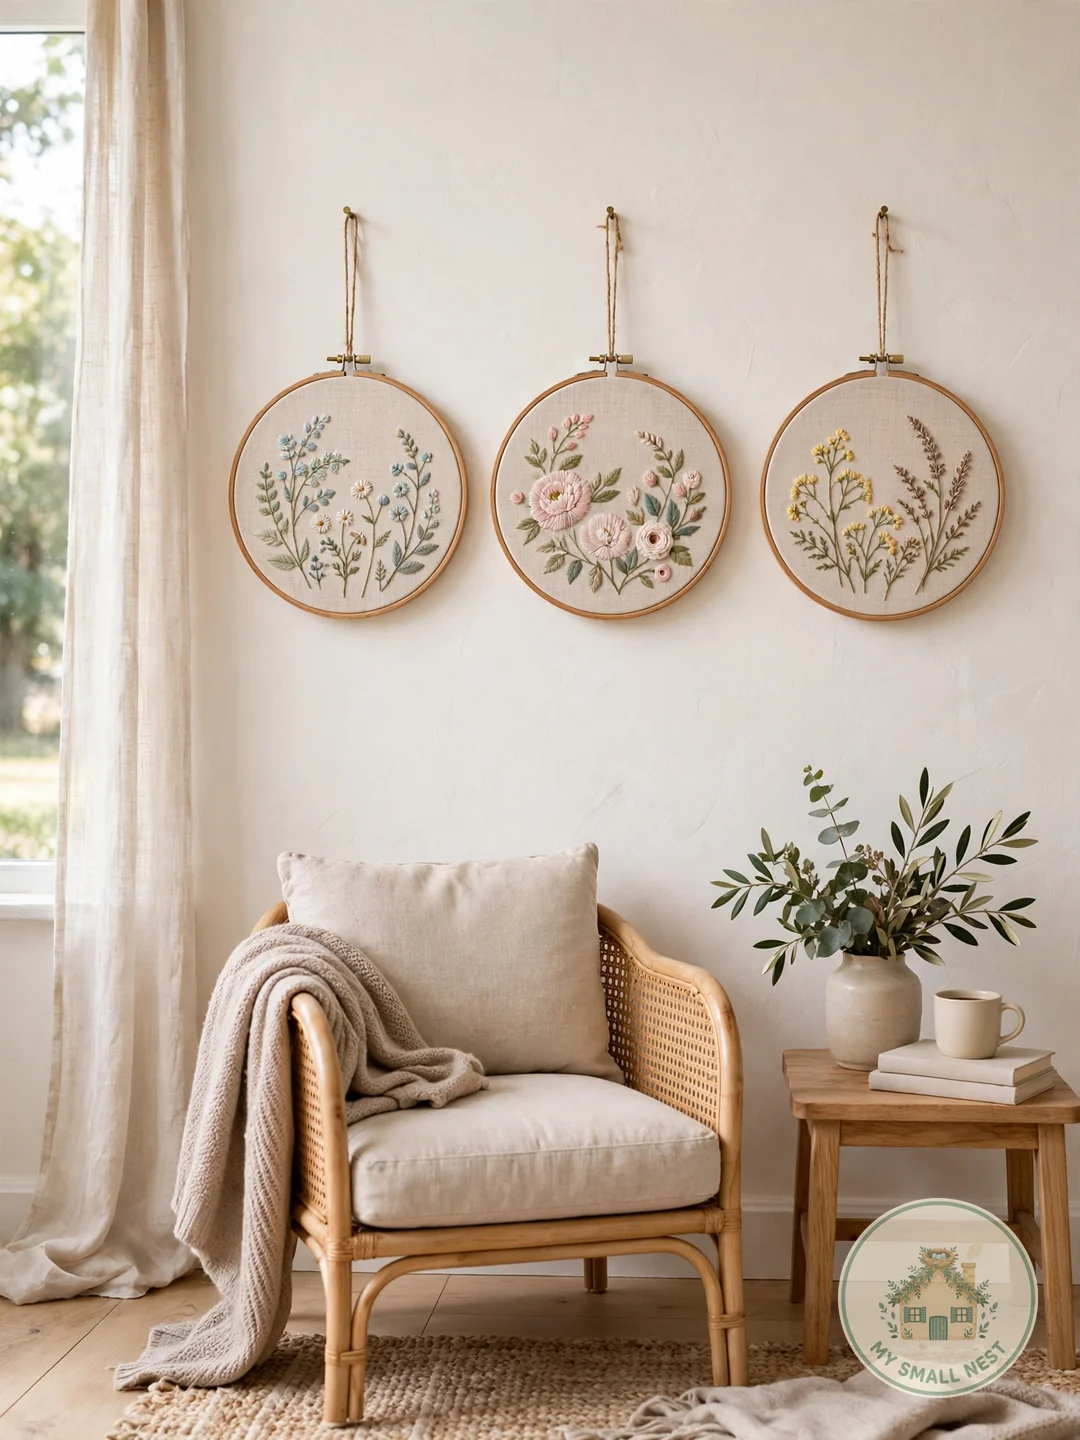
4. Fabric Panel Wall Hangings
A $5 fat quarter of beautiful fabric stretched over a wooden frame or embroidery hoop makes instant textile art with zero sewing. As DIY wall art, fabric adds warmth that small rooms often lack — try linen, block prints, or vintage florals. A 12-inch embroidery hoop ($3 at Michaels) plus the fabric finishes in under 30 minutes, and the soft texture does something flat prints cannot: it absorbs sound and makes a small room feel cozier.
Make it work: Iron the fabric first and pull it drum-tight — wrinkles are what make it look homemade.
%
 Pin it
%
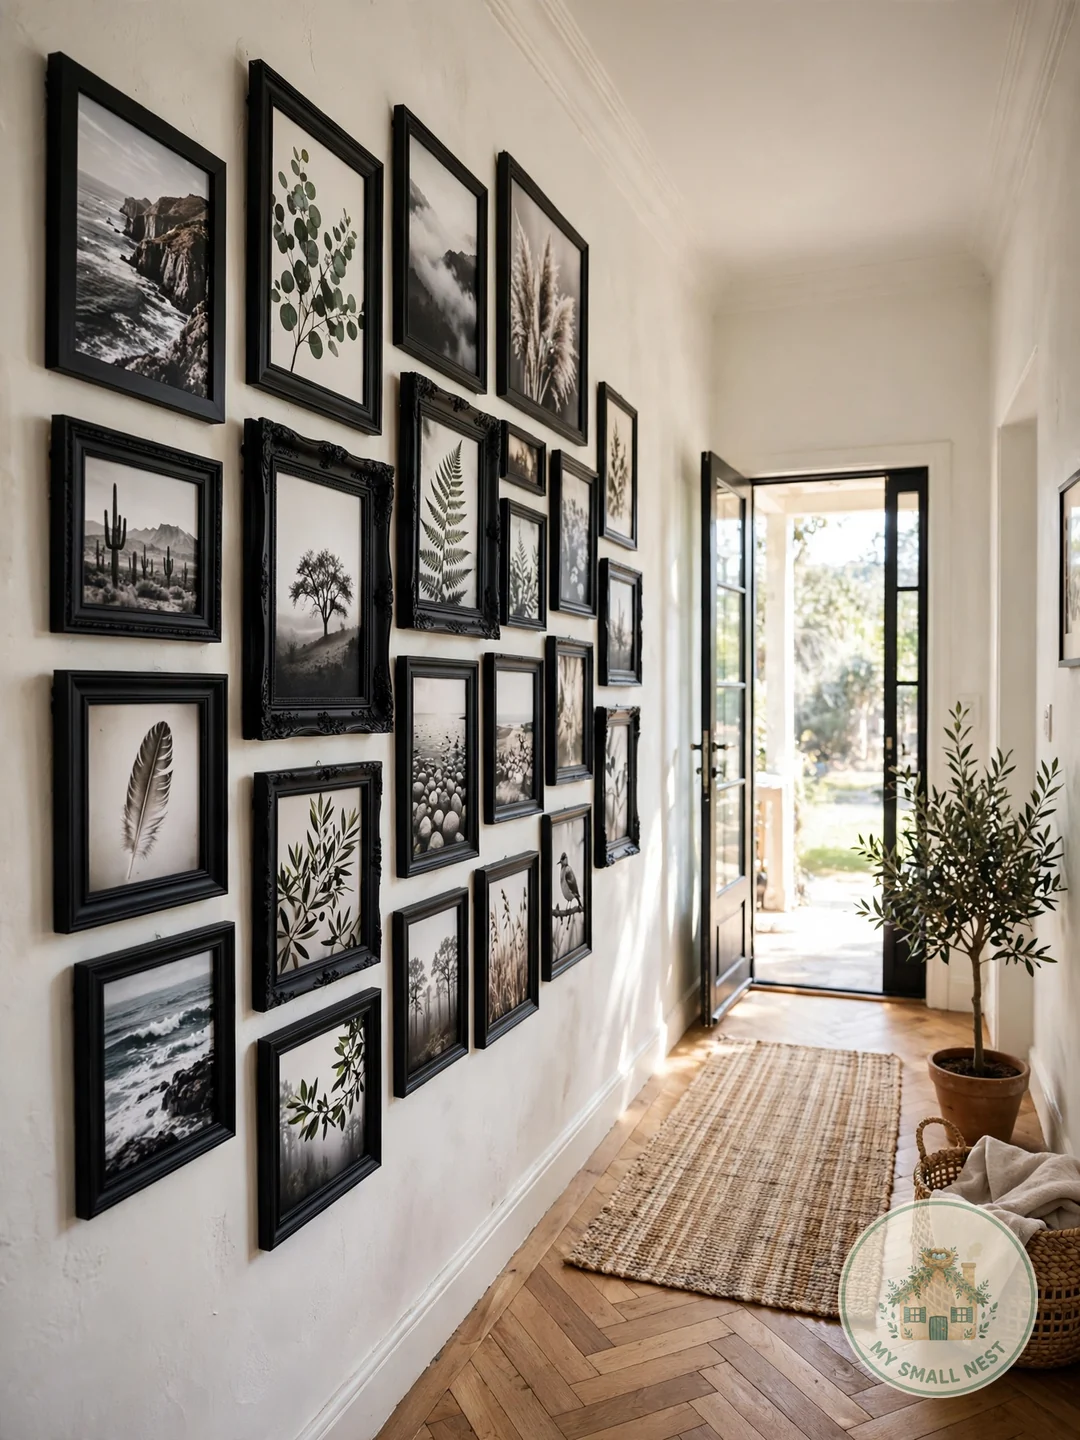
5. Thrifted Frame Gallery Wall
Mismatched thrift-store frames spray-painted one color (matte black or gold) look intentional and chic at $1 each. Fill them with free printables or your own photos — a $6 can of Rust-Oleum spray paint unifies ten frames in one afternoon. A full DIY wall art gallery for under $20 transforms any blank hallway, and the single-color trick is what separates “collected” from “random.”
Make it work: Arrange everything on the floor and photograph it before a single nail goes in.
%
 Pin it
%
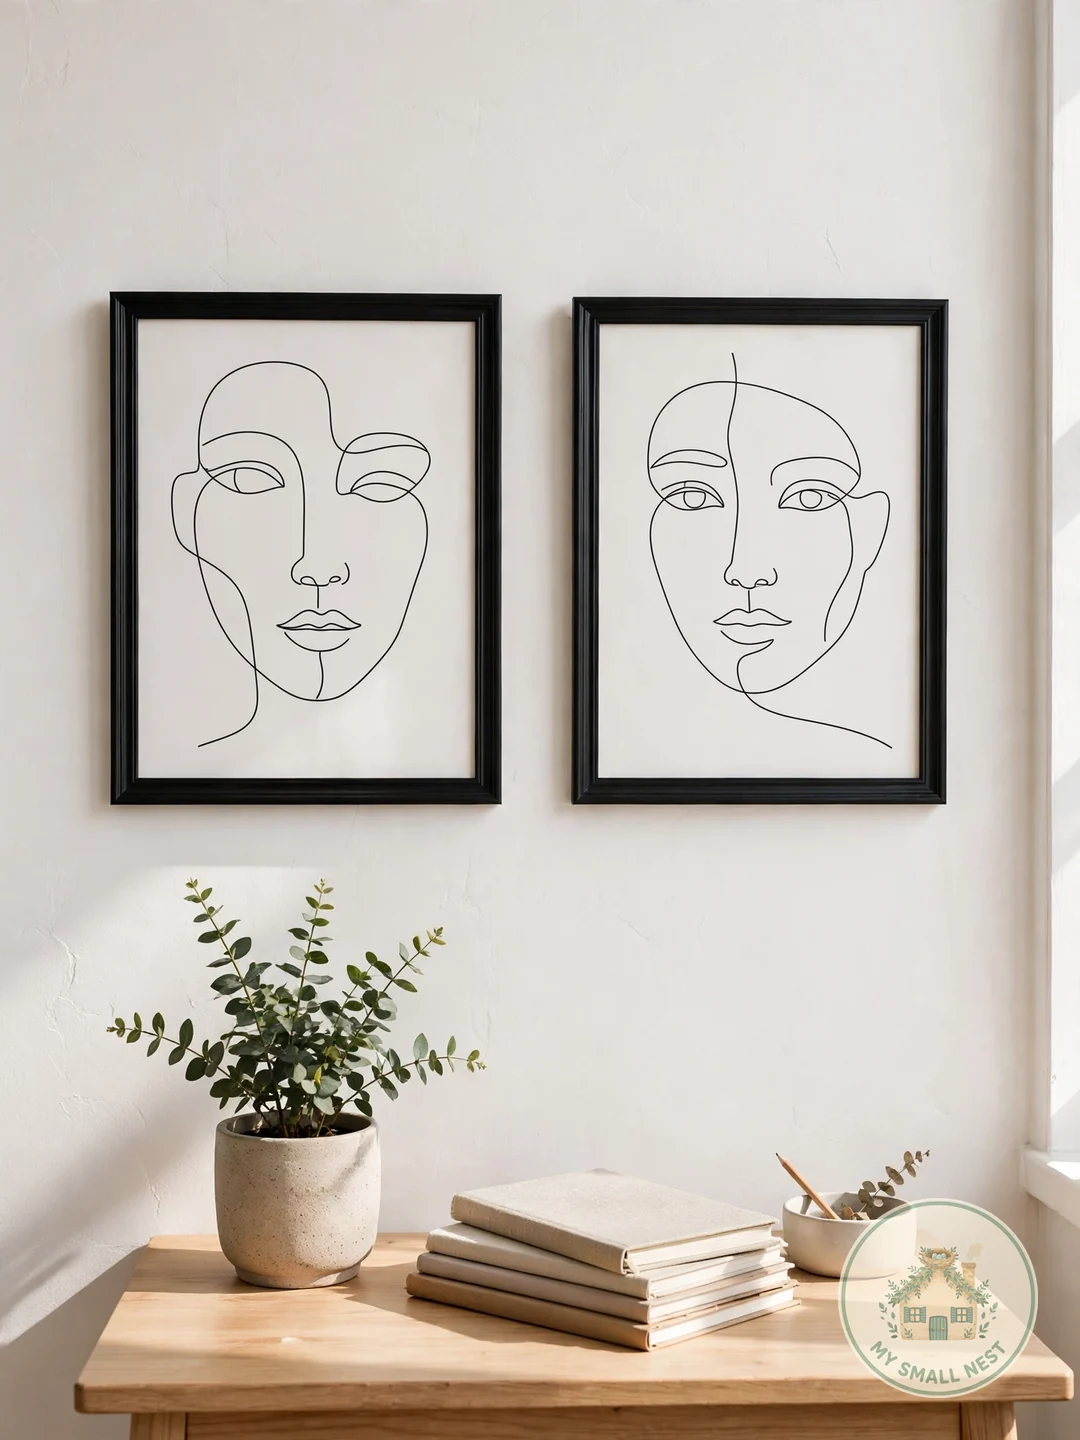
6. Minimalist Line Art Drawn by Hand
Simple continuous-line faces are forgiving to draw and look effortlessly modern in thin frames. You need only a fine-tip marker and good paper — about $3 total, and a $12 set of IKEA LOMVIKEN-style thin frames (or Amazon basics) finishes the look. Hand-drawn line art as DIY wall art adds a personal touch prints cannot match. I tried this in my studio with a $2 marker and a sheet of watercolor paper, and the slight wobble in my line is exactly what makes guests ask where I bought it.
Make it work: Practice on copy paper first; slight wobbles in the line look authentically handmade.
%
 Pin it
%
7. Painted Terracotta Pot Wall Planters as Living Art
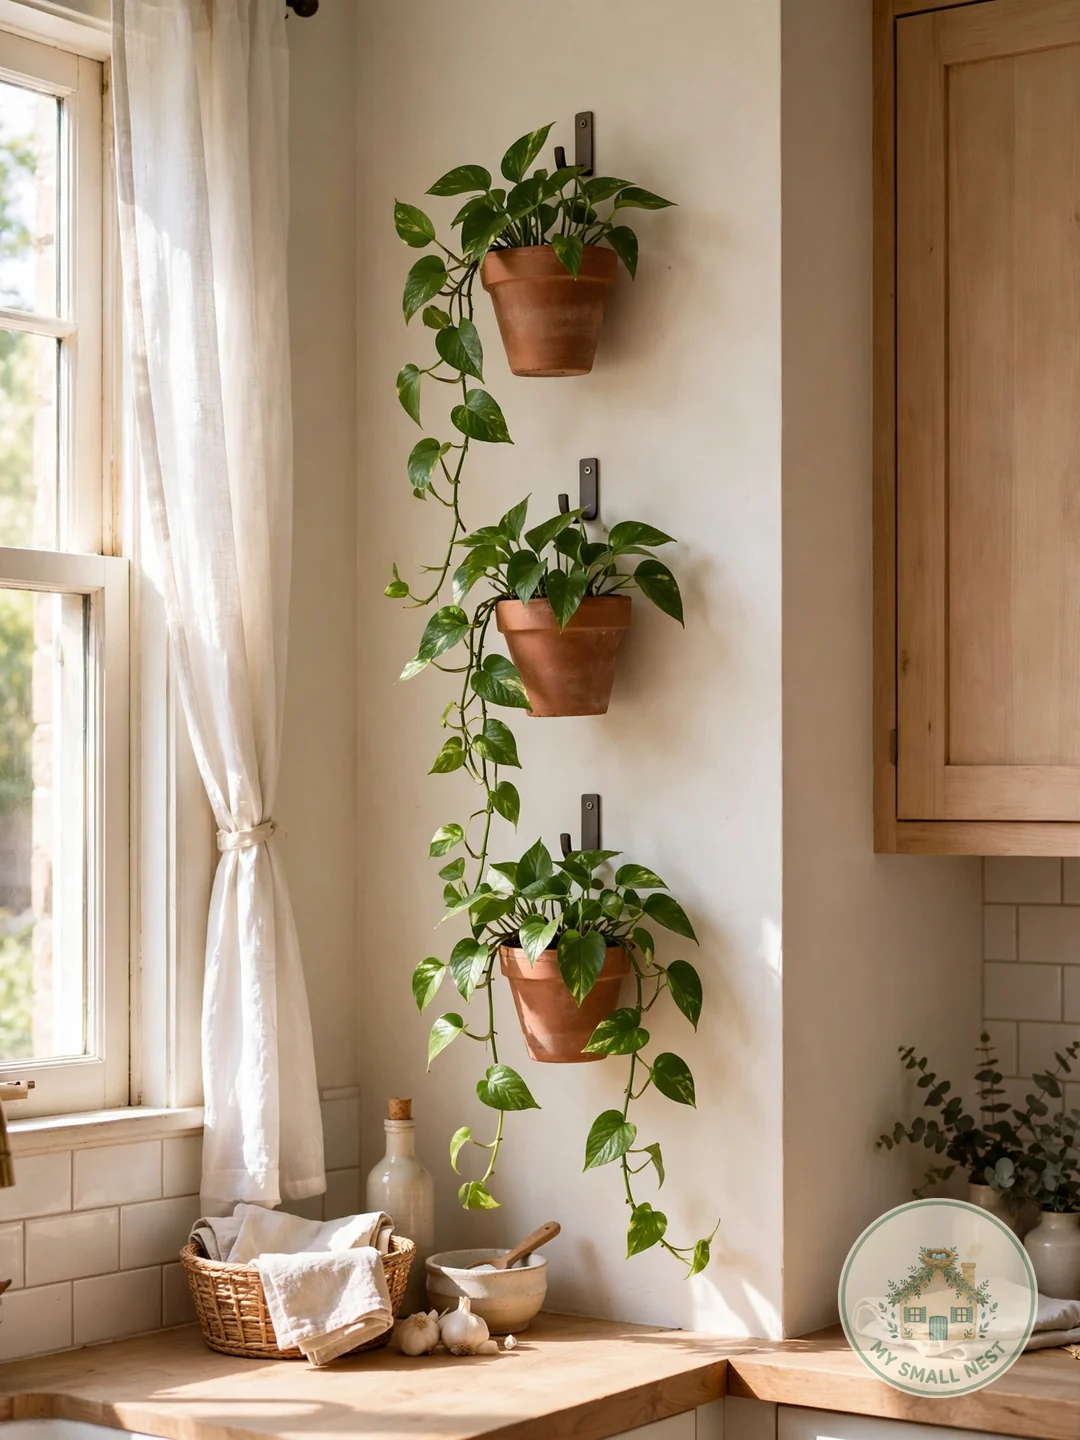
Small terracotta pots on wall hooks with trailing pothos double as living wall art that grows and changes. This DIY wall art idea costs about $15 total — 4-inch pots are $2 each at Home Depot, a pothos cutting is free from any plant friend — and it suits kitchens and bathrooms where shelf space is scarce. Paint the pots in your room’s accent color with leftover sample paint ($5 at the hardware store) for a custom look.
Make it work: Hang an odd-numbered cluster, mixing one painted pot with plain terracotta.
%
 Pin it
%
8. DIY Textured Plaster Art
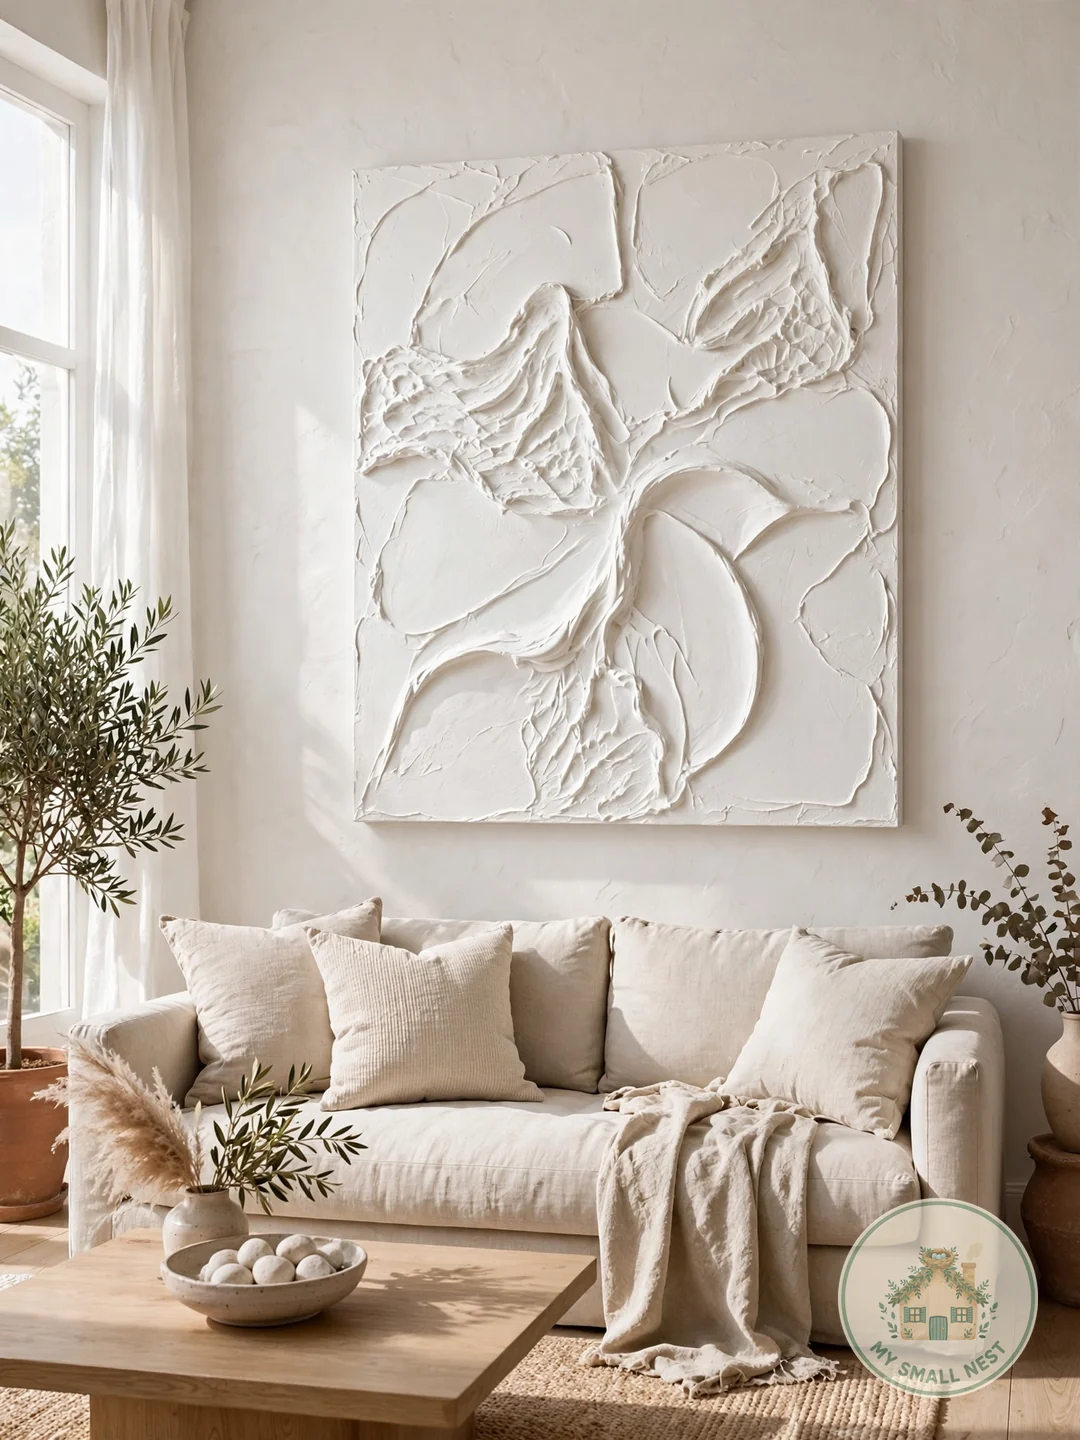
Plaster-of-paris ($6 a bag at Home Depot) spread with a palette knife over canvas creates on-trend textured art that sells for hundreds in stores. This DIY wall art feels high-end in minimalist or farmhouse rooms, and one bag makes two to three pieces — that is gallery-scale art for about $2 a piece plus the canvas. Work in thin layers and let each dry fully; thick globs crack.
Make it work: Keep shapes abstract — soft arcs and waves — then paint one matte color over the dried plaster.
%
 Pin it
%
Mistakes to Avoid
Hanging art too high
Center pieces at about 57 inches from the floor — eye level. Art near the ceiling looks lost, no matter how pretty.
Choosing pieces that are too small
Tiny frames on a big blank wall look like an afterthought. Go bigger than you think, or cluster small pieces into a gallery.
Using too many competing colors
Clashing colors feel chaotic in a small room. Repeat one color — in frames, mats, or the art — to unify everything.
Ignoring the room’s palette
DIY wall art should echo at least one color already in the room, or the whole space feels off.
Skipping a plan before hammering nails
Tape paper templates to the wall first — minutes of planning saves a wall full of extra holes.
FAQs
What is the cheapest DIY wall art I can make?
Free printables are nearly free — print them at a library for under $2 each and use thrifted $1 frames. Washi tape walls skip frames entirely at about $8 in tape. Shop your home for fabric scraps, leftover paint, and pressed leaves, and several projects here cost nothing at all.
How do I make DIY wall art look expensive instead of crafty?
Limit your color palette and repeat one frame finish across every piece — consistency separates handmade from homemade. Keep designs simple, group pieces in odd numbers, and sweat the details: crisp edges and straight lines read as professional at any budget.
Can renters make DIY wall art without damaging walls?
Absolutely. Washi tape peels off cleanly, adhesive strips hold frames up to 16 pounds, and light pieces hang on one removable hook. Leaning art on shelves needs no wall contact at all. Just check strip weight ratings and your lease first.
What size wall art should I hang over a sofa?
Art above a sofa should span about two-thirds of the sofa’s width — roughly 55 to 60 inches over a standard 84-inch sofa. Hang it 6 to 8 inches above the sofa back, centered near eye level. In small rooms, one large DIY piece beats several tiny frames.
How long do these DIY wall art projects take?
Most projects take one to three hours of active work, not counting drying time for paint or plaster. The pressed-leaf prints need about two weeks of pressing between book pages, so start those first. Plan one project per weekend and you will have a full gallery wall in a month.
Beautiful walls do not need a big budget — just creativity and an afternoon. Pick the DIY wall art project that speaks to you and enjoy making something truly yours.
Save this post and share it with a friend staring at blank walls too. Handmade art tells your story best.
What readers are saying
No comments yet — yours could be the first.