 My Small Nest
Your kitchen counters are not a parking lot — but between the coffee maker, air fryer, stand mixer, and blender, they sure look like one. Small appliances are the hardest kitchen clutter to tame because they’re bulky, heavy, and used just often enough to resist the basement.
These 16 small appliance organization ideas give every gadget a designated home, from appliance garages that hide the daily lineup to pull-out shelves that save your back. Whether you rent, own a tiny kitchen, or just want the counters back, there’s a system here that fits.
1. Build a Dedicated Appliance Garage
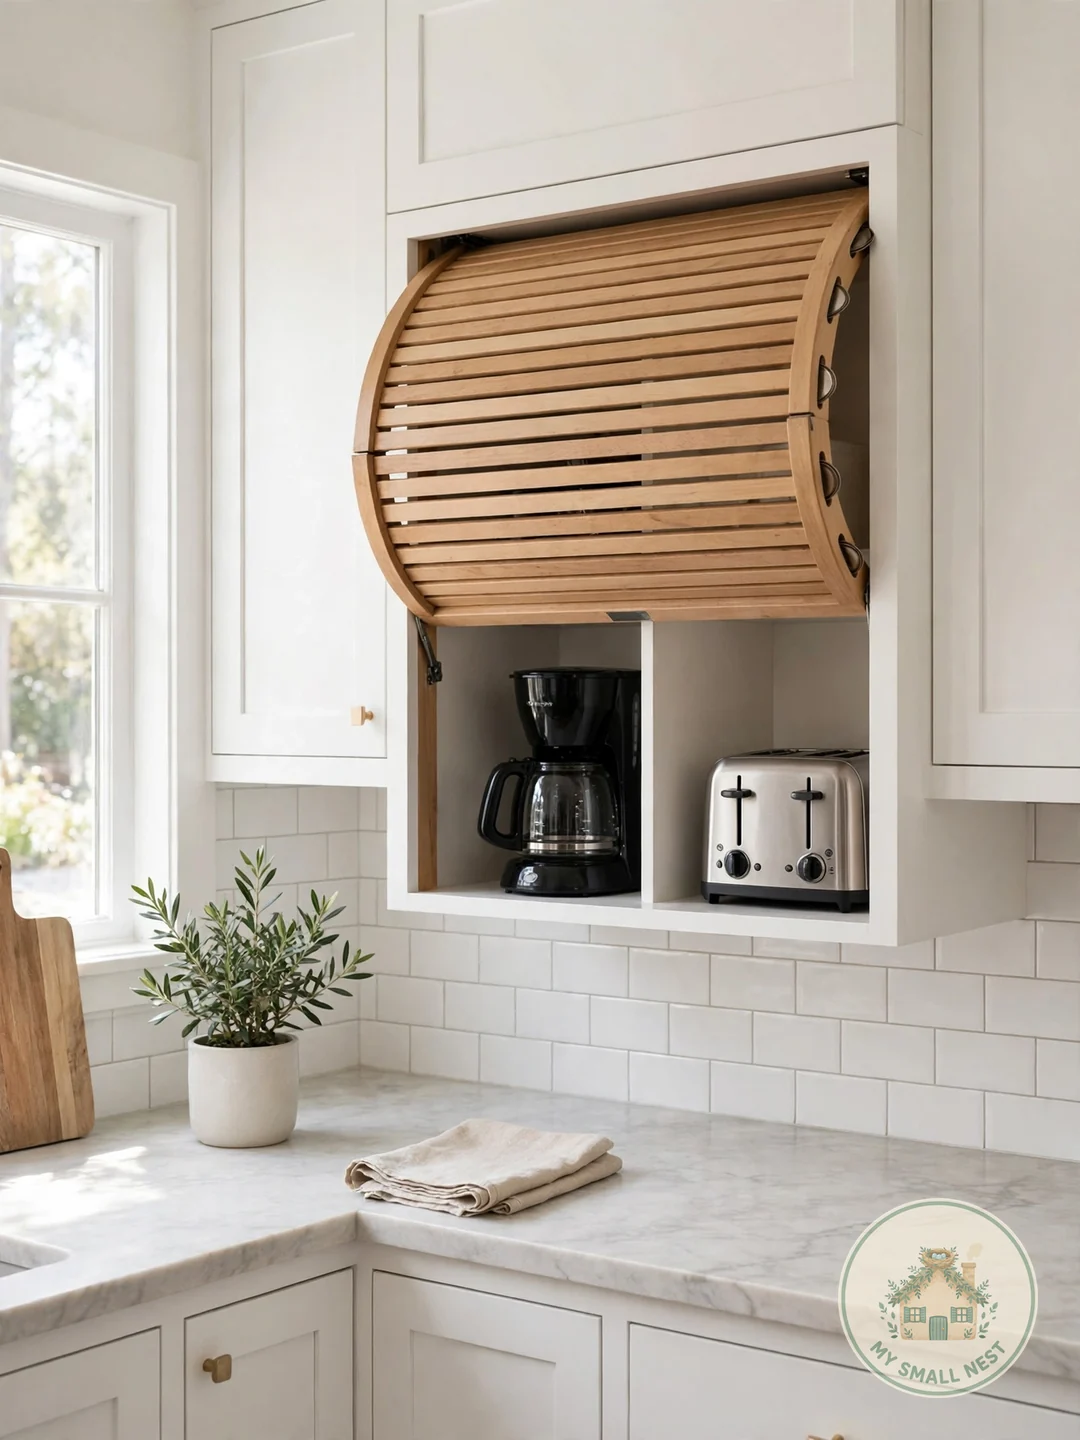
An appliance garage — a countertop cabinet with a lift-up or tambour door — hides your daily appliances in plain sight. Coffee maker, toaster, and blender live inside, plugged in and ready; close the door and the counter looks pristine. It’s the single most transformative small appliance organization idea for cluttered counters.
Retrofitting is easier than it sounds: a 24-inch-wide wall cabinet mounted on the countertop (anchored to studs) with the bottom shelf removed creates the garage; add a tambour or flip-up door kit ($60–$120 at Home Depot or Rockler). Leave the back open or drill a cord pass-through so appliances stay plugged in, and plan 18–24 inches of interior height for taller items like blenders. Make it work: install a small power strip inside the garage so three appliances share one outlet without cord spaghetti.
 Pin it
2. Store Heavy Appliances on Pull-Out Shelves
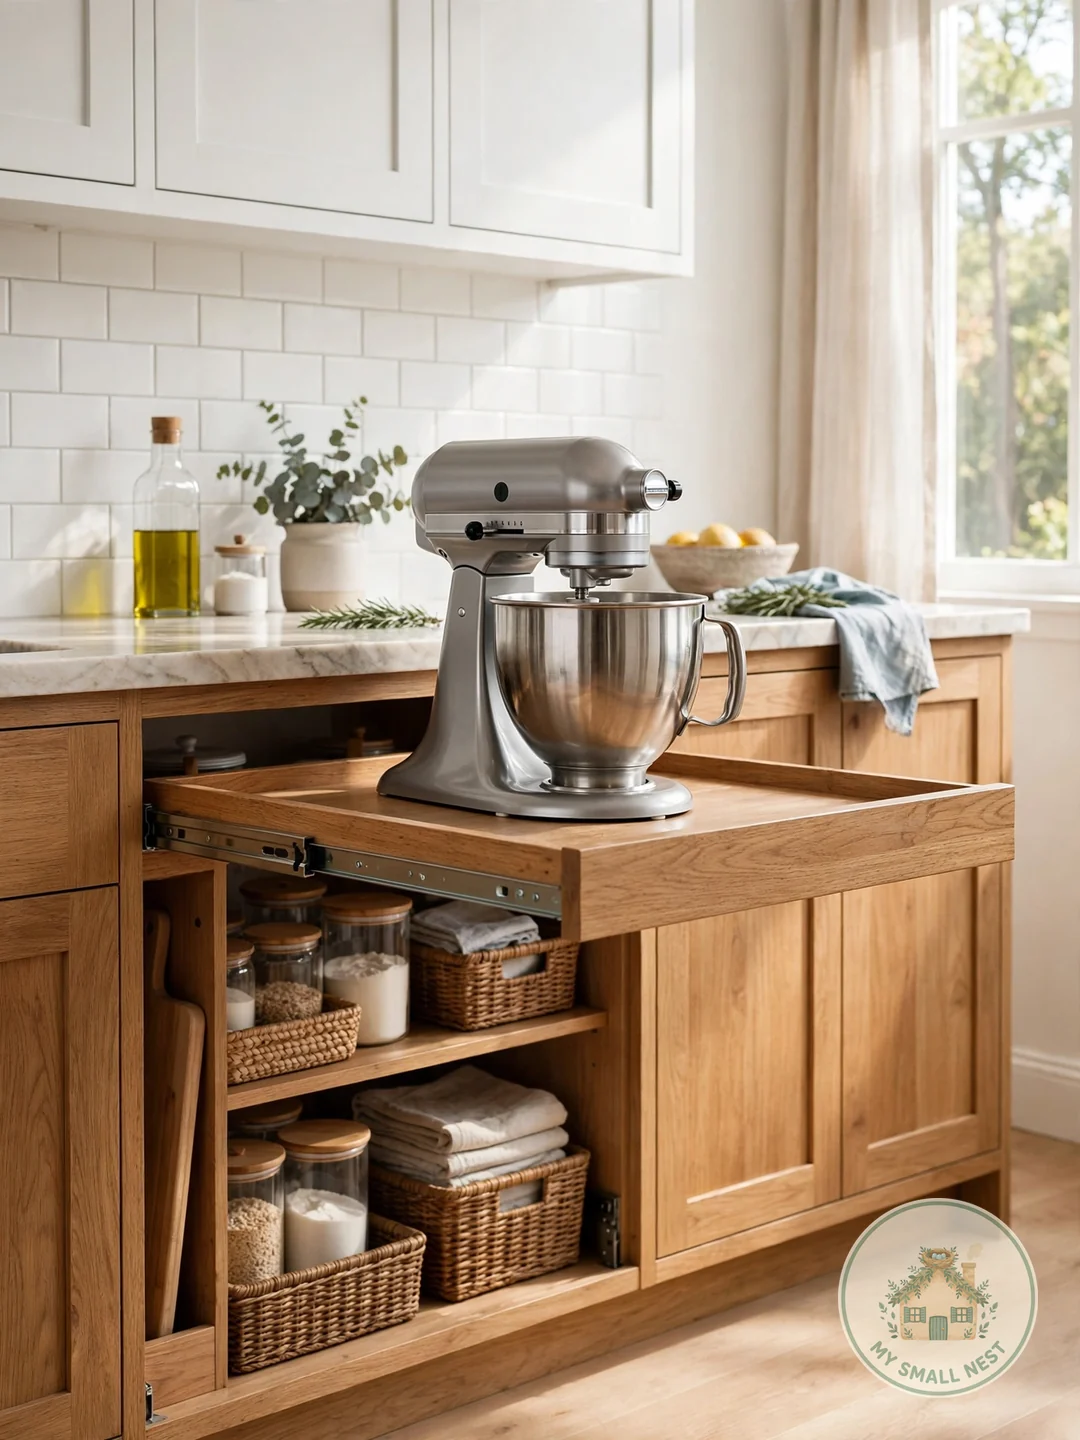
Stand mixers and food processors weigh 20+ pounds — lifting them from a deep cabinet is a back injury waiting to happen. A pull-out shelf ($25–$60 for a hardware kit at Lowe’s, or a $15–$25 slide-out wire basket) mounted in a lower cabinet brings the appliance to you at counter height.
Measure your cabinet interior before buying: most base cabinets are 22–24 inches deep, and full-extension slides rated for 75–100 pounds handle even a KitchenAid Pro. If you rent, a freestanding pull-out organizer that sits on the existing shelf (no screws) gives you 80% of the benefit with zero holes. Make it work: keep the mixer bowl and attachments on the same shelf so setup takes seconds, not a scavenger hunt.
 Pin it
3. Give Every Appliance Its Own Cabinet Zone
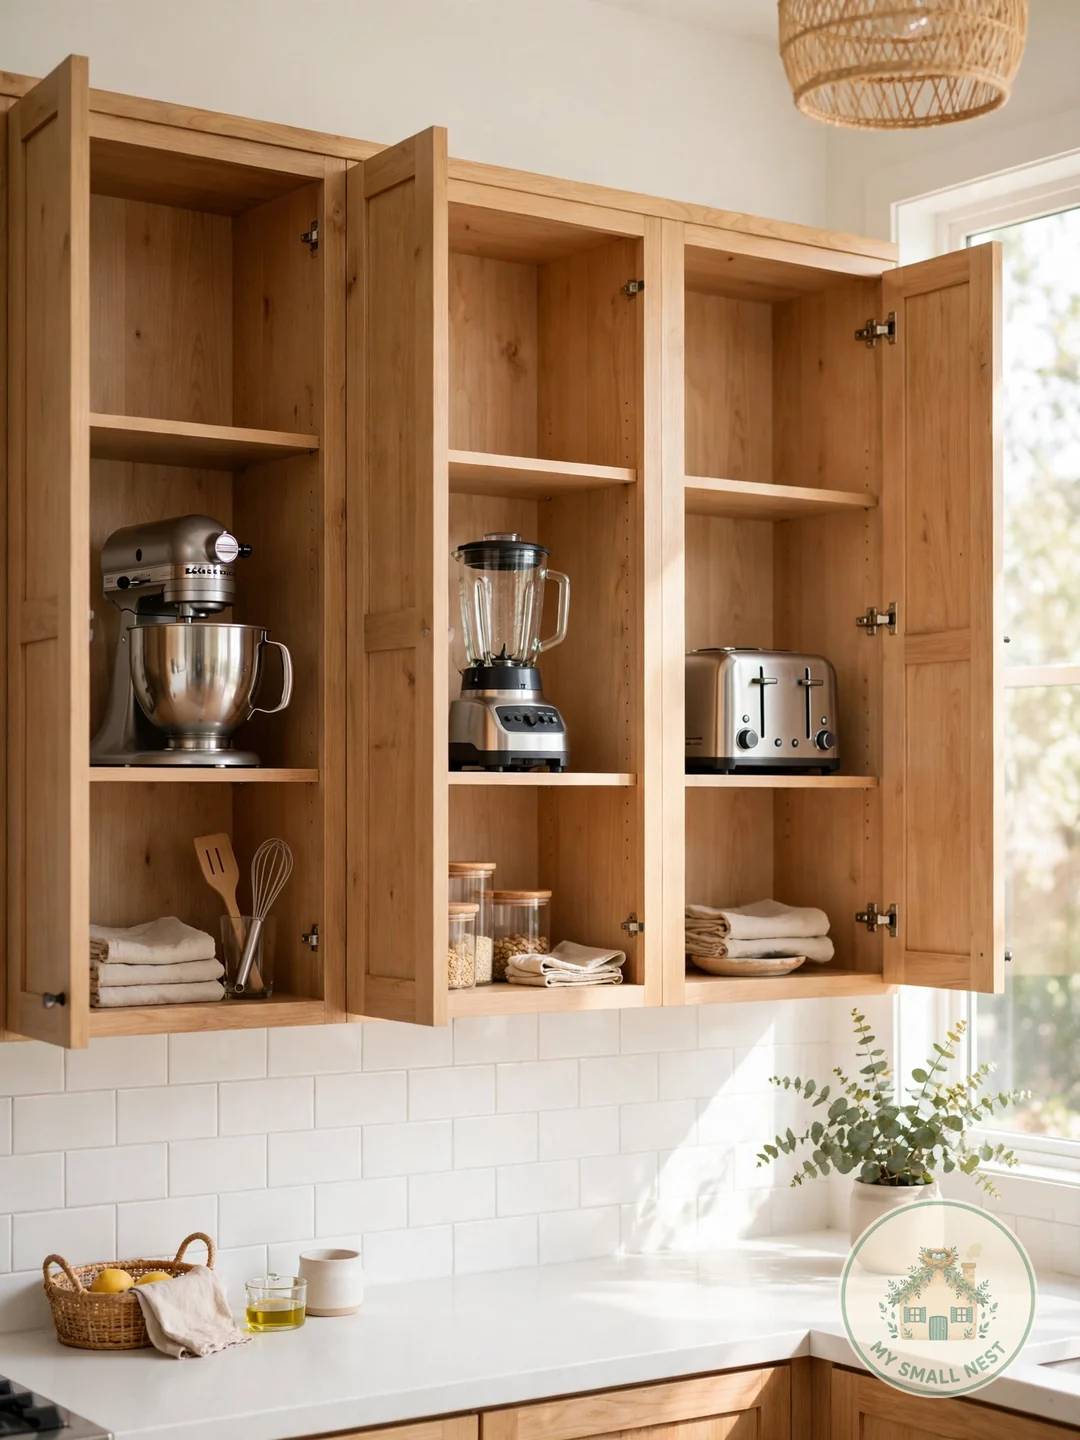
Appliances pile up when they have no assigned home. The fix is embarrassingly simple: designate one cabinet or shelf per appliance category — baking (mixer, food processor), morning (coffee, toaster), and dinner (air fryer, Instant Pot). When everything has a zone, putting things away takes seconds and the “where does this go?” pile disappears.
I tried this in my studio, where I have exactly two cabinets for appliances: baking gear got the left cabinet, daily drivers got the right, and the rule is nothing lives on the counter except the coffee maker. Two cabinets, zero chaos — the system works because the zones are few enough to remember. Make it work: use shelf liners in different colors per zone so the system is visible even when cabinets are open.
 Pin it
4. Turn the Pantry Into an Appliance Station
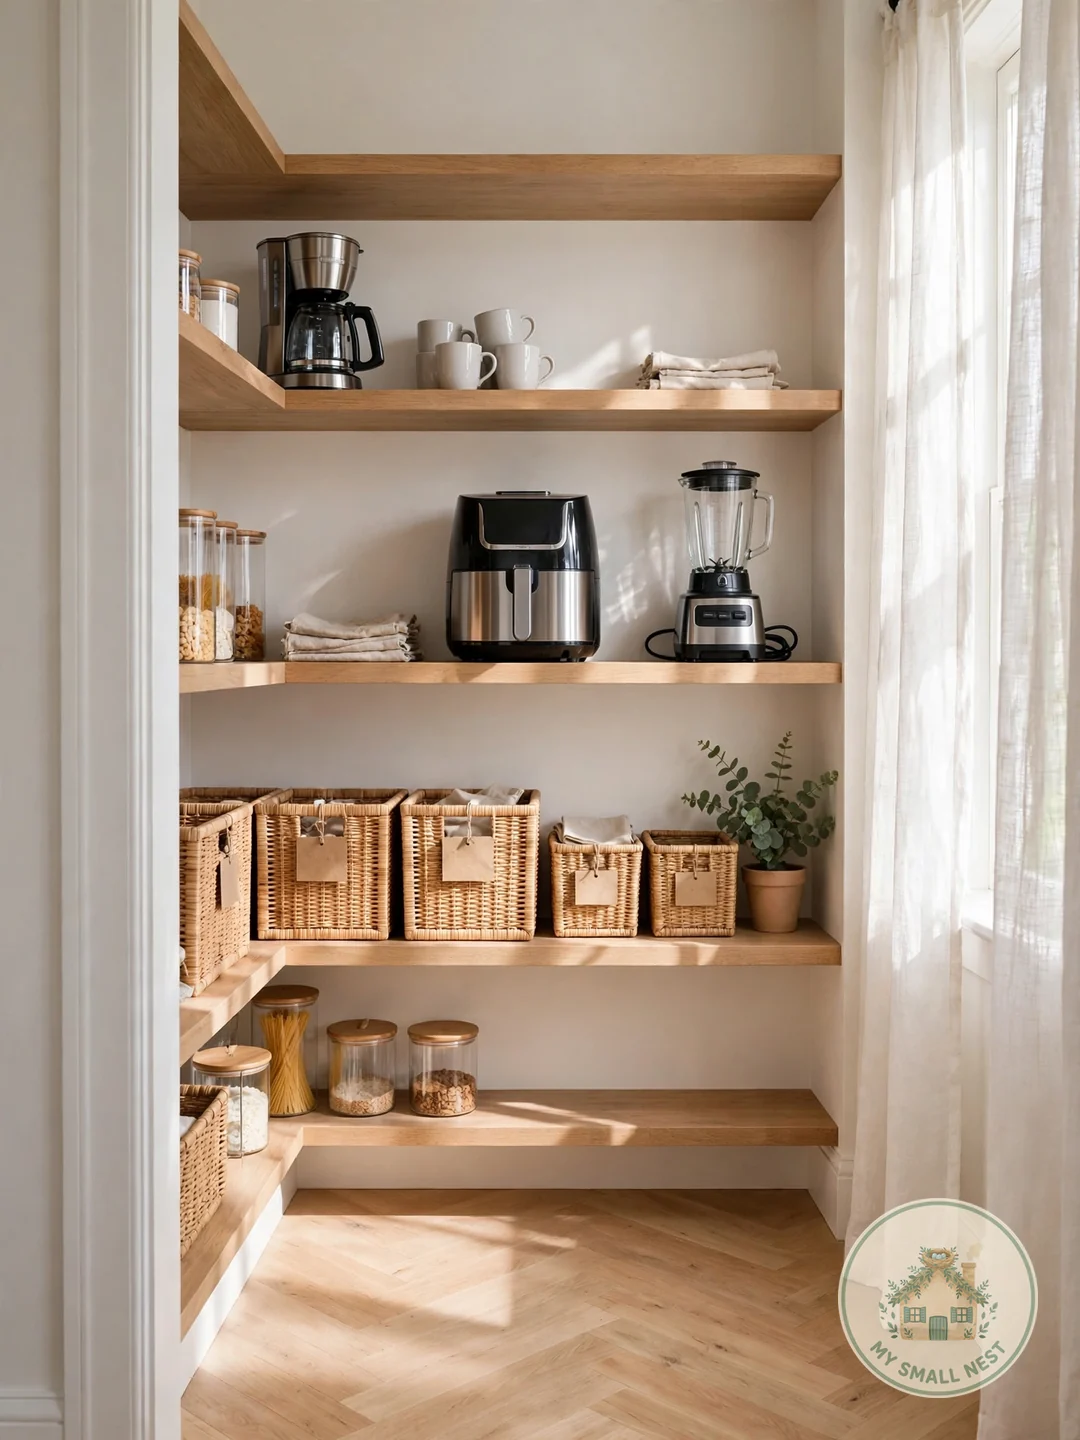
If kitchen cabinets are full, the pantry can absorb the appliance overflow. Dedicate one or two pantry shelves to small appliances you use weekly — the waffle maker, the slow cooker, the bread machine — and keep daily drivers in the kitchen proper.
Reinforce pantry shelves if needed: most wire pantry shelving holds 25–50 pounds per shelf, plenty for small appliances, but check the brackets on older units. A $12–$18 shelf liner stops appliances from sliding and protects the wire coating. Make it work: store each appliance with its manual’s quick-start card taped inside the door — future-you won’t remember the Instant Pot settings.
 Pin it
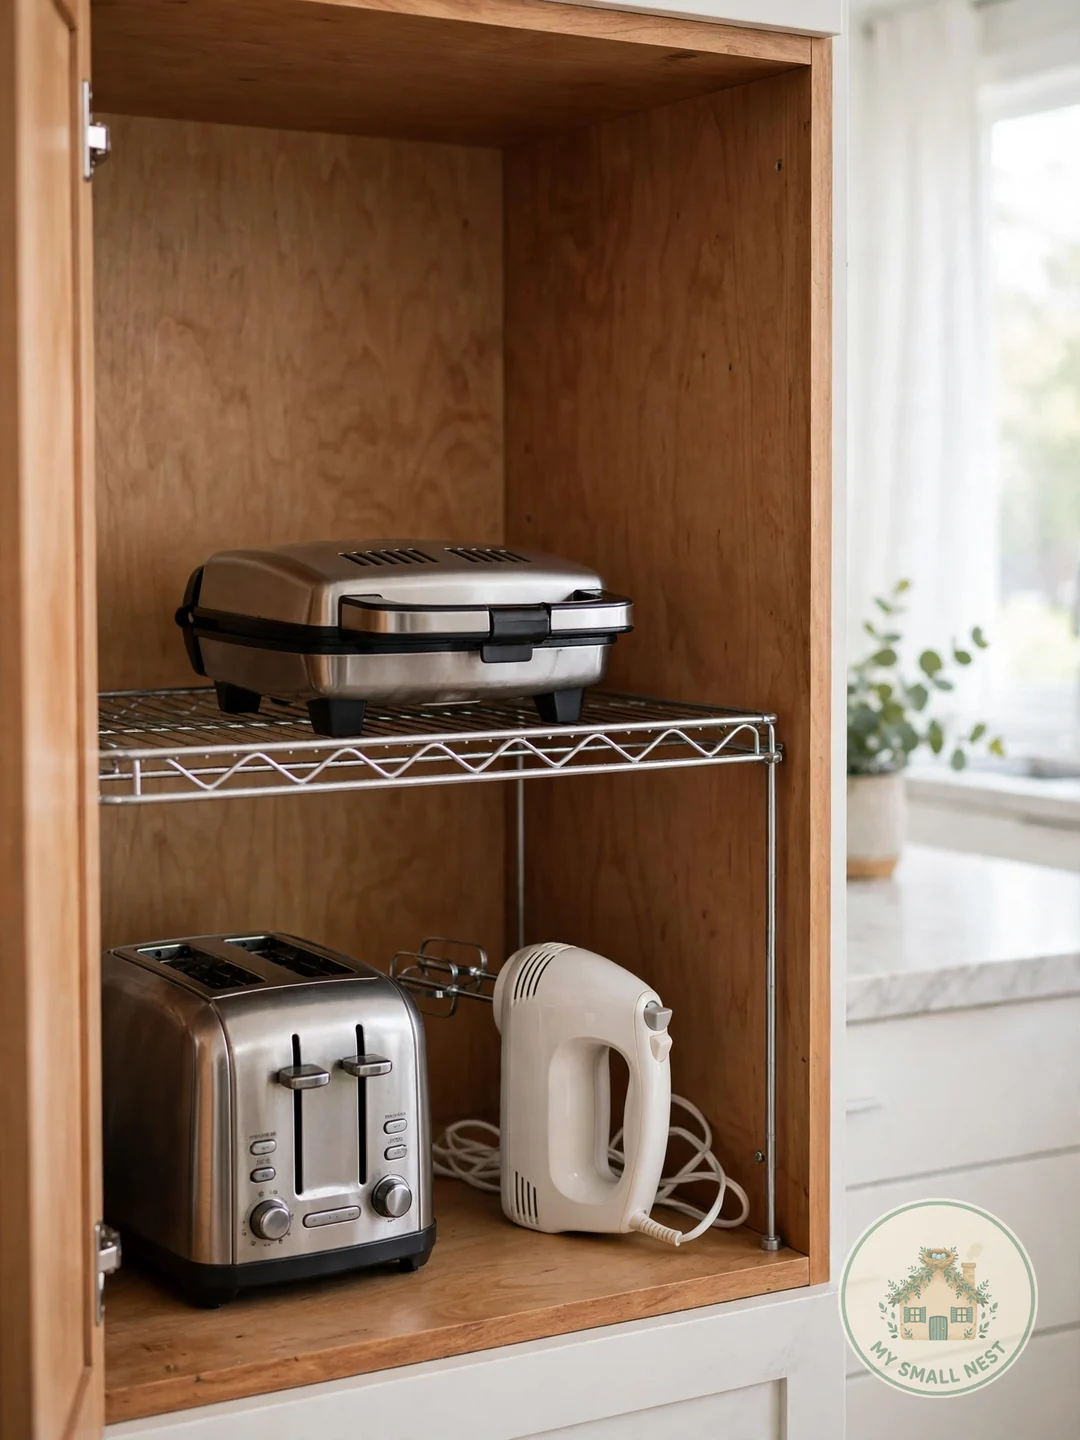
5. Double Storage With Cabinet Risers
Cabinet shelves are built for tall cereal boxes, not short appliances — risers reclaim the wasted air. A sturdy freestanding cabinet shelf or riser ($12–$25 at Target or Amazon) creates a second level inside a deep cabinet, so the hand mixer lives above the blender instead of beside it.
Look for risers with at least 8–10 inches of clearance underneath for taller gadgets, and check the weight rating (most hold 20–30 pounds). Bamboo risers ($18–$28) look better if the cabinet stays open, while wire ones maximize airflow around warm appliances. Make it work: put the least-used appliance on the riser’s top level — you’ll reach for it less, so the slight inconvenience is fine.
 Pin it
6. Store Seasonal Appliances Separately
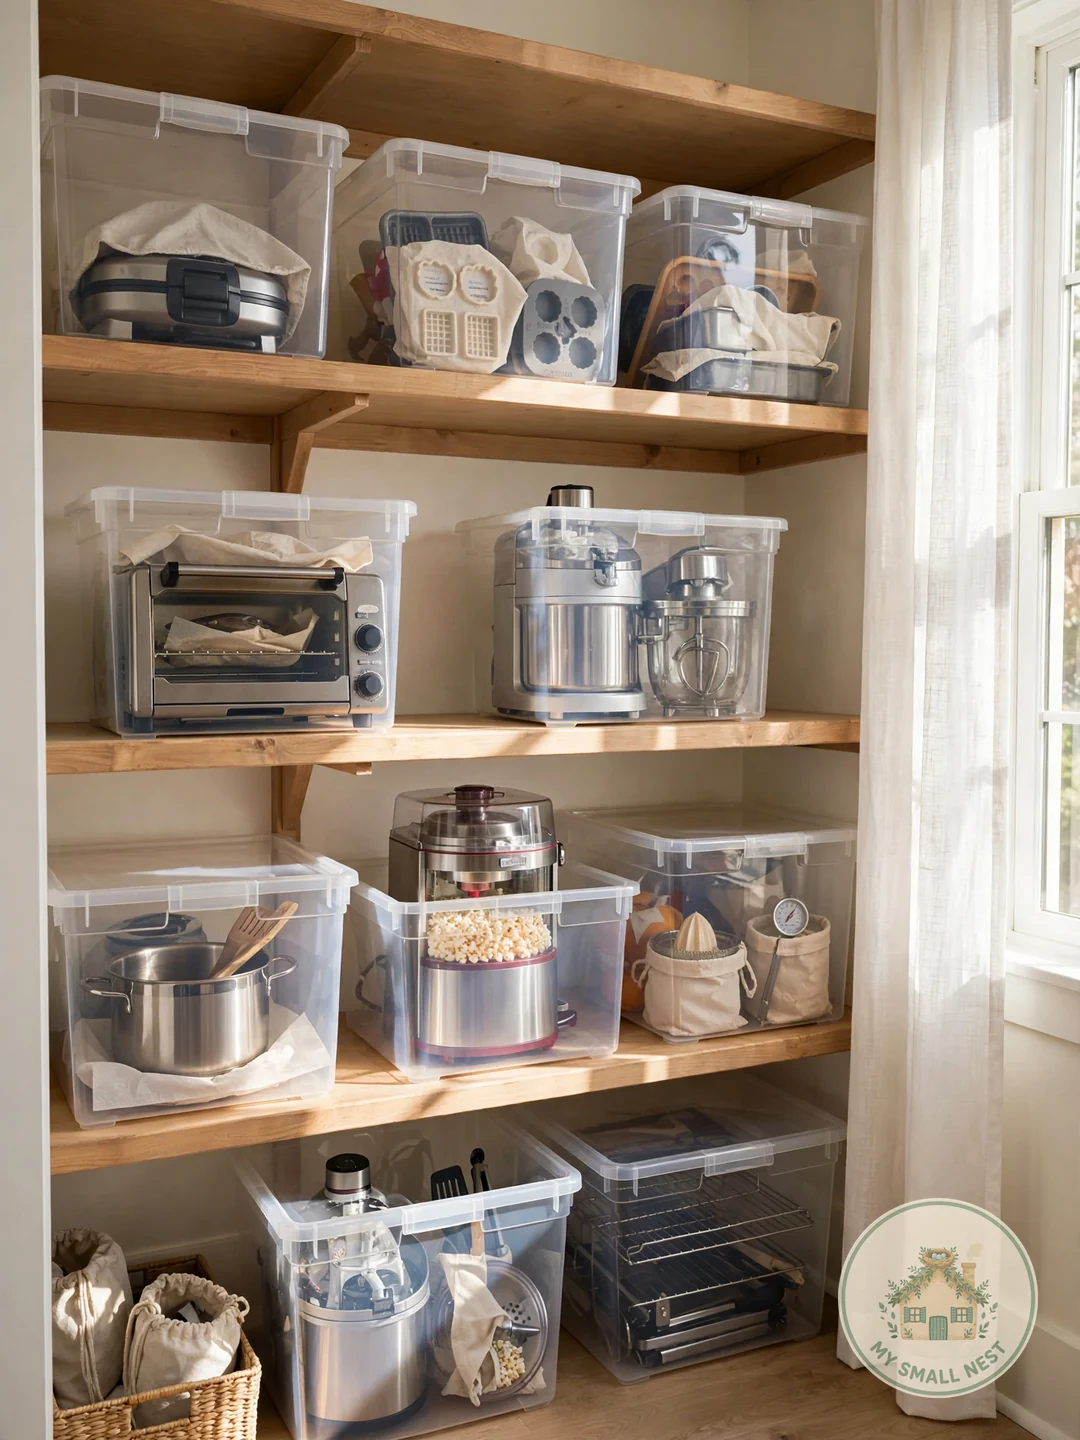
The ice cream maker you use twice a summer doesn’t deserve prime kitchen real estate. Seasonal and occasional appliances — the turkey roaster, the fondue set, the extra slow cooker — belong in secondary storage: a hall closet, the top of a wardrobe, or a labeled bin in a storage area.
I tried this in my studio with a $14 lidded bin on top of the wardrobe: the waffle maker and the ice cream attachment live there eleven months a year, and honestly I enjoy them more now because getting them down feels like an occasion. Wrap cords with a $3 Velcro strap set and tape the attachments to the appliance so nothing gets separated. Make it work: set a phone reminder for the season each appliance belongs to — “get down the ice cream maker” every June.
 Pin it
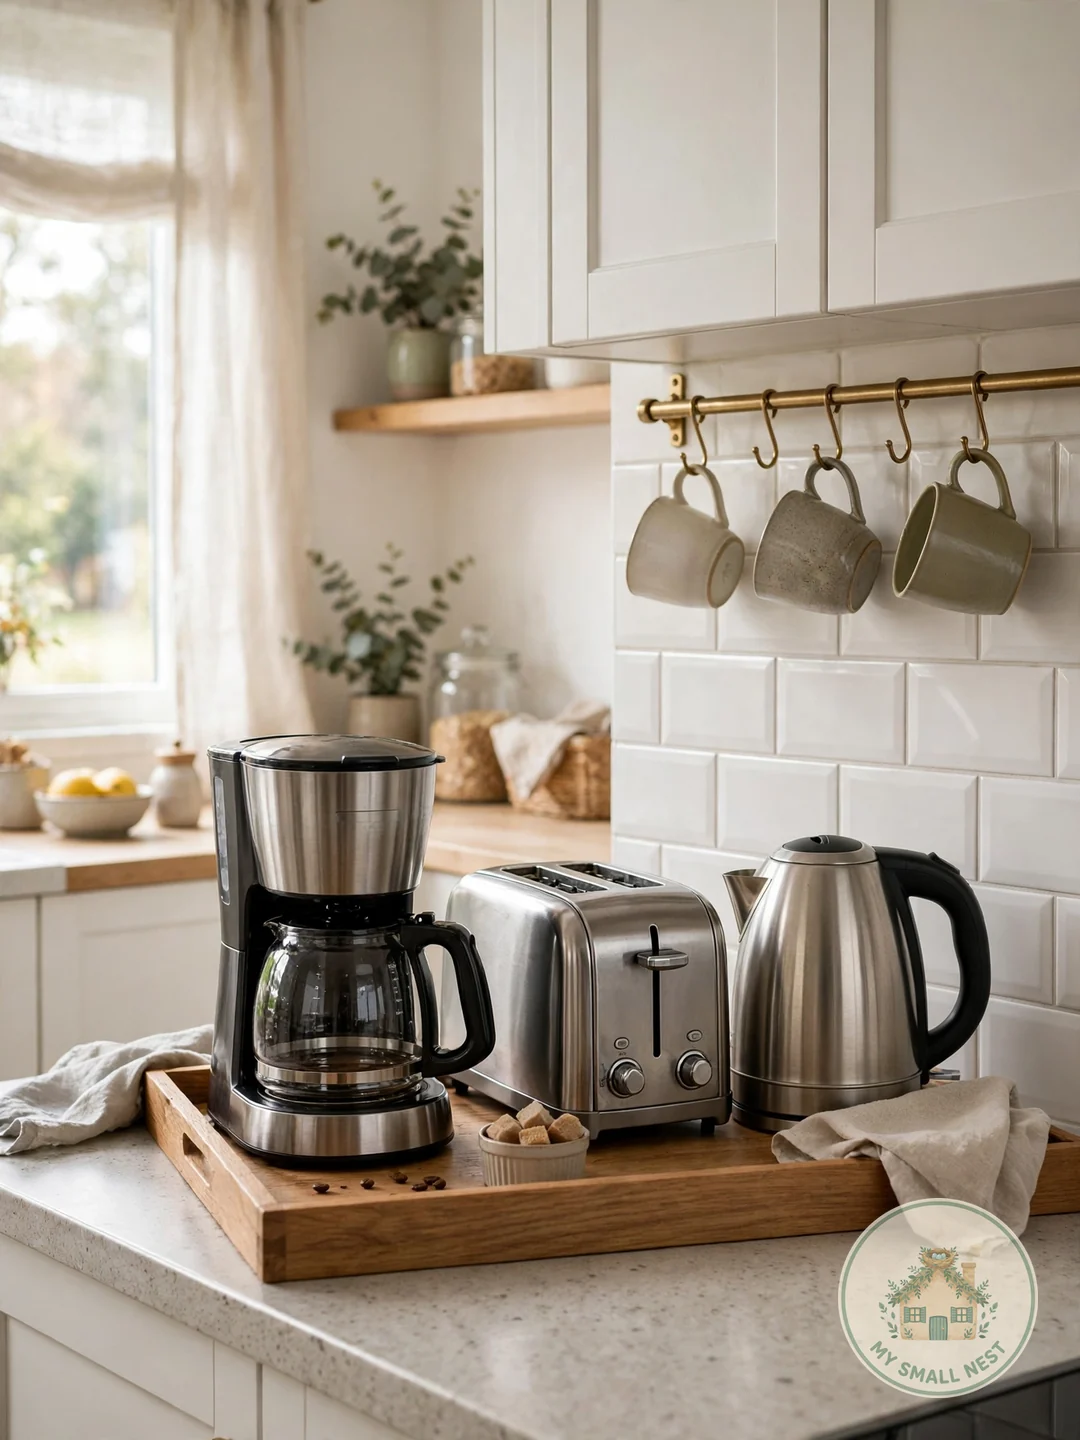
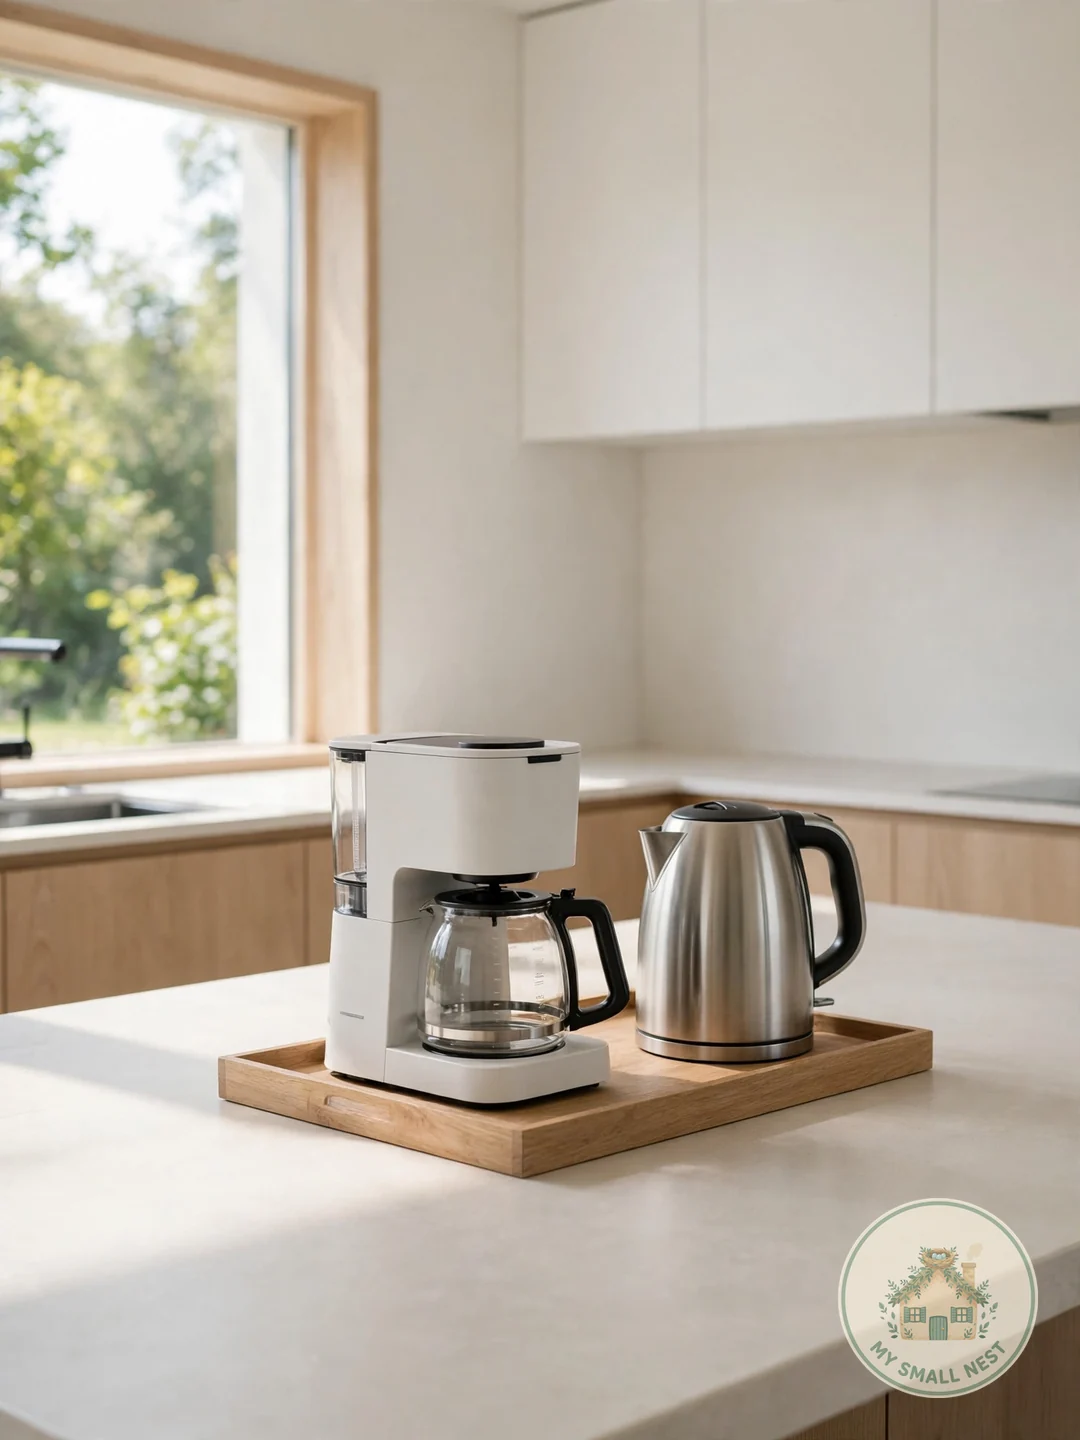
7. Create a Breakfast Appliance Zone
Group your morning appliances — coffee maker, toaster, kettle — into one breakfast zone and the AM routine becomes beautifully automatic. Everything you touch before 8 a.m. lives within one 24-inch stretch of counter, ideally near the mugs, the coffee, and the bread.
Corral the zone on a large tray or low-sided basket ($15–$25) so crumbs stay contained and the whole station can be lifted for counter wiping. If counter space is truly zero, a wall-mounted shelf ($20–$35) above the zone holds mugs and coffee supplies, freeing the counter for the appliances themselves. Make it work: keep a small trash bowl in the zone for coffee grounds and toast crusts — it saves a dozen trips to the bin every morning.
 Pin it
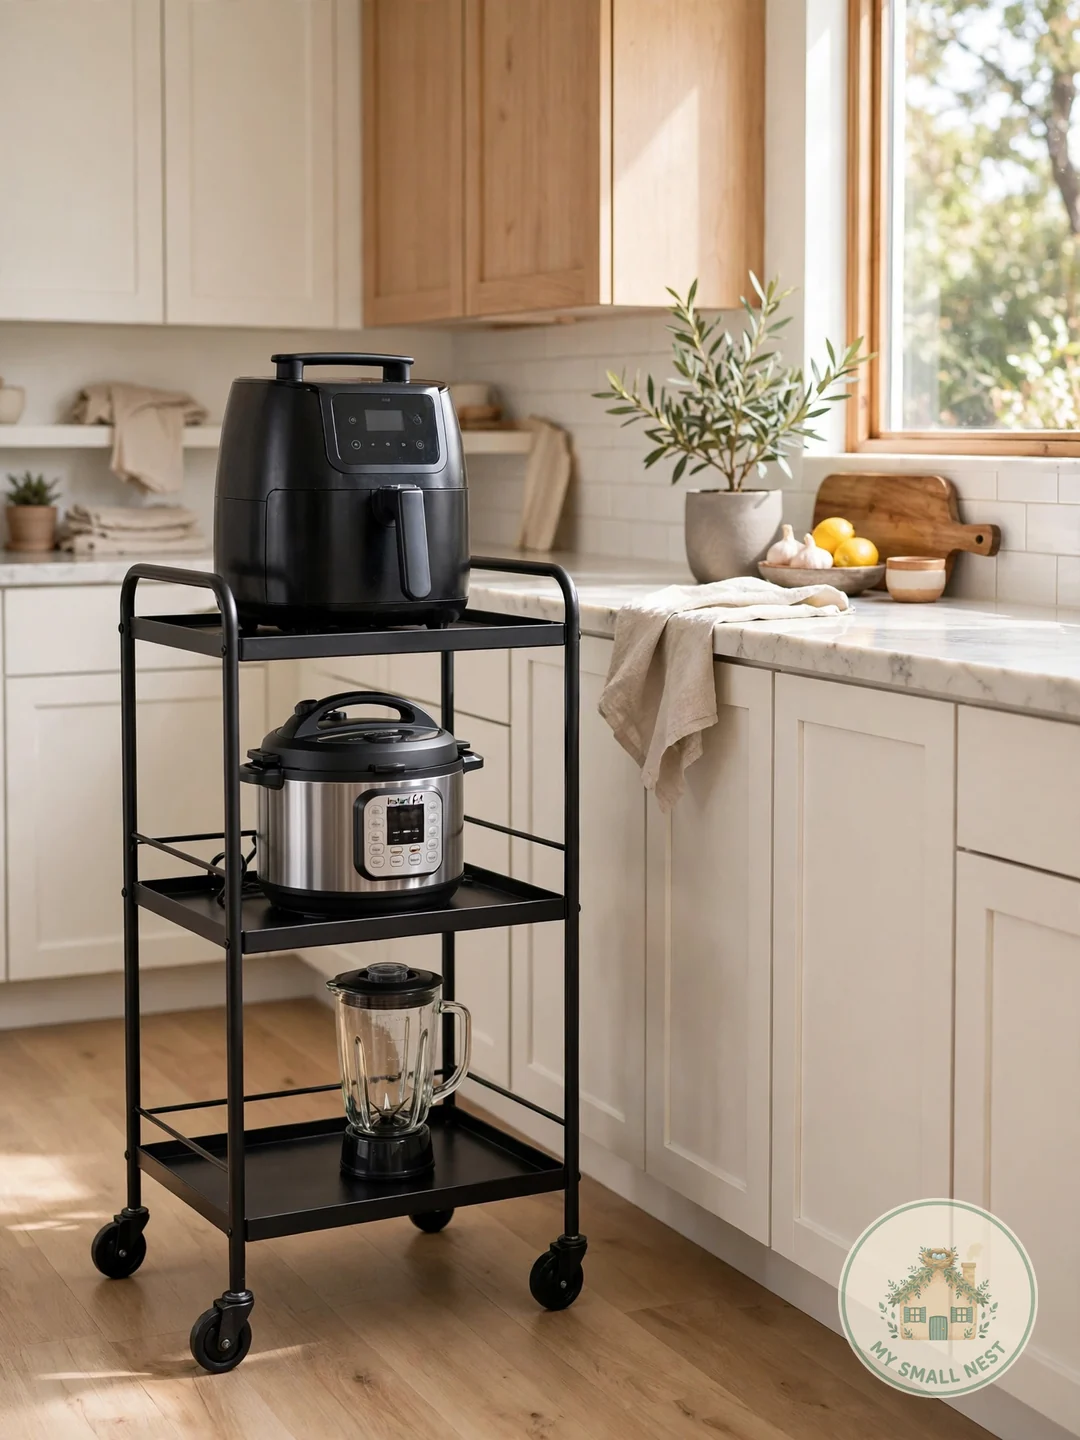
8. Roll In a Utility Cart for Overflow
A sturdy rolling utility cart ($35–$70 for a 3-tier metal cart at IKEA’s RASKOG or Target) is the pressure valve for appliance overload. Park the air fryer, Instant Pot, or stand mixer on it, wheel it to the counter when cooking, and roll it into a closet or corner when done.
Check the weight rating — most 3-tier carts hold 30–45 pounds total, so distribute heavy appliances across tiers rather than stacking them. For renters, a cart is pure gold: zero installation, zero holes, and it moves with you. Make it work: add adhesive cord clips ($6) to the cart’s side so plugs stay put during the roll.
 Pin it
9. Swap Lower Cabinets for Deep Drawers
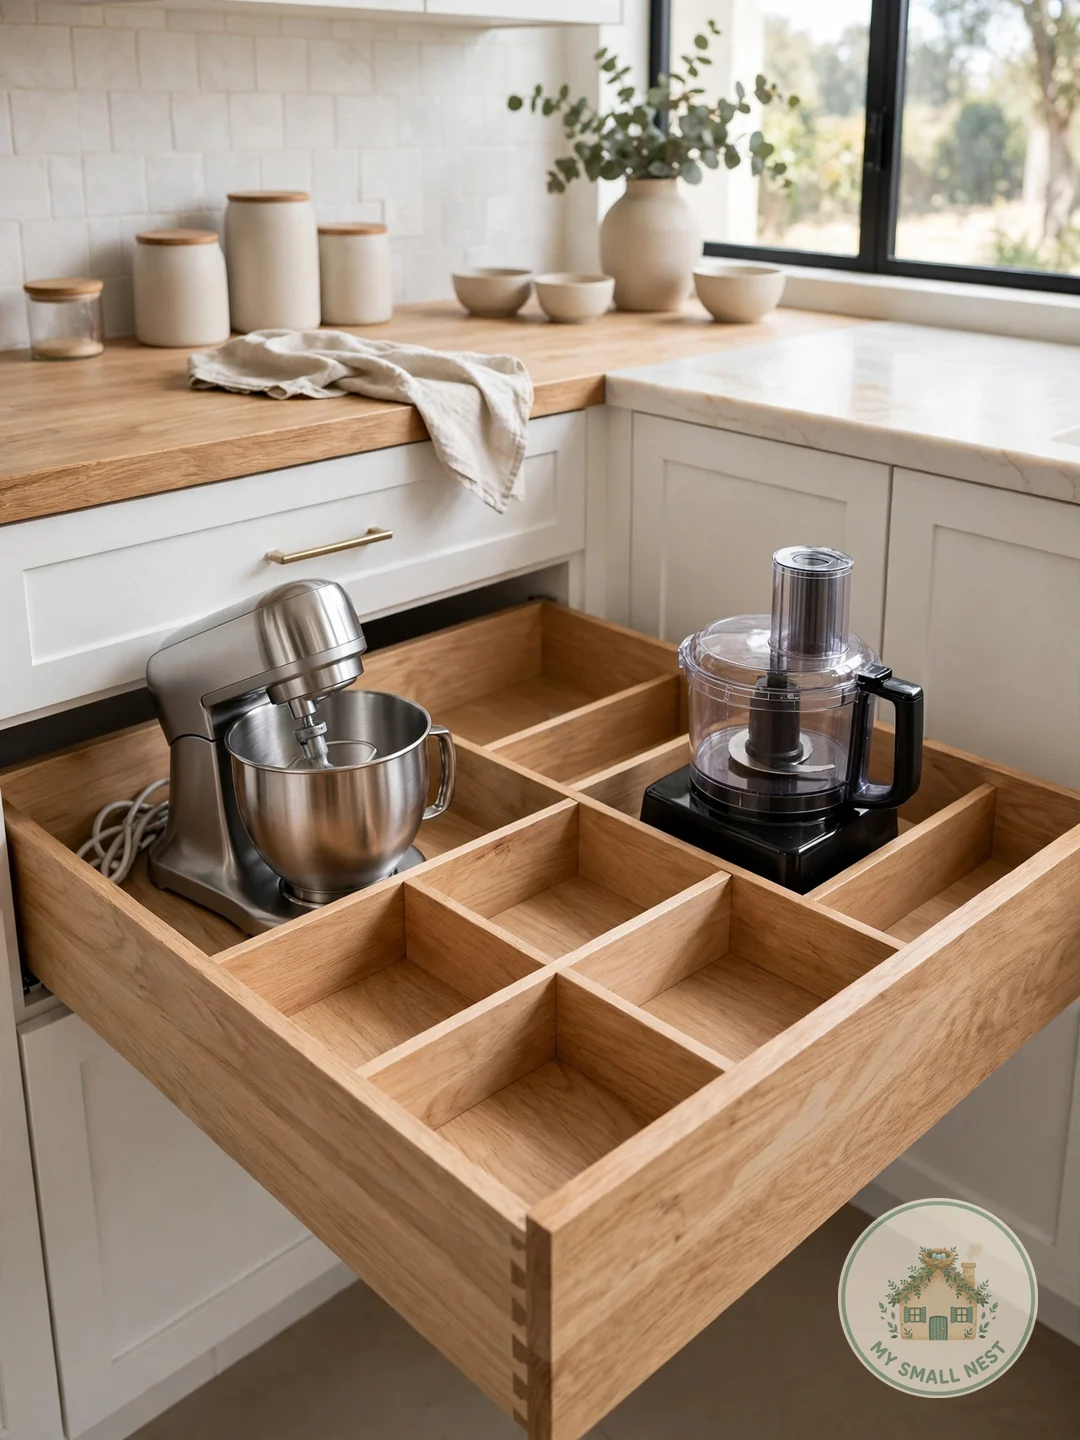
If you’re renovating — or lucky enough to choose — deep drawers beat lower cabinets for appliances every time. A 24-inch-deep drawer with full-extension slides lets you see and reach everything without kneeling into a dark cabinet cave, and most small appliances fit standing up in a standard 10-inch-deep drawer box.
I tried this in my studio’s one deep drawer: the food processor, immersion blender, and all their attachments live there in a $12 drawer organizer, and I use the food processor three times more often than when it lived in a cabinet. The visibility is the whole trick — appliances you can see are appliances you use. Make it work: line deep drawers with non-slip liner ($8 a roll) so appliances don’t slide when the drawer closes.
 Pin it
10. Spin Small Gadgets on a Lazy Susan
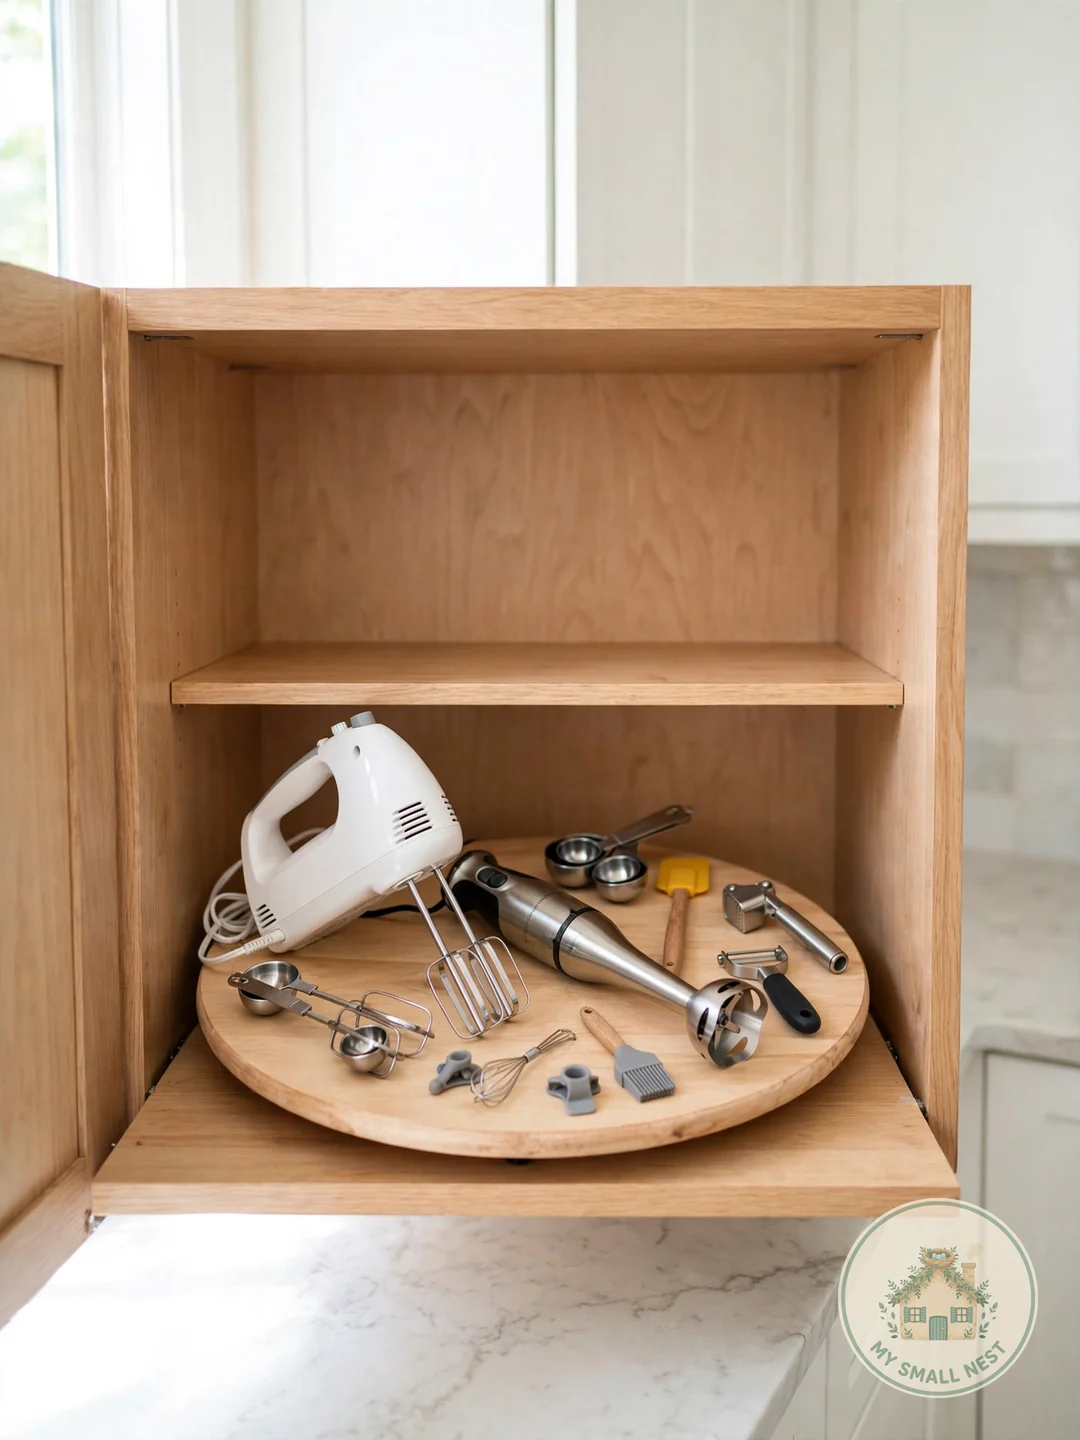
Hand mixers, immersion blenders, milk frothers, and spice grinders are the small gadgets that vanish into cabinet corners. A 12-inch lazy Susan ($10–$18 at Target or Walmart) on a pantry or cabinet shelf spins them all into reach with one flick.
For deeper cabinets, a two-tier turntable ($15–$25) doubles the capacity in the same footprint. Look for one with a raised rim so tall items don’t topple mid-spin. Make it work: group by task — all the coffee gadgets on one turntable, all the baking gadgets on another — so the spin always lands on something relevant.
 Pin it
11. Hide Appliances in a Kitchen Hutch
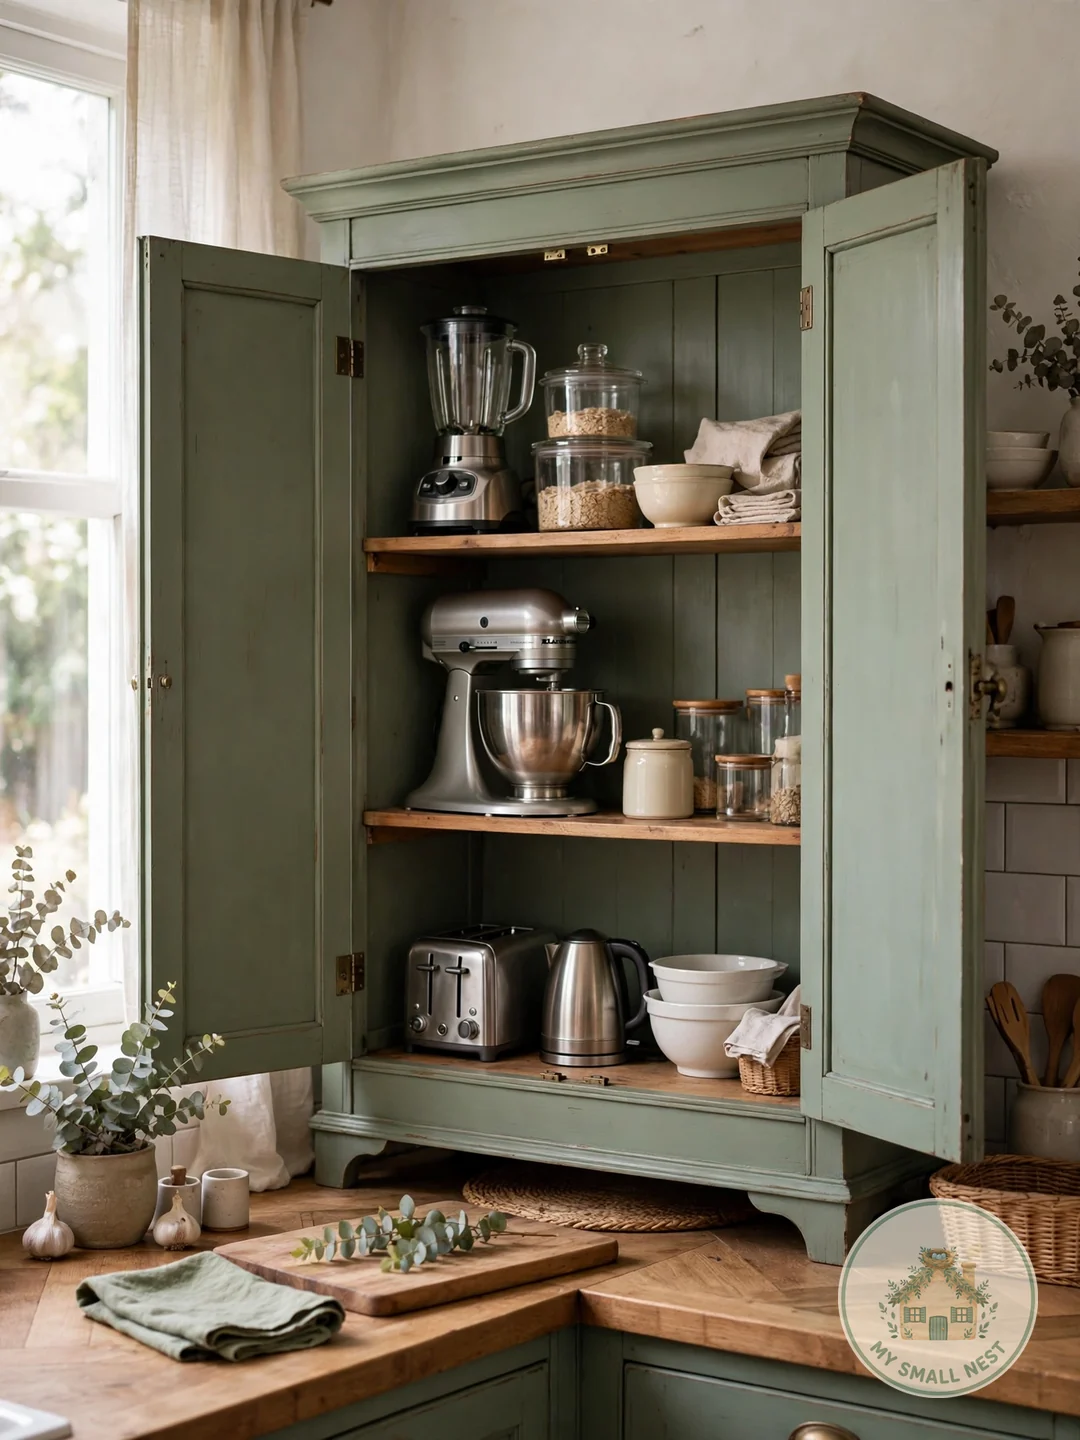
A kitchen hutch or freestanding cabinet with doors ($80–$200 at IKEA, Facebook Marketplace, or thrift stores) creates an entire appliance station without touching your existing cabinets. The upper shelves hold daily appliances behind closed doors; the lower section swallows the bulky occasional-use items.
Measure your space first — a 30-inch-wide hutch fits most kitchen nooks — and anchor it to the wall with anti-tip straps ($8), especially with heavy appliances up top. For renters, a hutch is ideal: it’s furniture, not a renovation, and it moves with you. Make it work: add a $10 LED puck light set inside so the hutch interior doesn’t become a dark cave.
 Pin it
12. Store Baking Appliances Near Baking Supplies
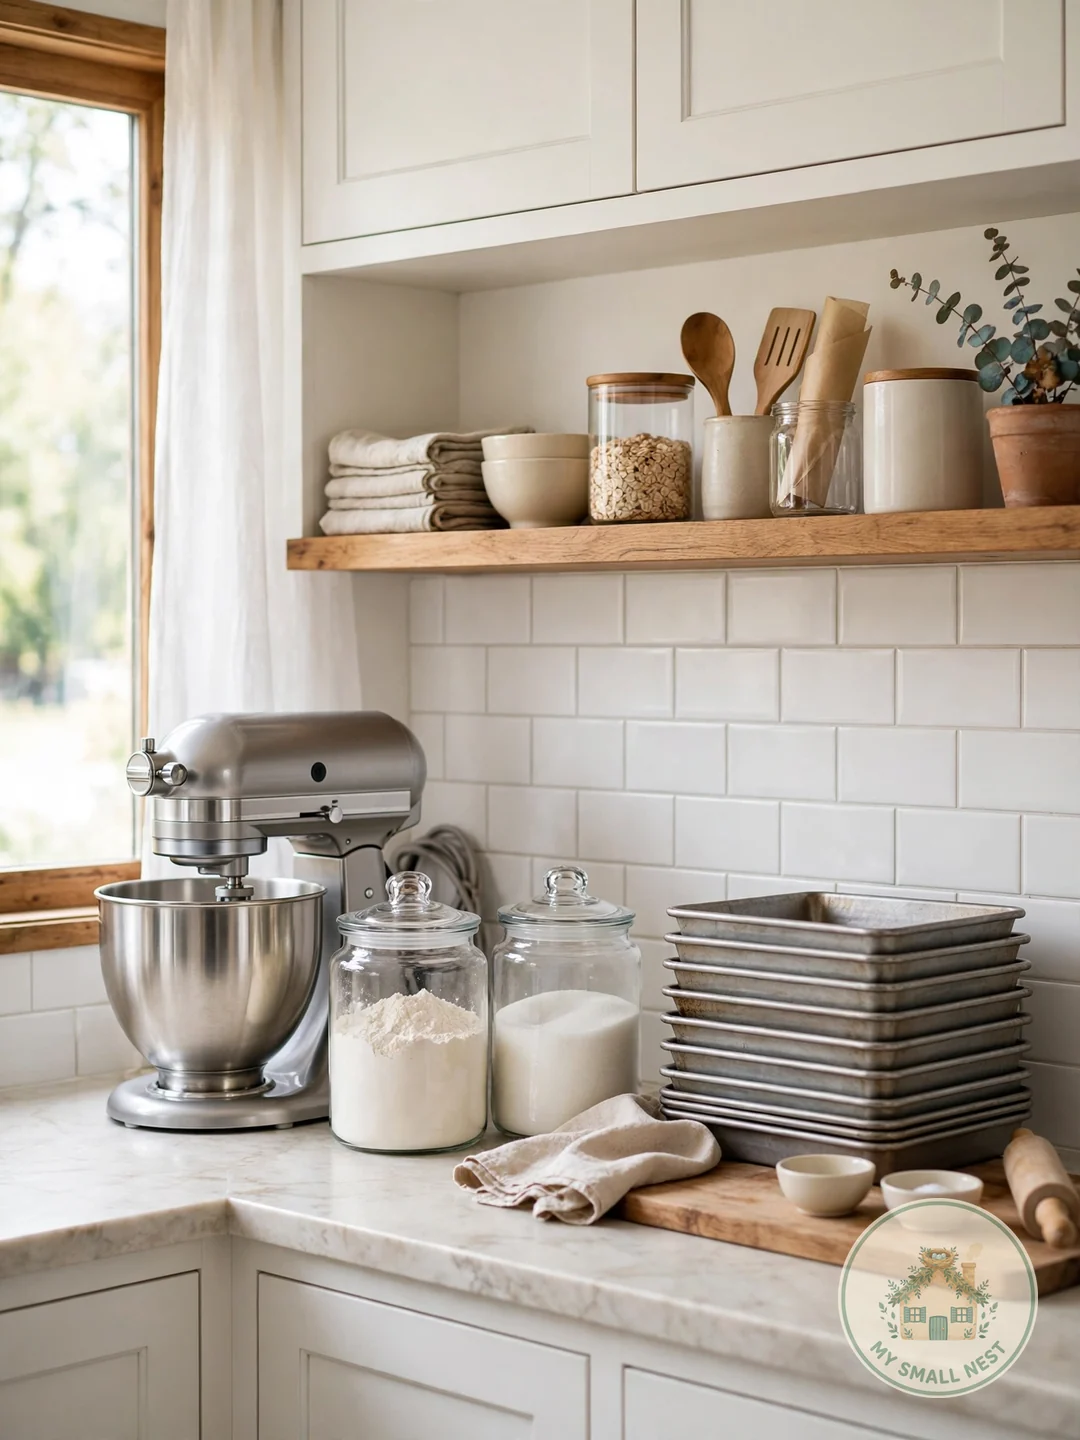
Store baking appliances near baking supplies and you’ll cut your prep time in half. The stand mixer, hand mixer, and food scale live in the cabinet closest to the flour, sugar, and baking pans — not scattered wherever they happened to fit on move-in day.
I tried this in my studio by moving the flour, sugar, and mixing bowls into the cabinet directly above the mixer’s pull-out shelf: baking went from a 15-minute setup excavation to a 2-minute grab-and-go, and I bake twice as often now. Map your kitchen by task — baking zone, coffee zone, dinner zone — and let each zone’s appliances live where the work happens. Make it work: decant flour and sugar into clear canisters ($12–$20 for a set) so the baking zone looks as good as it functions.
 Pin it
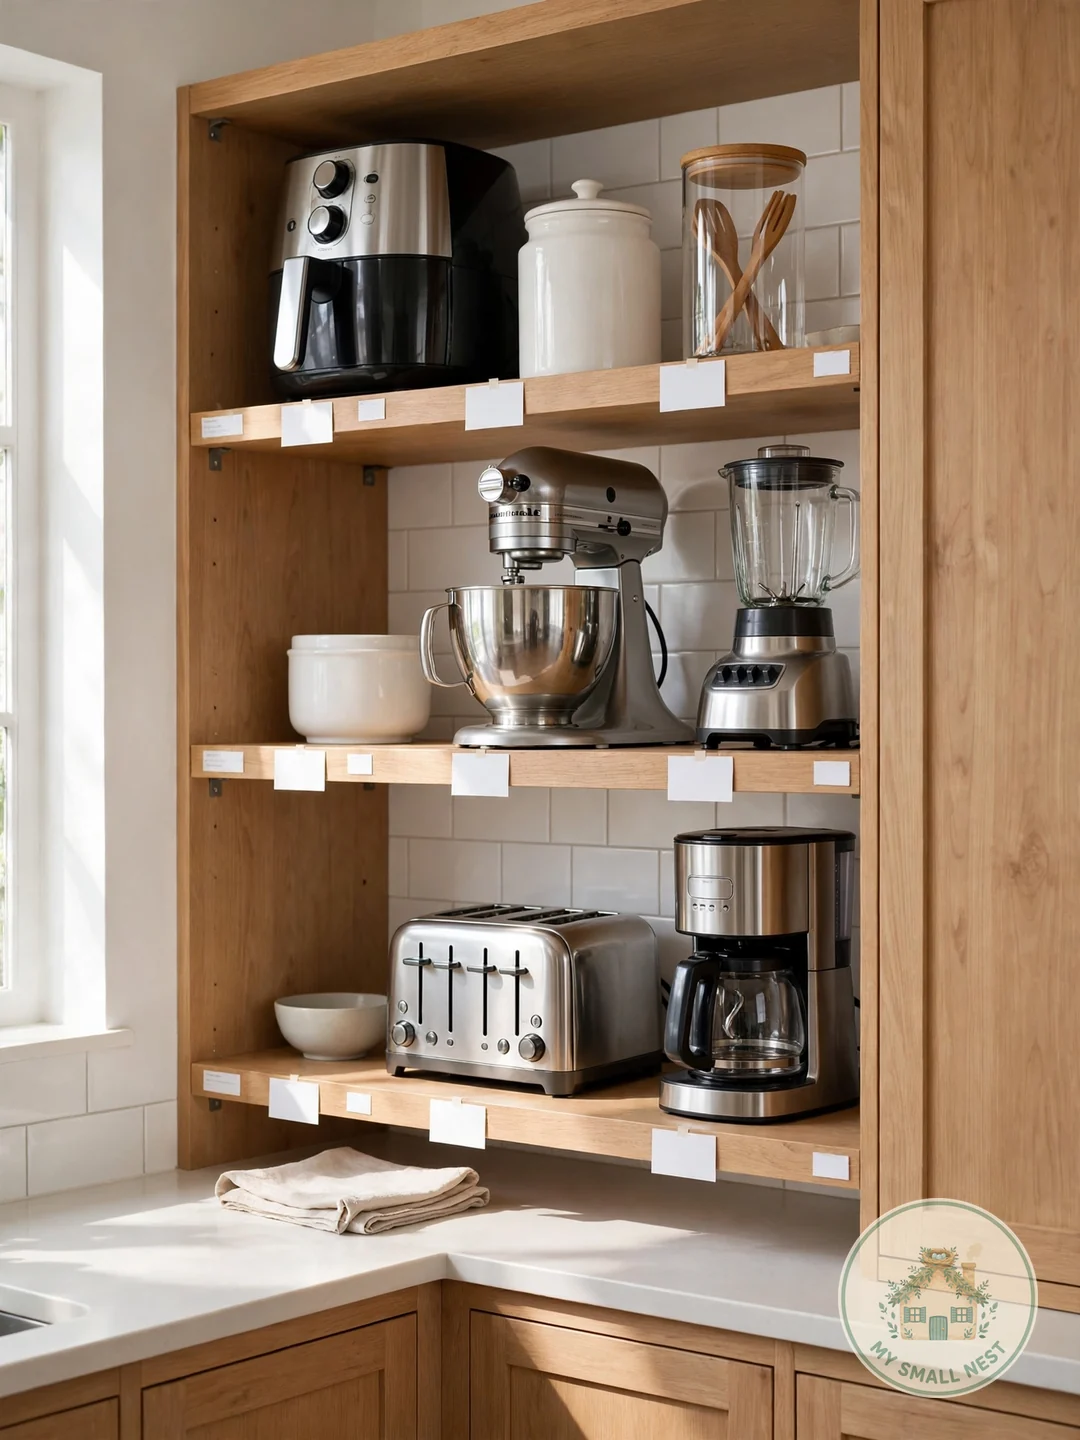
13. Label Every Appliance Zone
Labels sound fussy until you live with someone who puts the blender where the toaster goes. A $10 label maker (or $5 chalkboard labels) marking each appliance zone — “coffee,” “baking,” “blenders” — makes the system self-explanatory for roommates, partners, and future-you at 6 a.m.
Label the shelf edge, not the appliance: zones change, and relabeling a shelf takes seconds. For open shelving, small hanging tags ($6 for a pack) keep the look tidy. Make it work: add the “return rule” to the label — e.g., “coffee zone: everything back after morning brew” — so the system maintains itself.
 Pin it
14. Limit Counters to Daily Essentials Only
The fastest clutter fix is subtraction: limit counters to daily essentials only. For most households that’s the coffee maker and maybe the toaster — everything else earns its counter spot by being used at least five days a week, or it lives behind a door.
Be honest about “daily”: the air fryer you use twice a week is a cabinet appliance, not a counter appliance. Each item you remove gives the remaining ones visual breathing room, and wiping the counter takes thirty seconds instead of five minutes of appliance-shuffling. Make it work: do a 2-week counter audit — anything untouched for 14 days gets relocated, no debate.
 Pin it
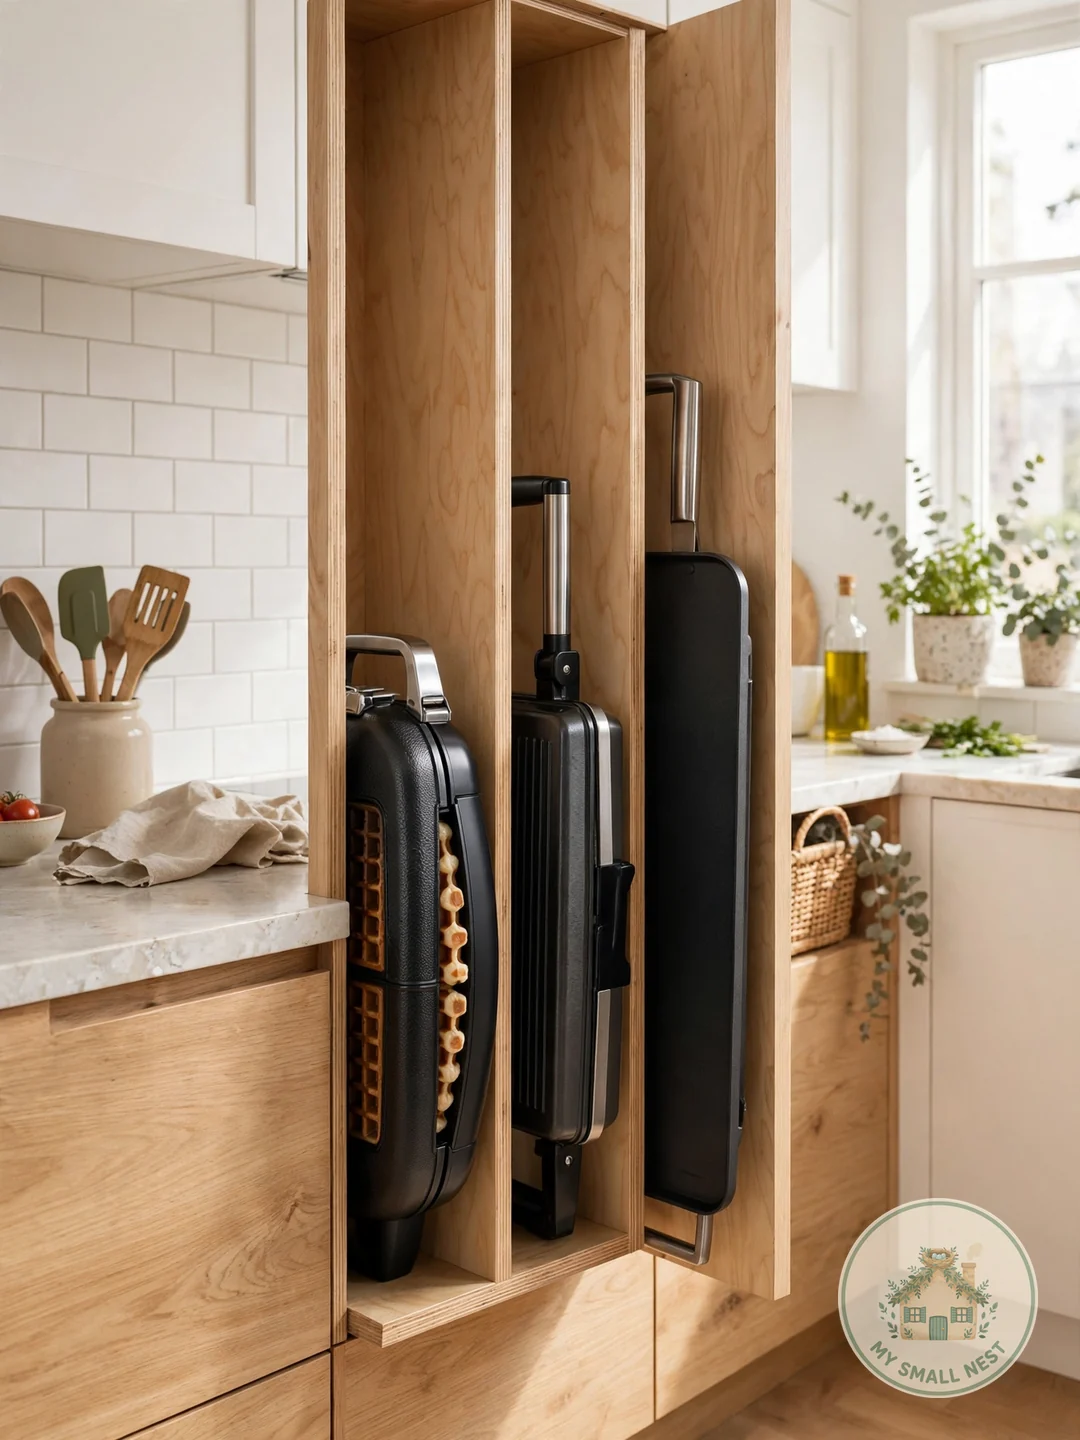
15. Use Vertical Dividers for Flat Appliances
Flat appliances — griddles, panini presses, waffle makers — are the awkward middle children of kitchen storage: too bulky for drawers, too flat to stack well. Vertical dividers ($12–$20 for an adjustable set) in a narrow cabinet turn them into files you can flip through like records.
I tried this in my studio’s 9-inch-wide cabinet next to the stove: the griddle, waffle maker, and two baking sheets stand upright in a $15 divider set, and grabbing the waffle maker no longer requires unstacking everything. Measure the cabinet’s interior width before buying — dividers come in adjustable 8–12 inch ranges that fit most base cabinets. Make it work: put a sheet of felt ($3) between appliances that scratch each other.
 Pin it
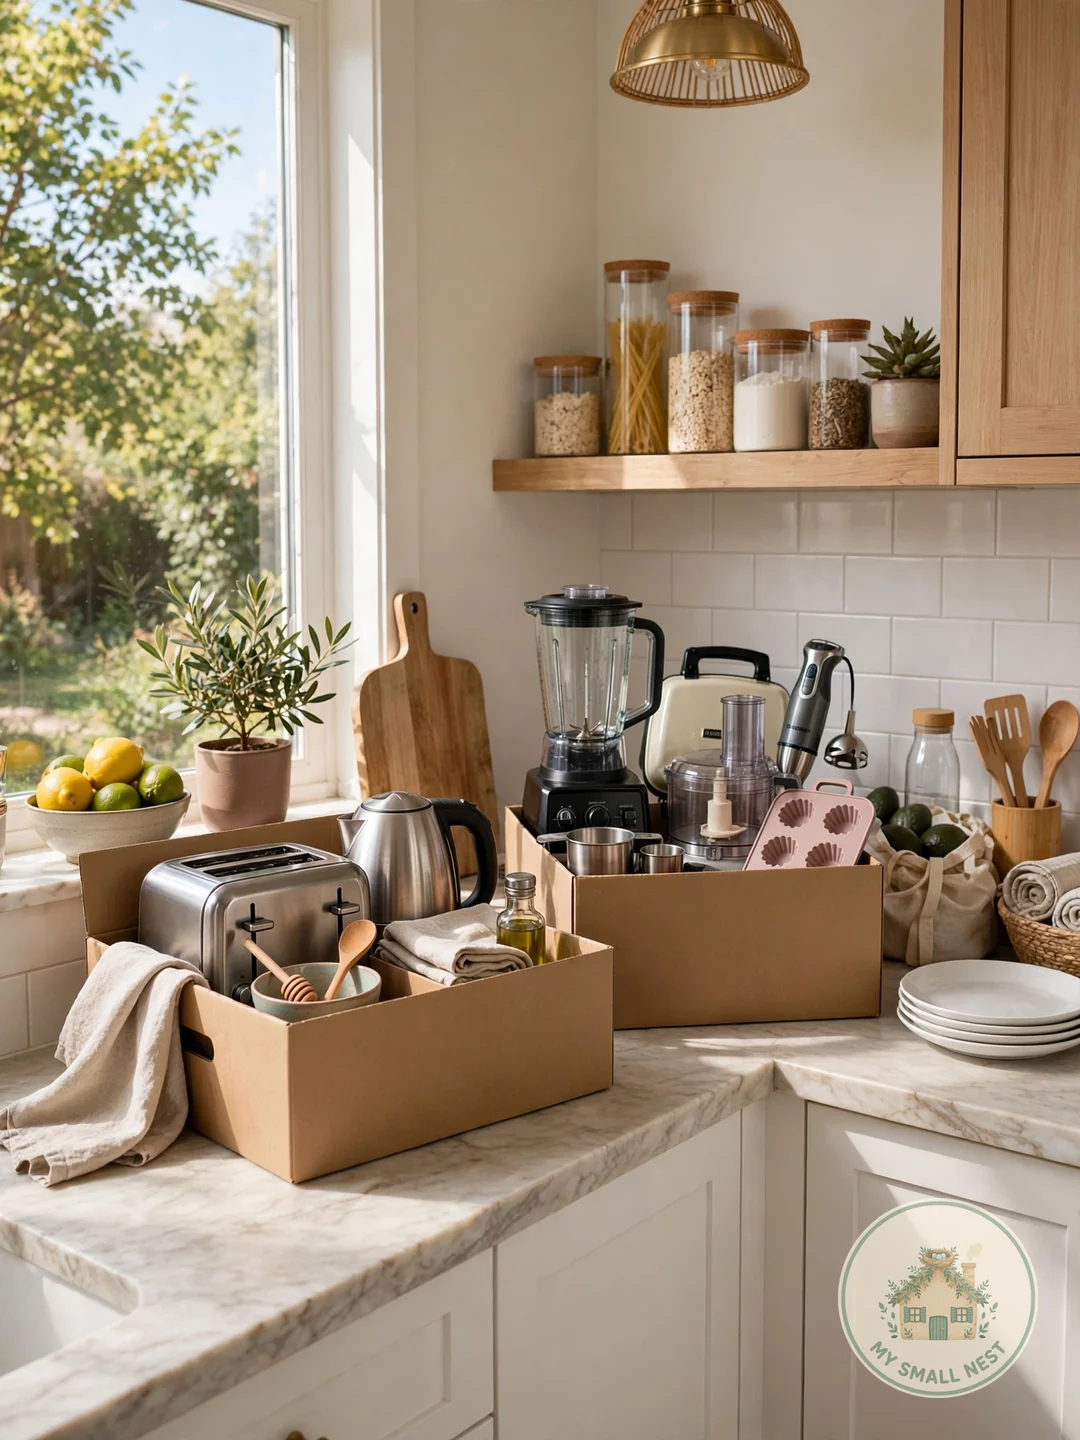
16. Audit and Declutter Yearly
No organization system survives appliance creep — the slow accumulation of gadgets that seemed essential at purchase. A yearly audit keeps the collection matched to your storage: pull everything out, keep what you used in the last 12 months, and donate or sell the rest. The bread maker used once in 2023 isn’t a storage problem; it’s a donation.
Apply the duplicate rule too: two blenders, three coffee makers, four slow cookers — keep the best one. Fewer appliances means every idea on this list works better, counters stay clearer, and cooking gets simpler. Schedule the audit for January, when fresh-start energy is high. Make it work: box questionable appliances for 30 days — if you don’t open the box, donate it unopened.
 Pin it
5 Small Appliance Organization Mistakes to Avoid
1. Storing Heavy Appliances Up High
Lifting a 25-pound stand mixer overhead is dangerous and guarantees you’ll stop using it. Heavy appliances live at waist level or below — always.
2. Keeping Every Appliance on the Counter
Counter-kept appliances collect grease, dust, and visual clutter. Only daily drivers earn counter space; the rest belong behind doors.
3. Buying Storage Before Decluttering
Organizers can’t fix too much stuff. Audit first, donate the unused, then buy storage for what remains — you’ll need less than you think.
4. Ignoring Cord Management
Tangled cords turn any storage zone into a mess. Use cord wraps, twist ties, or built-in cord storage on every appliance before it goes on the shelf.
5. Storing Appliances Without Their Parts
A food processor three cabinets from its blades is useless. Store every attachment with its appliance in a labeled bin — future-you will be grateful.
Small Appliance Organization FAQs
Where should small appliances be stored in the kitchen?
Store daily-use appliances on the counter or in an appliance garage near their point of use. Weekly appliances belong in easy-access lower cabinets or pantries; seasonal ones go to secondary storage. Heavy appliances should always live at waist height or below.
How do you hide small appliances on the countertop?
An appliance garage with a lift-up or tambour door hides countertop appliances while keeping them plugged in and ready. Alternatively, group daily appliances on a single tray so they look intentional, or move them into a hutch with closing doors.
What is the best way to store a stand mixer?
On a pull-out shelf or mixer-lift in a lower cabinet near your baking zone — it glides to counter height without lifting. Never store a heavy stand mixer on a high shelf; the lifting risk will stop you from using it.
How do I organize small appliances in a tiny kitchen?
Prioritize ruthlessly: keep only daily drivers on the counter, use vertical space (risers, dividers, wall shelves), and roll overflow onto a utility cart. In a truly tiny kitchen, the yearly audit matters most — fewer appliances beat better organizers every time.
Are appliance garages worth it for renters?
A built-in garage usually isn’t renter-friendly, but the concept is: use a lidded basket, a small cabinet, or a hutch with doors to create the same hide-away effect with zero installation. The goal is appliances out of sight but within reach — the furniture doesn’t matter.
What readers are saying
No comments yet — yours could be the first.