 My Small Nest
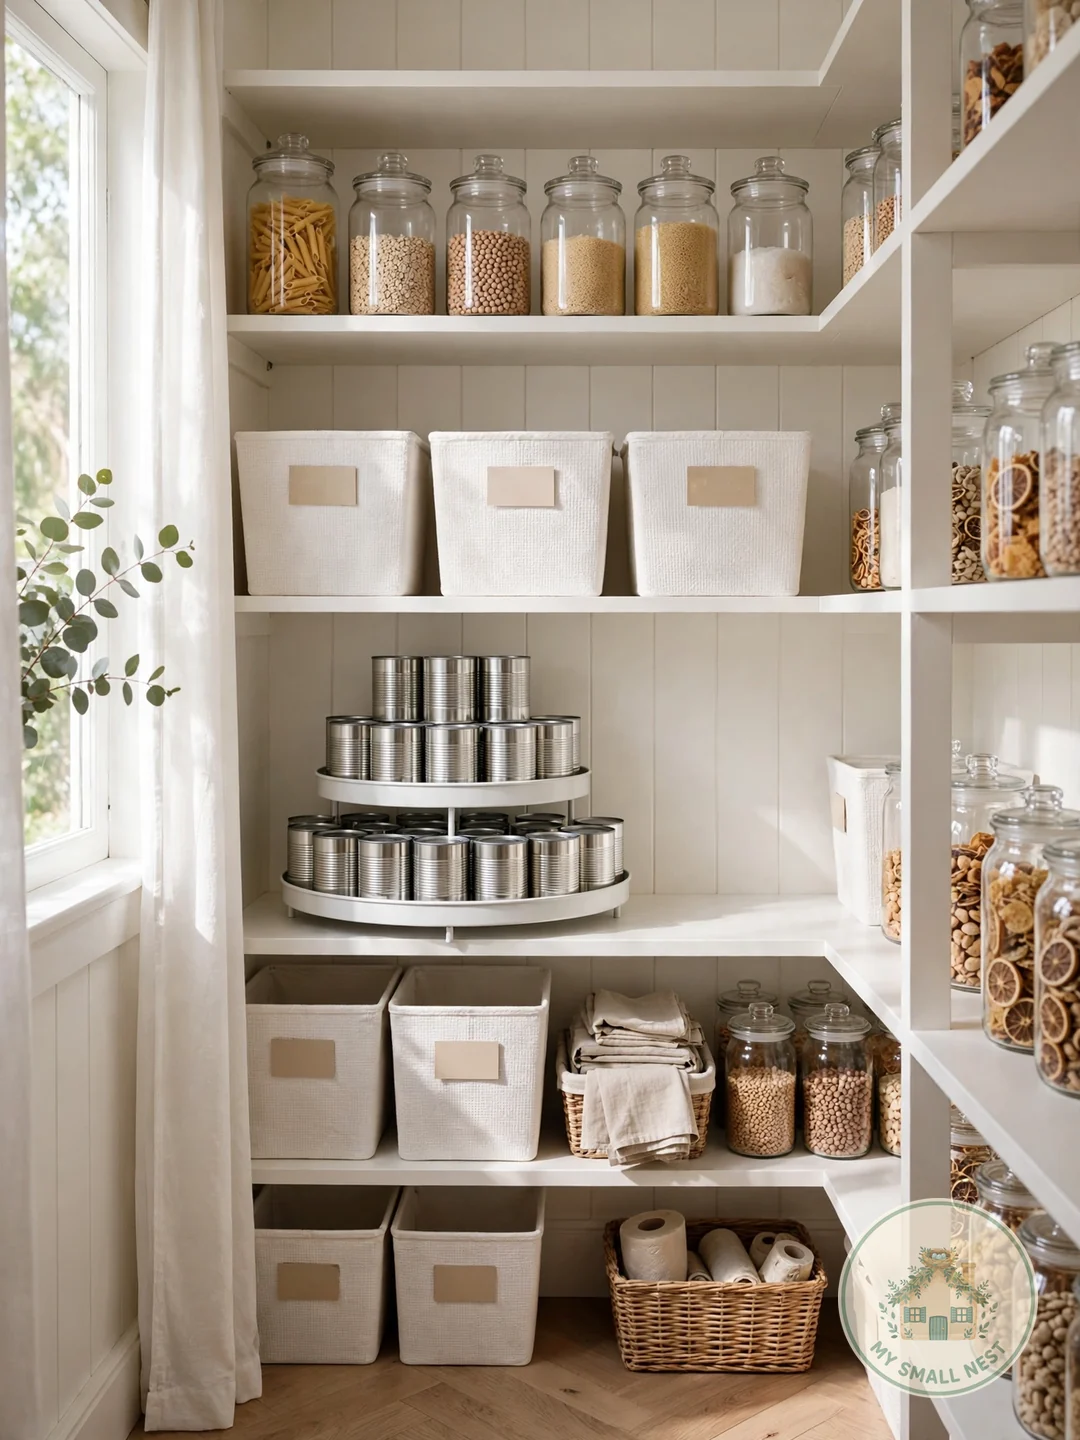
Here is a number that changed how I shop: the average American household throws away roughly $1,500 of food a year, and most of it dies quietly in the back of a messy pantry. I know the feeling — I once found three unopened bags of rice hiding behind my canned tomatoes in my 380 sq ft studio.
These 8 pantry organization ideas on a budget are for renters and small-kitchen owners who want a calm, find-anything-in-seconds pantry for under $30 total. No $500 matching container sets, no weekend-long overhaul — just zones, bins, and labels that actually fit how you cook.
1. Zone Your Pantry Like a Store
Grocery stores spend millions figuring out where to put things so you find them fast — steal their system for free. Pull everything out, toss expired items (be ruthless; the 2019 taco seasoning is not coming back), then group by category: baking, breakfast, snacks, canned goods, oils and vinegars. Zoning ends the “where does this go?” confusion forever because every item finally has one obvious home.
Put the zones you touch daily at eye level — for most of us that is snacks and breakfast — and the rarely-touched stuff (holiday baking supplies, bulk backups) up high or down low. This whole project costs nothing but an hour, and it is the single most powerful pantry organization idea in this guide.
Make it work: Set the zones before you buy a single bin or label. If two zones fight for the same shelf, the one you use more often wins the eye-level real estate.
 Pin it
2. Dollar Store Bins for Every Category
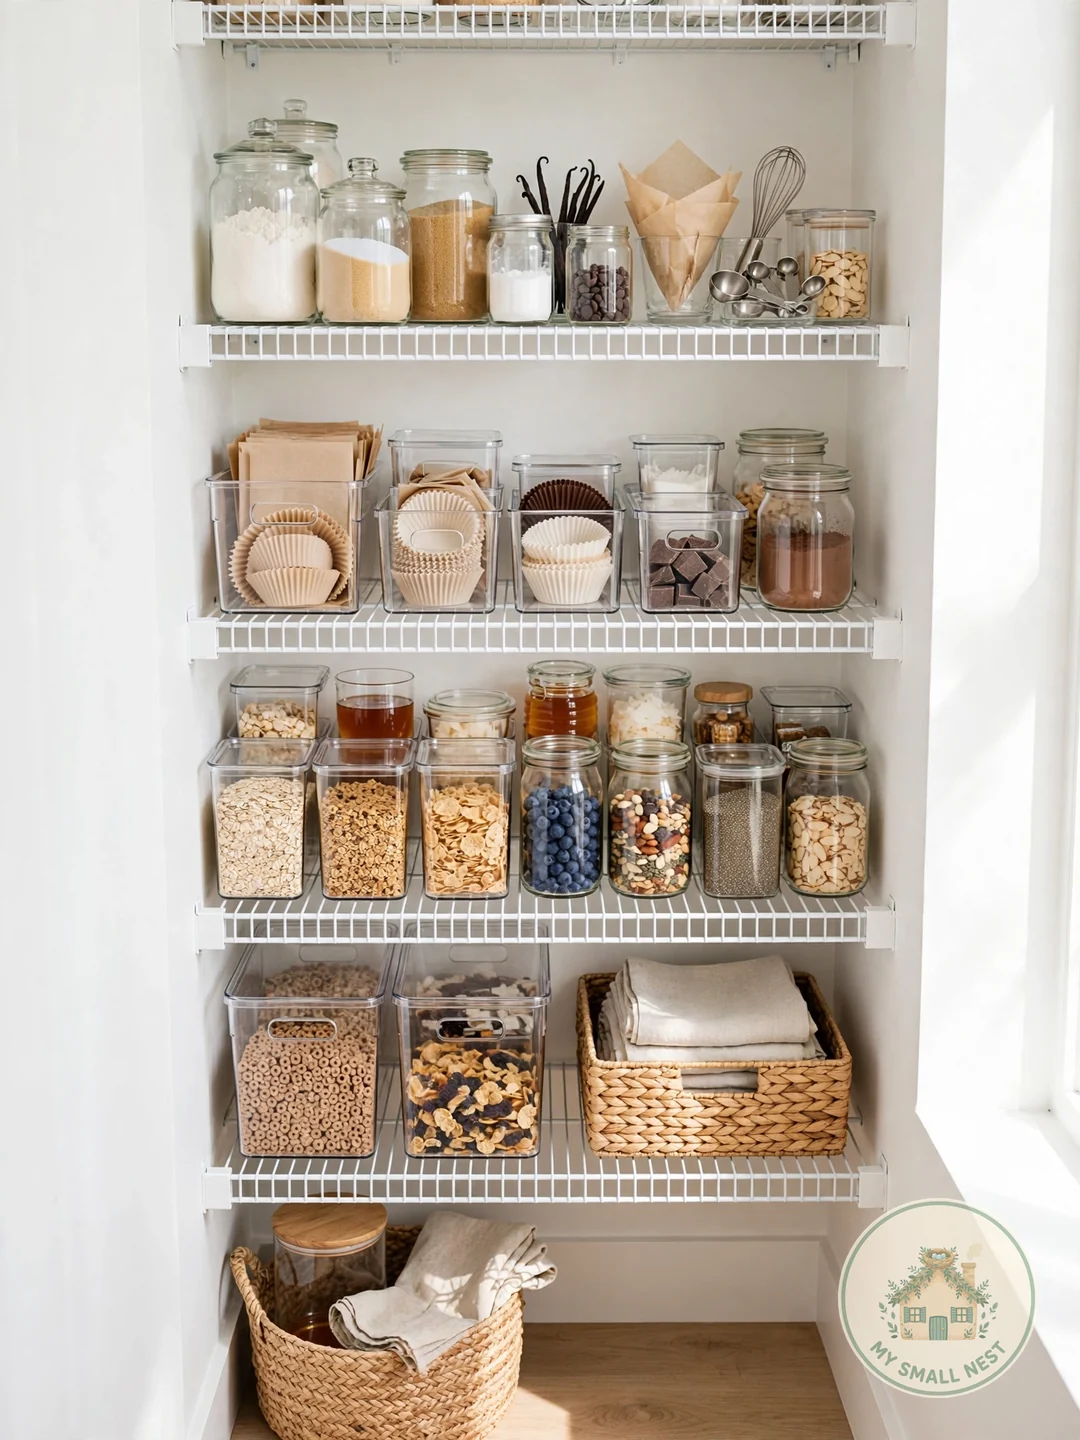
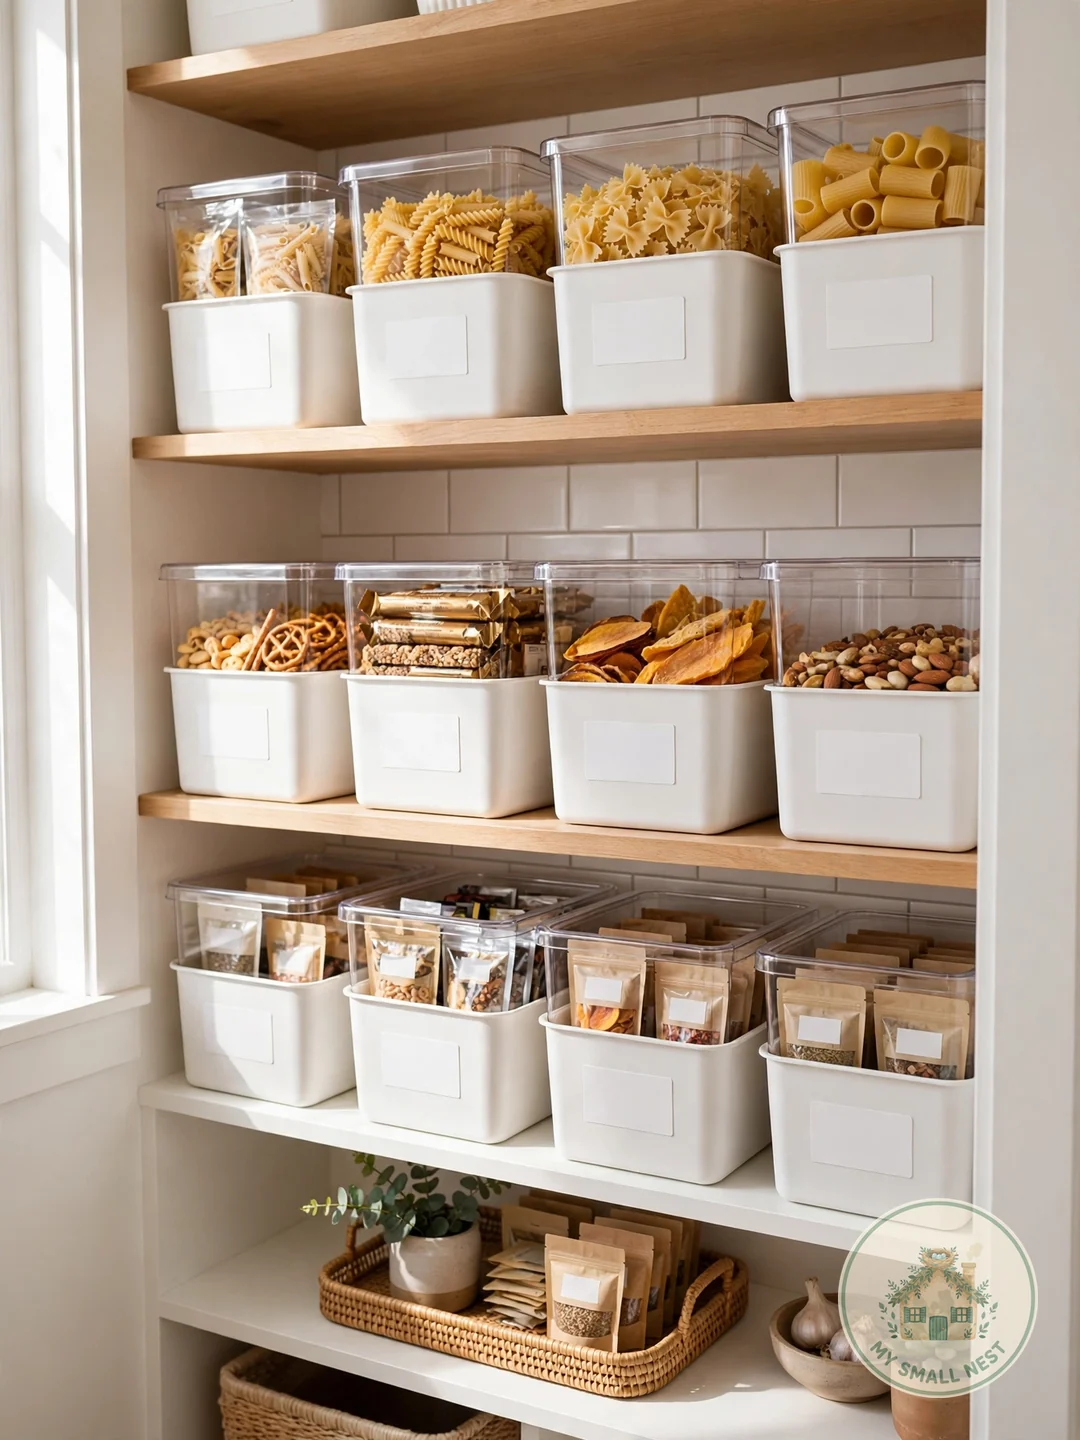
You do not need premium organizers — dollar-store bins in one color do 90% of the job for about $1.25 each. Grab 8 to 10 matching bins and corral loose packets, spice pouches, granola bars, and seasoning envelopes so they stop sliding around. Matching bins act like pull-out drawers and make even a chaotic pantry look intentional.
Measure your shelf depth before you buy — standard pantry shelves run 12 to 16 inches deep, and a bin that sticks out two inches will annoy you every single day. I tried this in my studio: one color, one depth, and suddenly my 24-inch-wide pantry cupboard looked twice as tidy.
Make it work: Dedicate one bin as the “use it up” bin for half-open bags and soon-to-expire items — glance at it before writing your grocery list and watch waste shrink.
 Pin it
3. DIY Chalkboard Labels
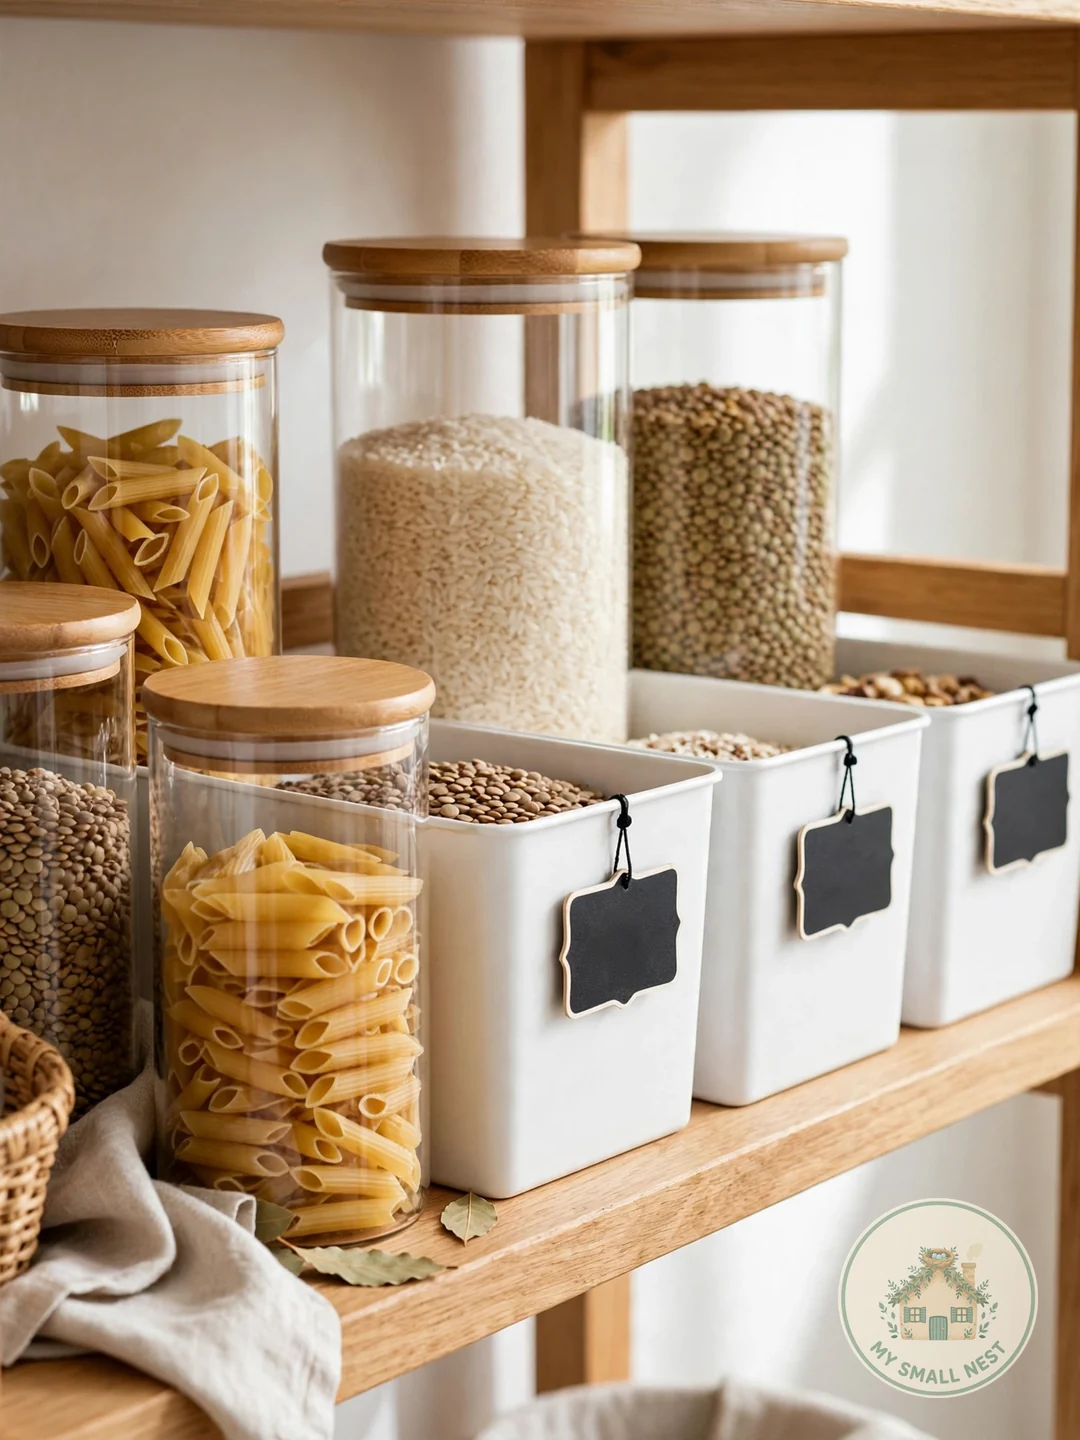
Labels are what separate “organized” from “bins of mystery.” Chalkboard stickers run about $5 for a pack of 40, and a chalk marker costs another $3 — wipe clean and relabel whenever contents change, which beats buying new labels every month. Label every bin and jar, and something magic happens: everyone in the household starts putting things back in the right place, because the right place is finally obvious.
Put the label on the bin front or the shelf edge, never the lid — labels you can read from three feet away without lifting or pulling anything actually get used. Big bold words work best: SNACKS, BAKING, RICE beat cute tiny handwriting every time.
Make it work: Label as you go during the zoning step, not “later.” Unlabeled bins start collecting mystery items within days.
 Pin it
4. Decant Into Clear Jars
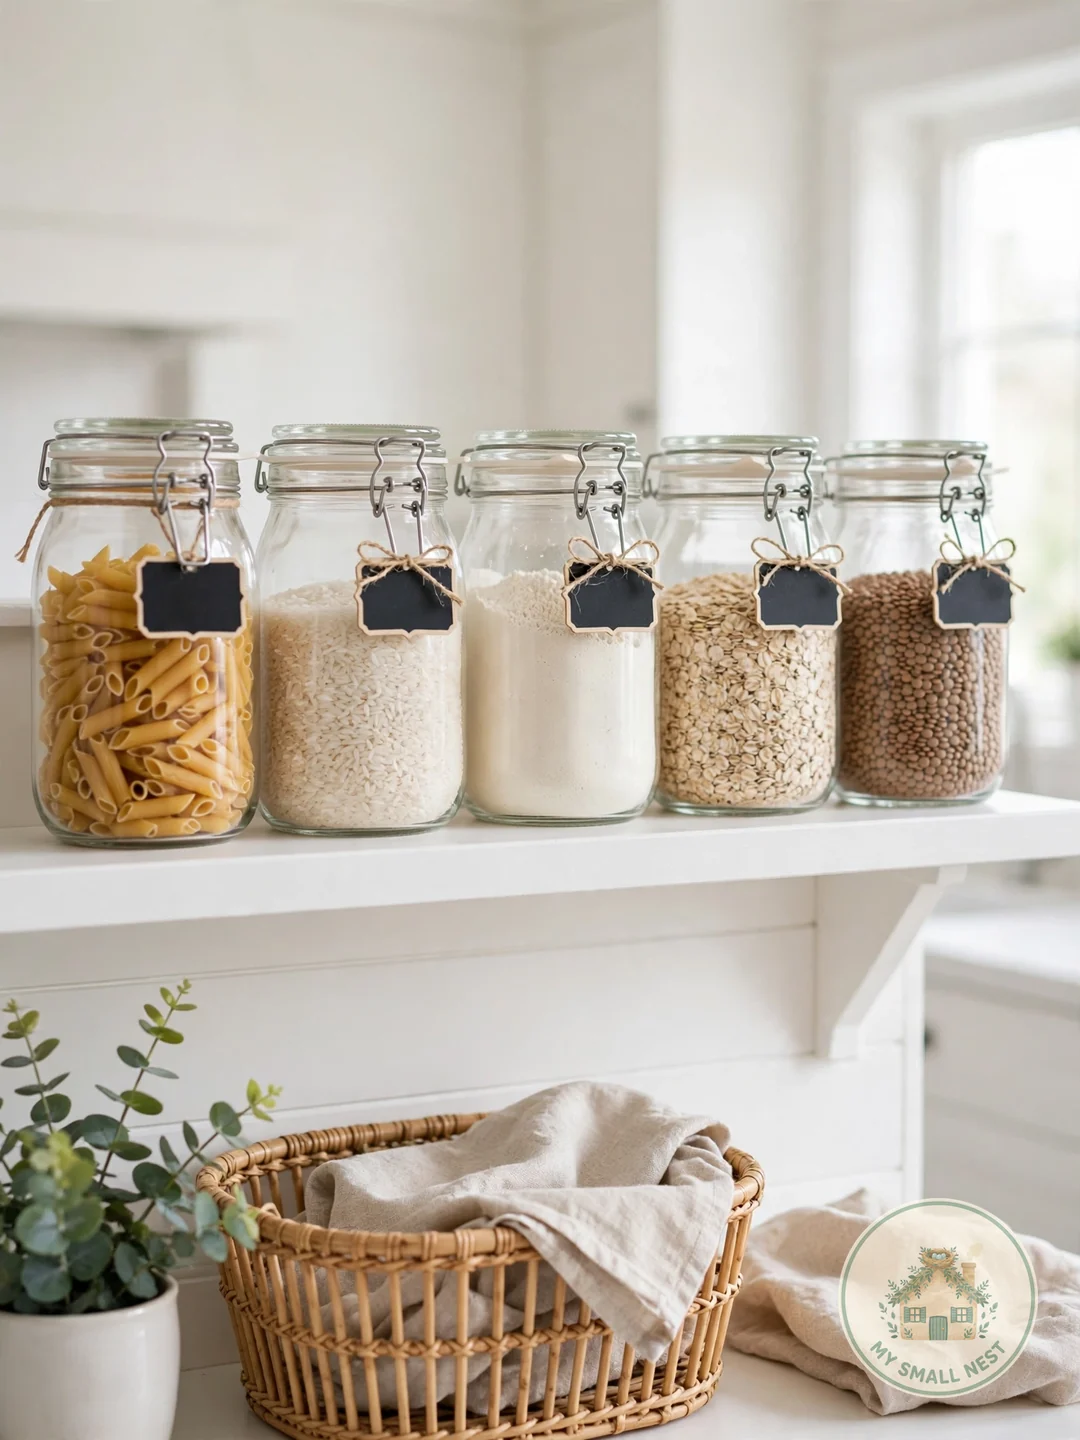
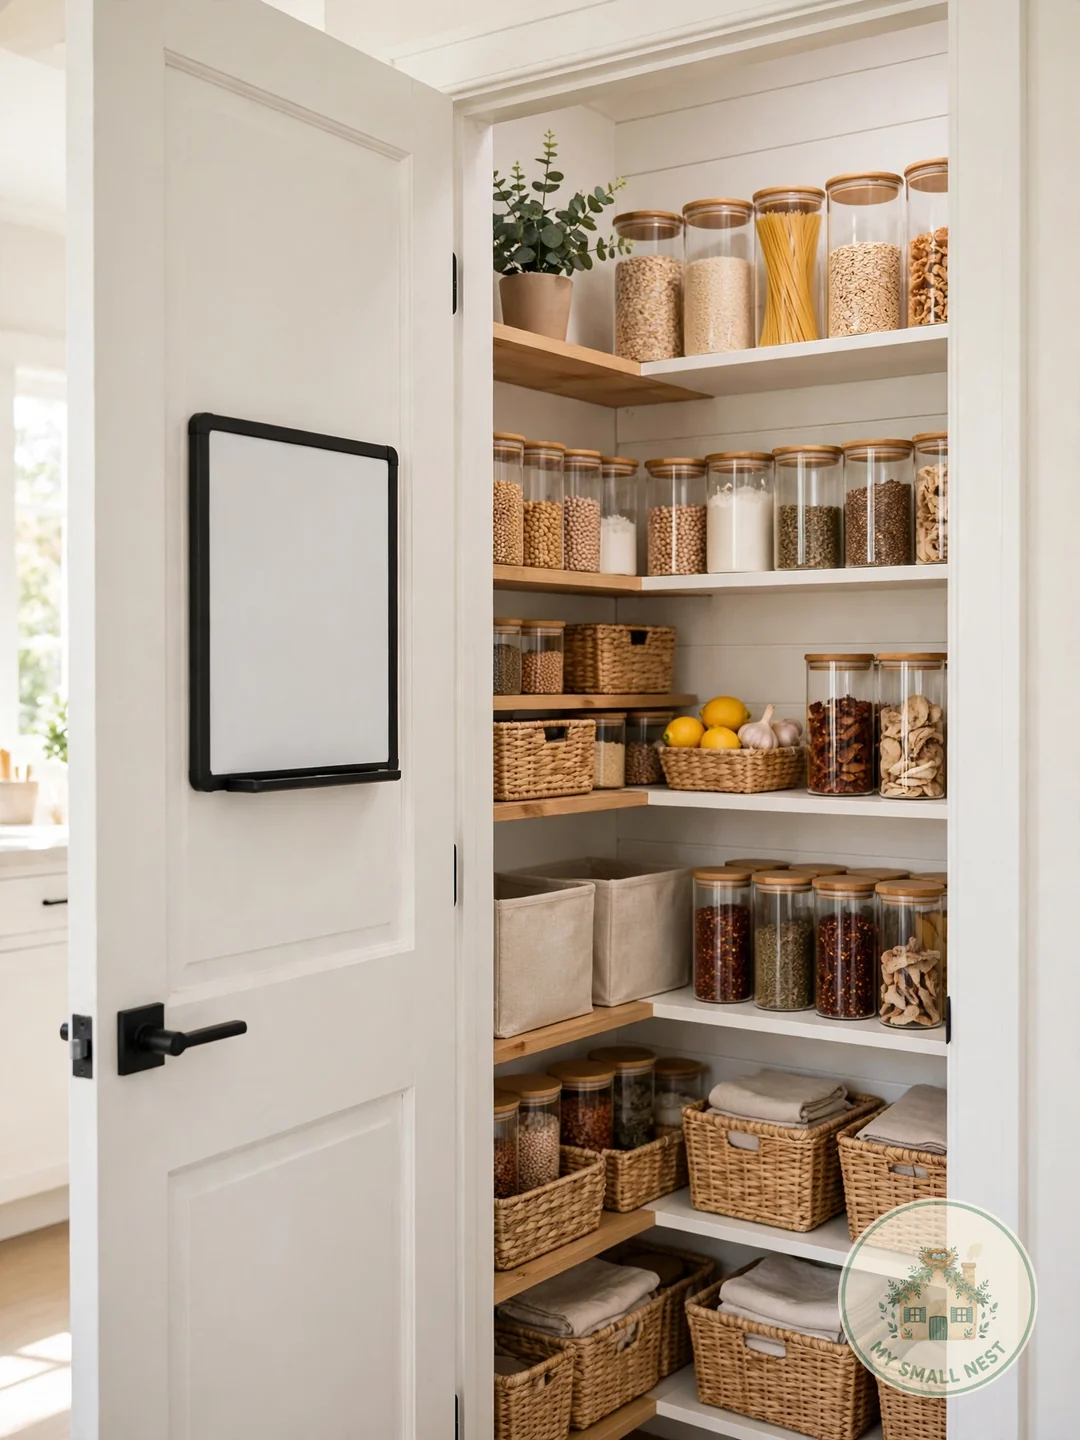
Transferring flour, rice, pasta, oats, and cereal into clear airtight jars means you see quantities at a glance — no more buying a third bag of rice because you could not see the second one. Dollar stores and thrift shops sell mason-style jars for $1 to $3 each, and you only need 5 or 6 for your most-used staples; you do not need to decant everything you own.
Airtight really matters: a jar with a proper gasket seal keeps flour fresh for 3 to 6 months, while a loose-lid jar can stale it in weeks. Tape the cooking instructions and expiry date from the original packaging to the bottom of the jar so you never lose them.
Make it work: Only decant what you buy regularly and finish within a few months — freshness first, aesthetics second.
 Pin it
5. Use the Door for Extra Storage
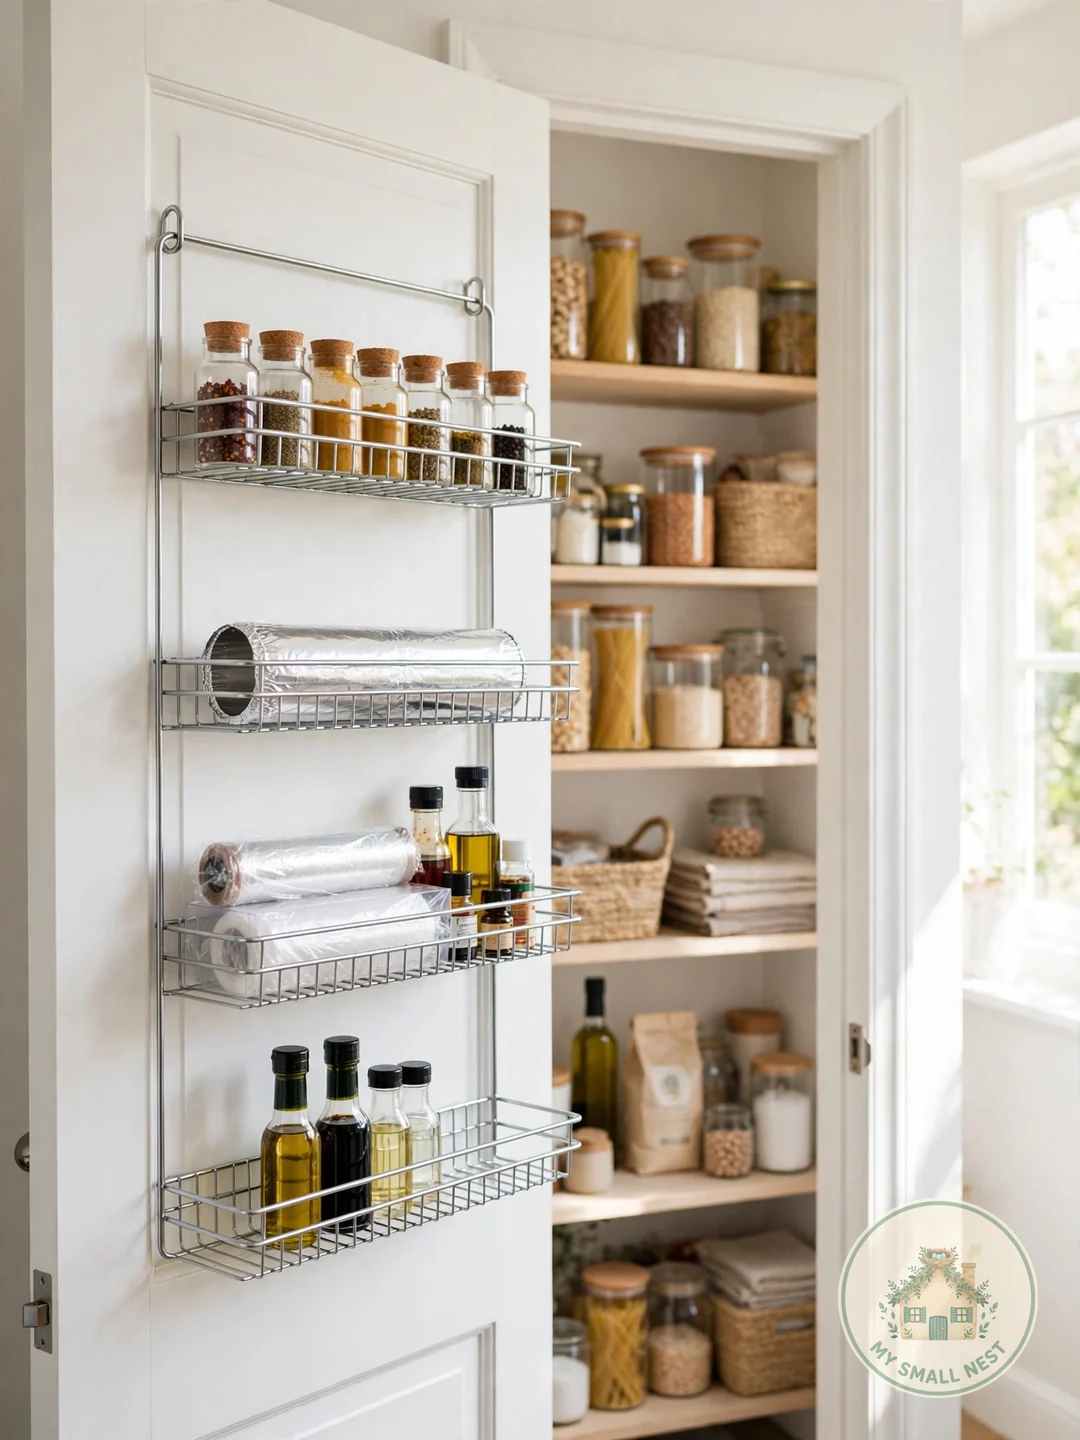
The inside of the pantry door is free real estate that most people ignore. An over-the-door rack costs $12 to $18 and holds spices, wraps, small bottles, and packets — freeing up an entire shelf inside. In a tiny pantry, door storage can add 20 to 30 percent more usable space without a single screw or drill hole.
Before you buy, measure the gap between your shelves and the closed door — most racks need about 2 to 3 inches of clearance, and loaded spice jars are deeper than you think. I tried this in my studio and it held 14 spice jars plus cling wrap; the trick was loading the heaviest items at the bottom so the door still swung freely.
Make it work: Renter-friendly bonus — the rack lifts off in seconds on move-out day. No patching, no lost deposit.
 Pin it
6. Tiered Shelf Risers for Cans
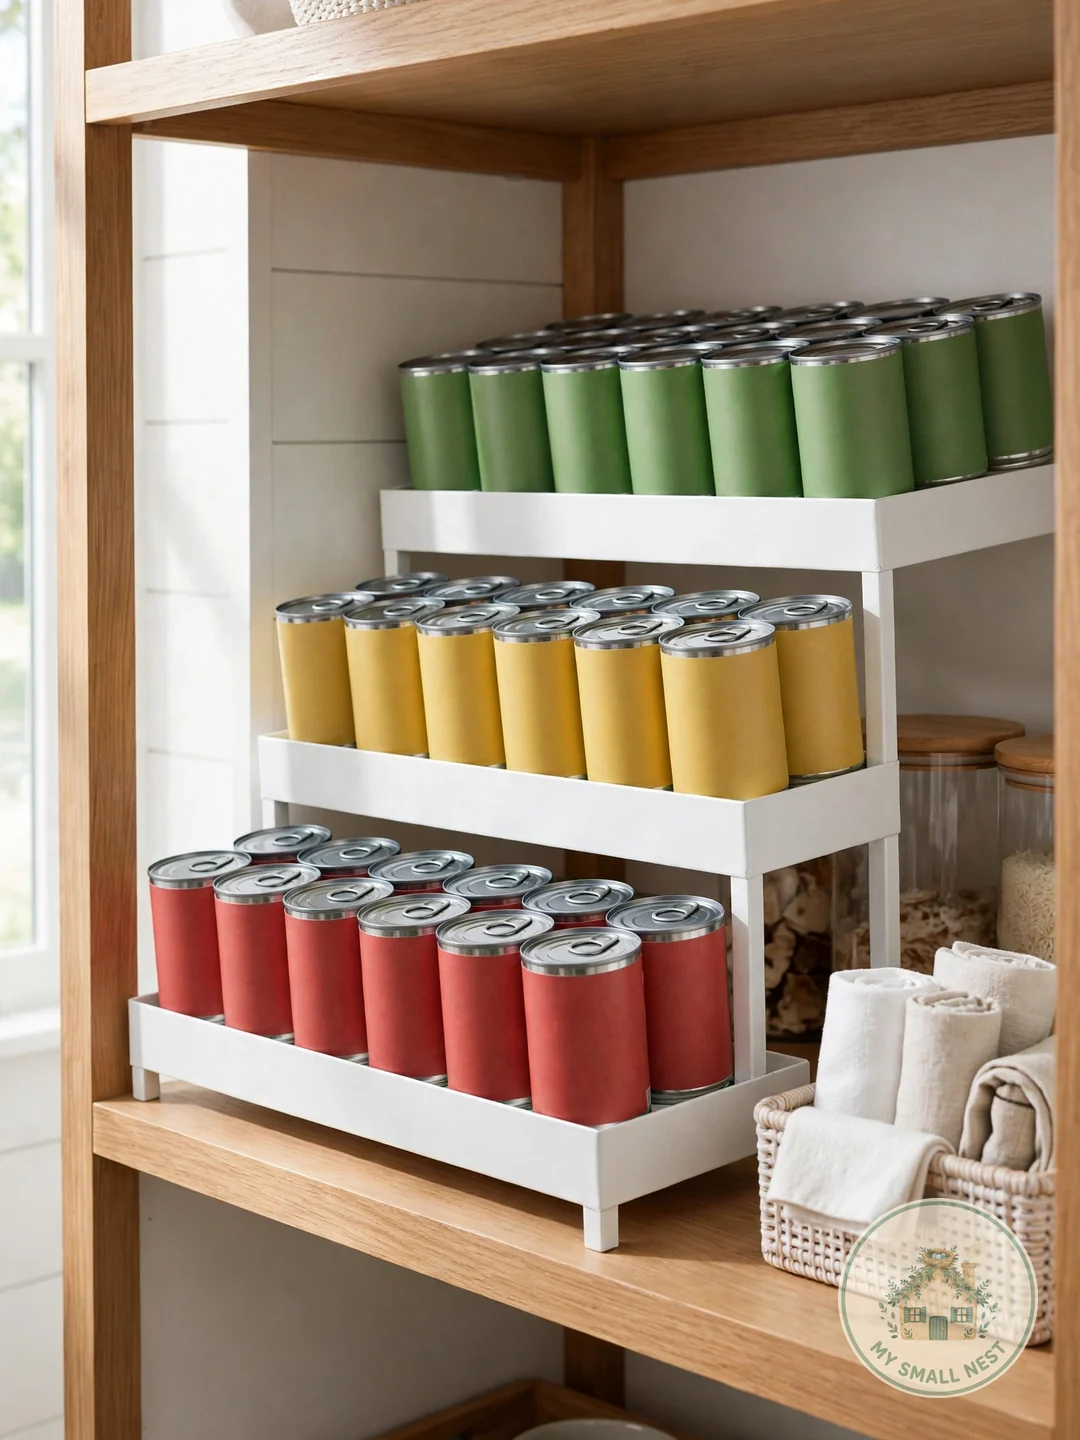
Cans stacked two-deep are where pantry items go to expire quietly. A tiered shelf riser — about $8 to $12 — turns one shelf into stadium seating so every can is visible at a glance. Arrange by type with the soonest-expiring cans in front, and you will genuinely cut food waste; no more 2019 tomato paste hiding in the back.
Most risers adjust between 3 and 4 tiers and fit standard 12-inch-deep shelves. Face every label forward, grocery-store style, and group identical cans together — a 10-second scan then tells you exactly what is running low before you write the grocery list.
Make it work: Put the riser on the shelf you see first when the door opens. Visibility is the whole point — a riser buried in a dark corner does nothing.
 Pin it
7. Lazy Susan for Oils and Sauces
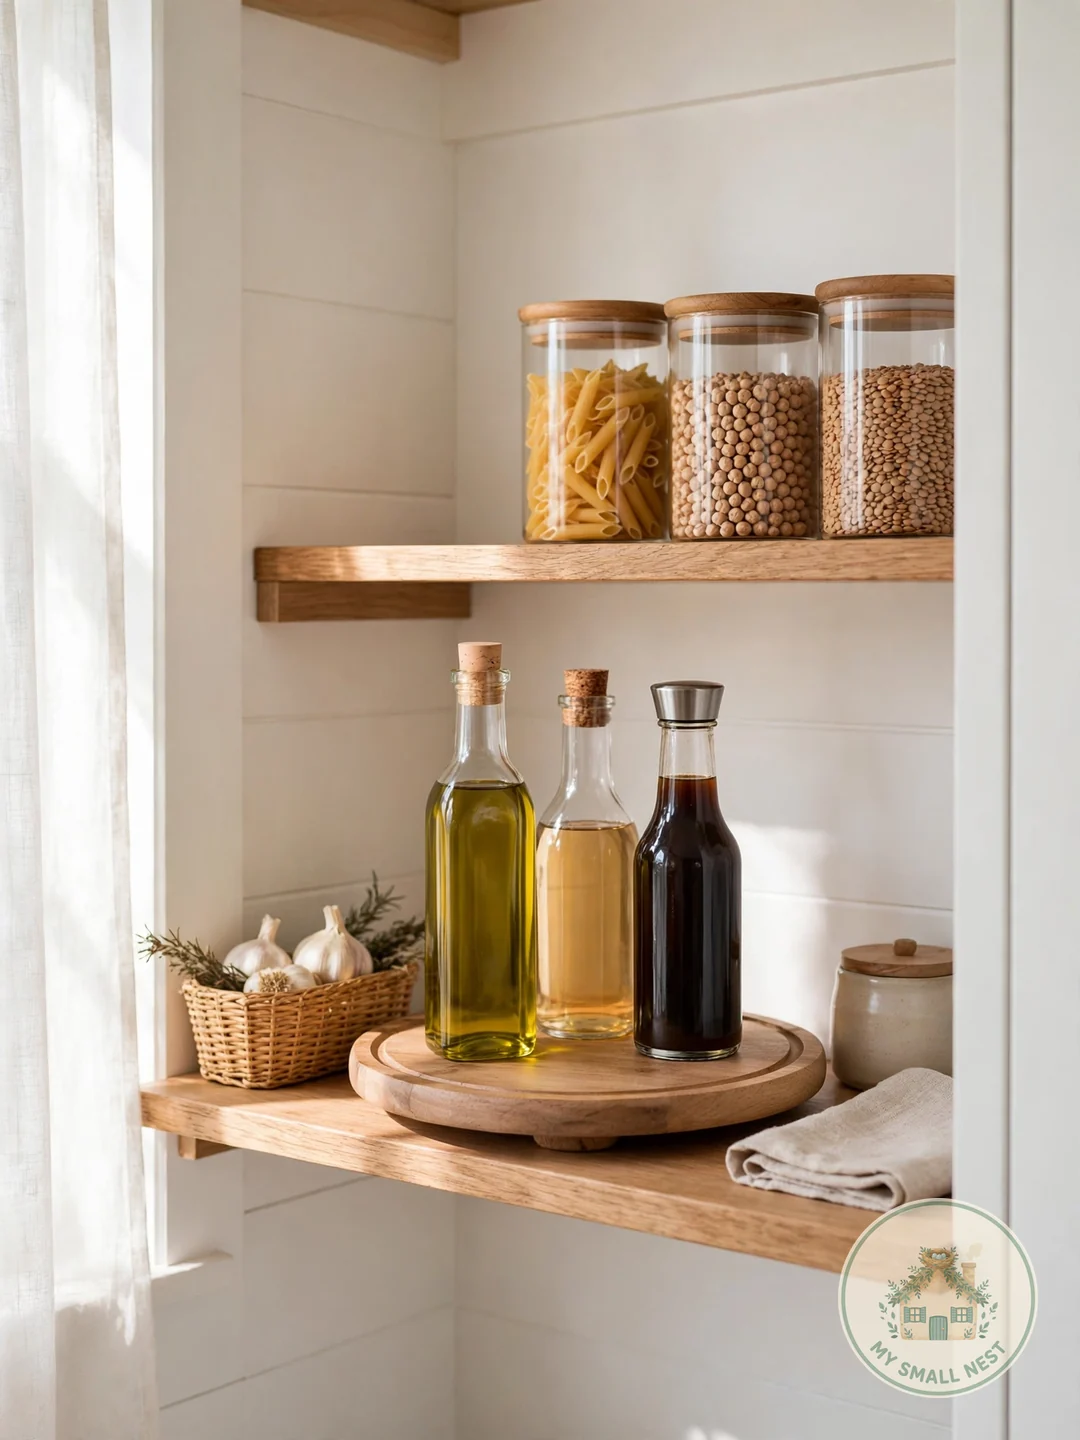
A turntable — $6 to $10 at Target or Walmart — ends the era of knocking over the soy sauce to reach the olive oil. One spin brings every bottle to the front, and it turns deep, dark corner shelves from dead zones into prime real estate. Use one for cooking oils and vinegars, and a smaller one for condiments and sauces.
Choose a turntable with a raised rim so tall bottles do not slide off mid-spin, and look for one at least 12 inches across — smaller ones wobble under full-size olive oil bottles. Wipe it monthly, too; oil drips make the surface sticky and the bottles stop gliding.
Make it work: Group by cuisine on each turntable — Asian sauces on one, Italian oils and vinegars on another — so one spin serves the whole meal.
 Pin it
8. The Weekly Reset Routine
Even the best system drifts without maintenance, so spend 10 minutes every Sunday: toss expired items, wipe one shelf, and put strays back in their zones. That is it — 10 minutes. This tiny habit keeps your pantry working year-round and makes grocery lists write themselves, because you can see exactly what you need instead of guessing.
Keep a small notepad or a magnetic whiteboard inside the door and jot down items the moment they run out during the week. I tried this in my studio and paired the reset with my Sunday coffee — it became automatic instead of a chore, and my duplicate purchases basically stopped.
Make it work: During the reset, move any “use it up” items to the front of the shelf and plan one dinner around them that week.
 Pin it
Mistakes to Avoid
Buying Containers Before Decluttering
Toss expired food and duplicates before you buy a single bin — organizing clutter just gives you pretty containers full of things you should have thrown away. I once “organized” three half-empty boxes of stale crackers; declutter first and you will buy half as many bins.
Decanting Everything You Own
Decanting 40 items is exhausting and wasteful. Start with your 5 or 6 most-used staples — flour, rice, pasta, oats, sugar — and expand only if you genuinely love the system. The rest can live happily in their original packaging inside a bin.
Choosing Bins That Don’t Fit
Measure shelf height, depth, and width before buying anything, and save the numbers in your phone. Bins that stick out two inches or cannot be lifted down past the shelf above are worse than no bins at all.
Skipping Labels
Unlabeled bins become junk drawers within a month — it is practically a law of nature. Five minutes of labeling with a $3 chalk marker saves hours of future hunting and keeps the whole household on the same system.
Organizing for Instagram, Not Your Life
If the system is too fussy to maintain, it will collapse by week three. Design for how you actually cook — easy in, easy out, labels you can read at a glance — not for a photo. A slightly mismatched pantry you maintain beats a perfect one you abandon.
FAQs
What are the cheapest pantry organization ideas that actually work?
Zoning (free), dollar-store bins ($1.25 each), DIY chalkboard labels ($5 for 40), and an over-the-door rack ($12–18) deliver the biggest transformation per dollar. Most small pantries can be fully organized for $25–40 total with these four moves — less than one grocery run.
How do I organize a very small pantry?
Use vertical space ruthlessly: door racks, stackable bins, and shelf risers. Keep only daily items at eye level, decant bulky staples into space-efficient jars, and store bulk backups elsewhere — a closet shelf or under-bed bin works. In tiny pantries, every inch of door and vertical space counts double.
Should I decant everything into matching containers?
No — decant only the dry staples you use constantly (flour, rice, pasta, oats, sugar). Decanting rarely-used items wastes time and can shorten shelf life once the original sealed packaging is opened. A hybrid system of jars for staples plus original packaging for the rest is the practical sweet spot.
How do I keep my pantry organized long-term?
Two habits: a 10-minute weekly reset (toss expired, return strays) and a “one in, one out” mindset for duplicates. Label everything, too — when every item has a visible home, the whole household maintains the system automatically instead of it falling on one person.
What’s the best way to organize pantry items I buy in bulk?
Keep a small working supply in the pantry (decanted into jars) and store bulk backups in a separate spot — a closet shelf, under-bed bin, or garage shelf. Refill the working jars as needed. This keeps the pantry uncluttered while still capturing bulk savings, which can cut staple costs by 20–30%.
A calm pantry makes every meal a little easier — no more digging, no more duplicate purchases, no more mystery cans from 2022. Everything above costs about $25–40 total, roughly one takeout dinner. Start with zoning this weekend and add one budget upgrade at a time. Save this guide for your next organization spree, and share it with a friend whose pantry needs an intervention.

What readers are saying
No comments yet — yours could be the first.