 My Small Nest
You know the sound: the metallic avalanche that erupts every time you reach for one pot lid buried in the cabinet. Lids are the worst kitchen clutter — round, awkward, and impossible to stack — but they’re also the easiest to fix.
These 17 pot lid storage ideas end the cabinet chaos for good, with renter-friendly fixes, under-$20 solutions, and systems that work in the tiniest kitchens.
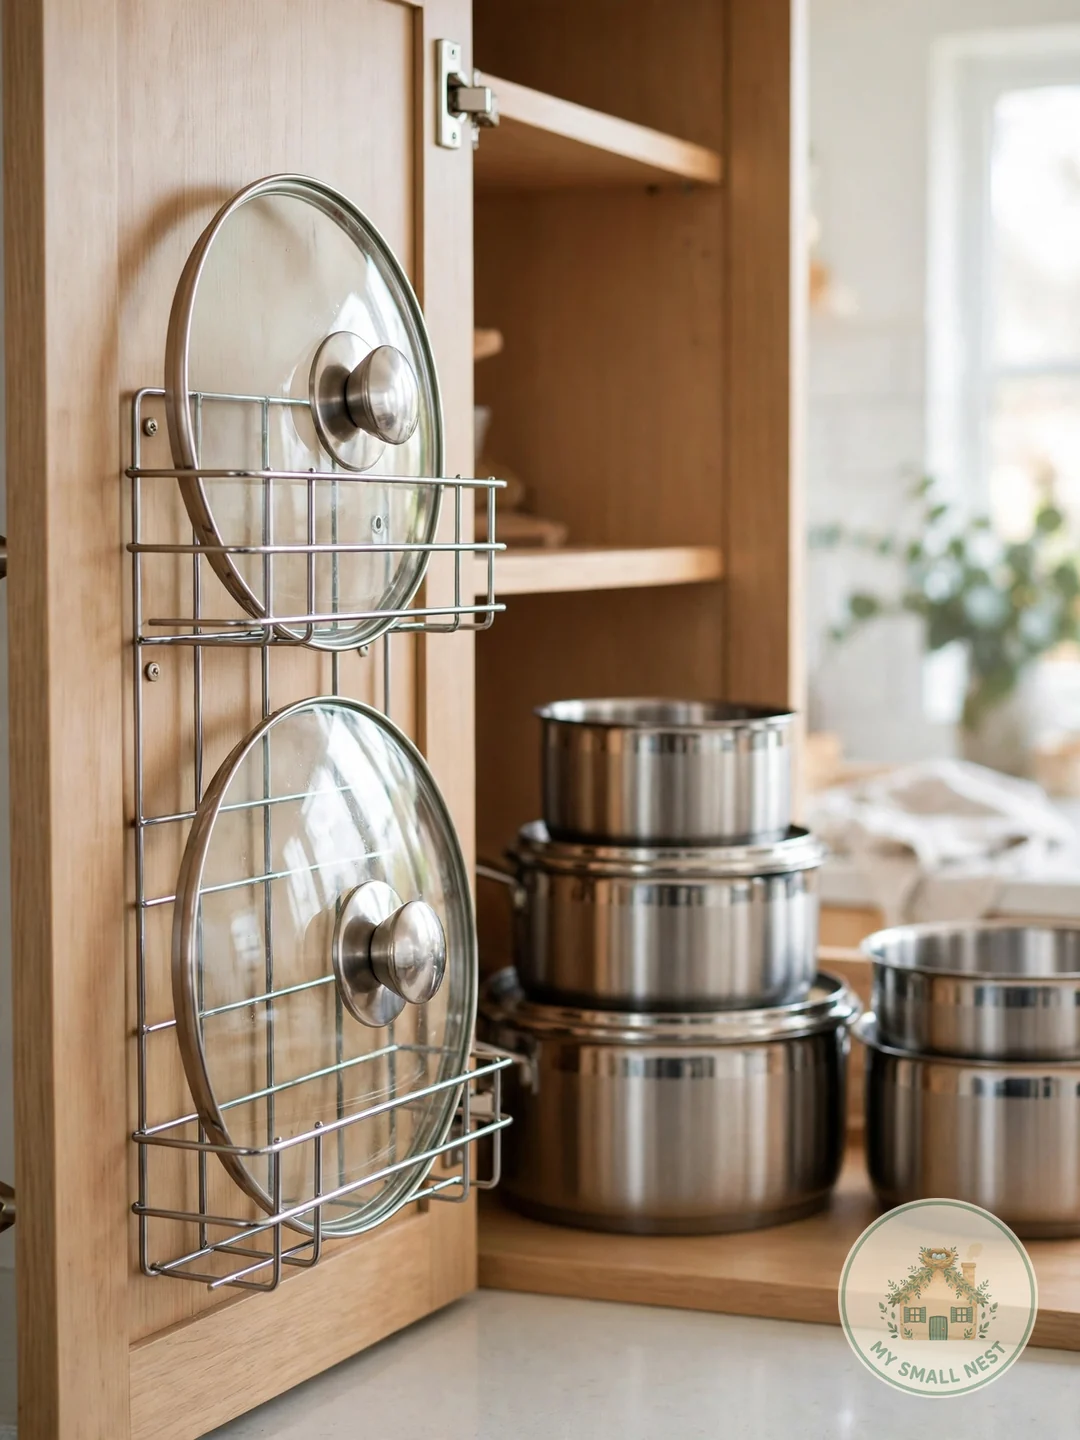
1. Mount Lid Holders Inside Cabinet Doors
The inside of a cabinet door is wasted space in most kitchens — and it’s the perfect lid garage. An over-the-door or adhesive lid holder ($10–$18 for a 3-pack on Amazon) mounts in minutes and keeps 2–3 lids upright, off the shelf, and out of the avalanche zone.
Measure your door’s interior before buying: most cabinet doors offer 12–16 inches of usable width, and holders need about 3 inches of depth clearance so the door still closes. For renters, adhesive-mounted holders with Command-style strips ($12–$15) hold up to 5 pounds per holder with zero screws. Make it work: mount the holder on the door of the cabinet where the matching pots live — lids should never travel more than one step from their pot.
 Pin it
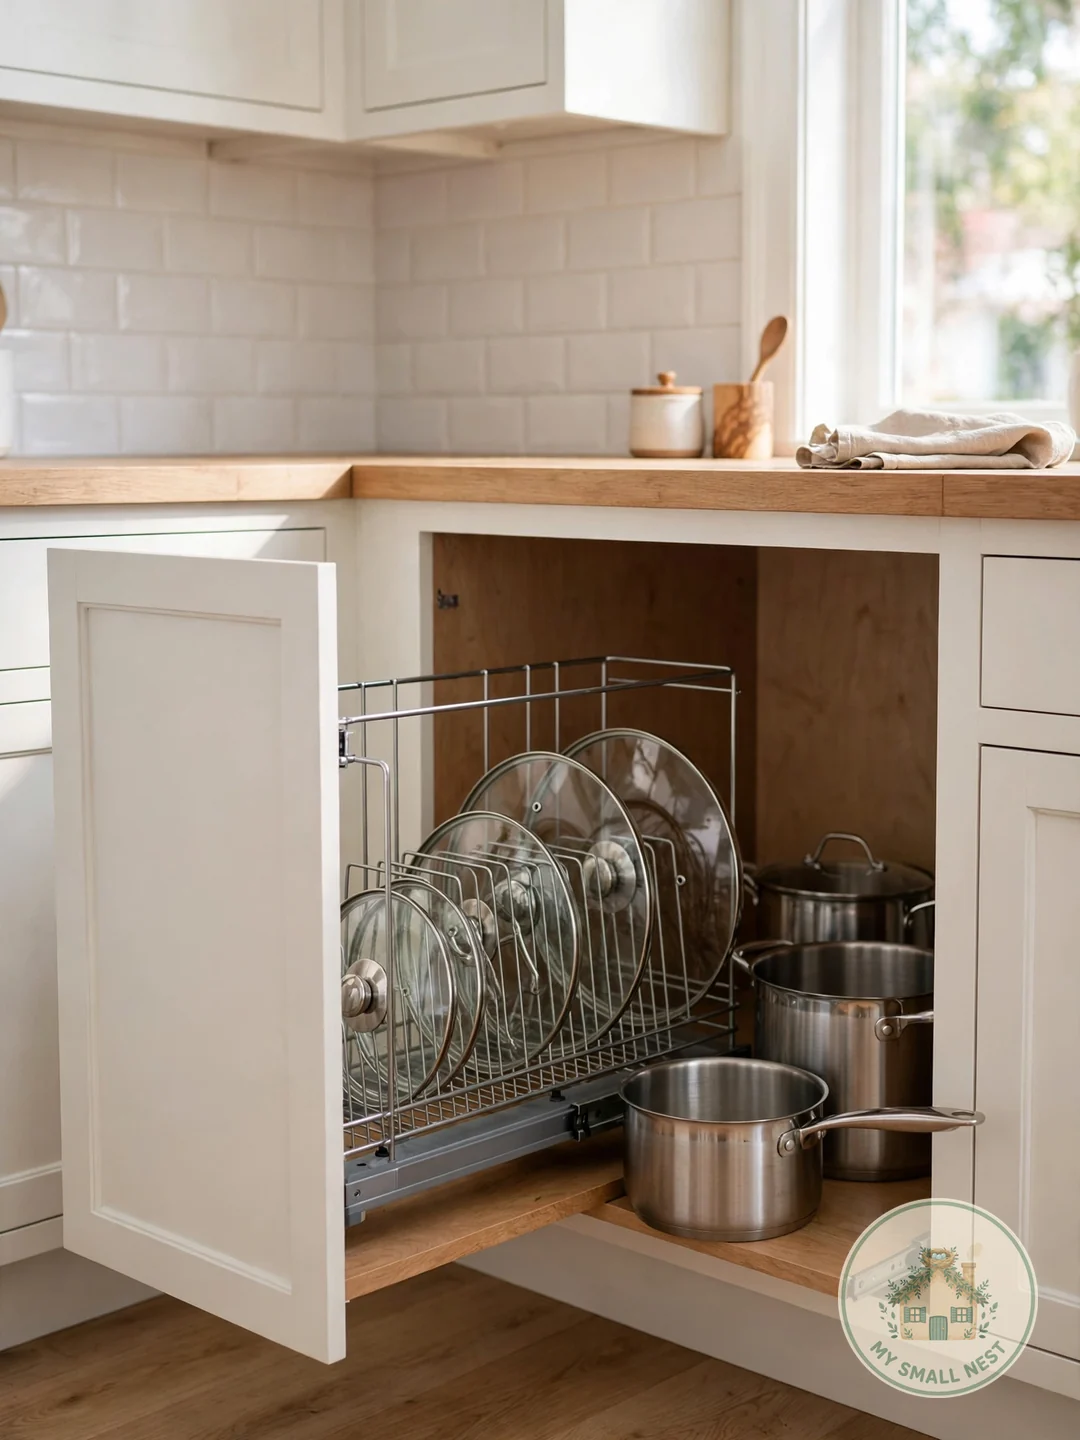
2. Install a Pull-Out Lid Organizer
A pull-out lid organizer ($20–$40 for a wire rack with full-extension slides) turns a deep base cabinet into a filing cabinet for lids. Instead of reaching into the dark, you pull the whole rack toward you and every lid is visible, upright, and grabbable.
Most kits fit standard 12–18 inch base cabinets and install with four screws into the cabinet floor or side walls — a 20-minute job with a drill. If you rent, look for freestanding pull-out caddies ($15–$25) that sit on the shelf without mounting; they give you 80% of the glide with zero holes. Make it work: file lids largest-to-smallest front-to-back so the one you grab most sits closest.
 Pin it
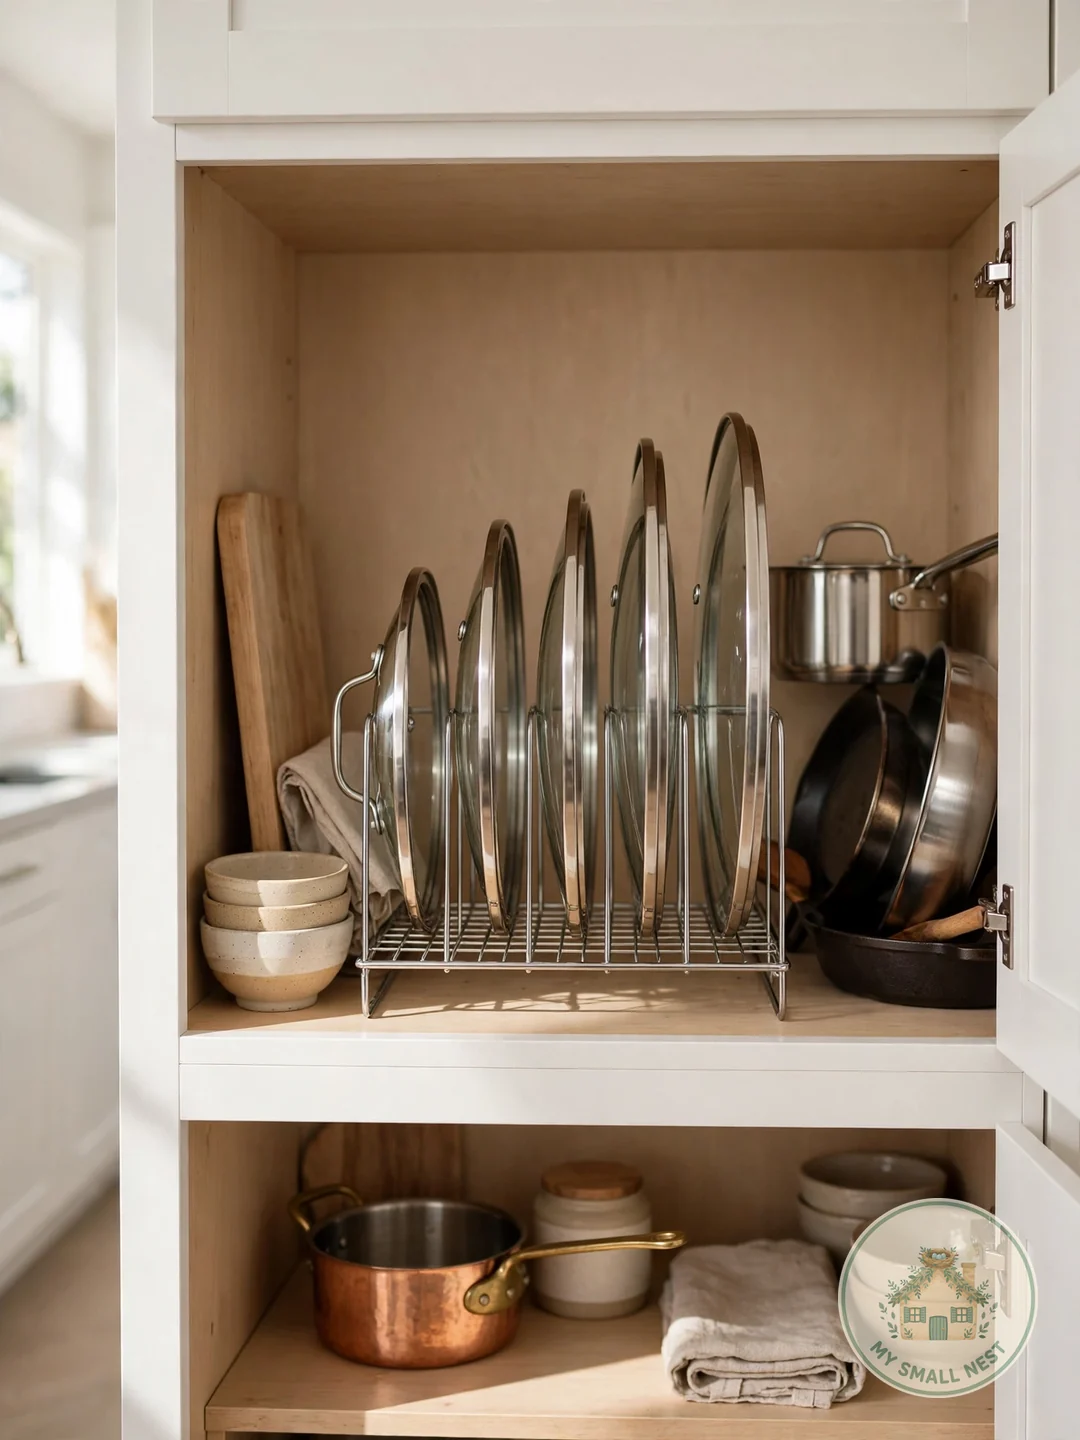
3. Stand Lids Vertically in a Wire Rack
The simplest lid solution is also the cheapest: stand lids vertically in a wire rack like files in a drawer. A plate rack or dedicated lid organizer ($8–$15 at Target or IKEA’s VÄRDERA line) holds 4–6 lids upright in about 6 inches of shelf width.
I tried this in my studio with a $10 bamboo plate rack in the cabinet above the stove — six lids filed vertically, zero avalanches, and I can see every size at a glance. The vertical file is the whole philosophy: lids stored on edge take a third of the space of lids stacked flat, and you never have to unstack to reach the bottom one. Make it work: leave one empty slot as a “return slot” so there’s always room to put a lid back without rearranging.
 Pin it
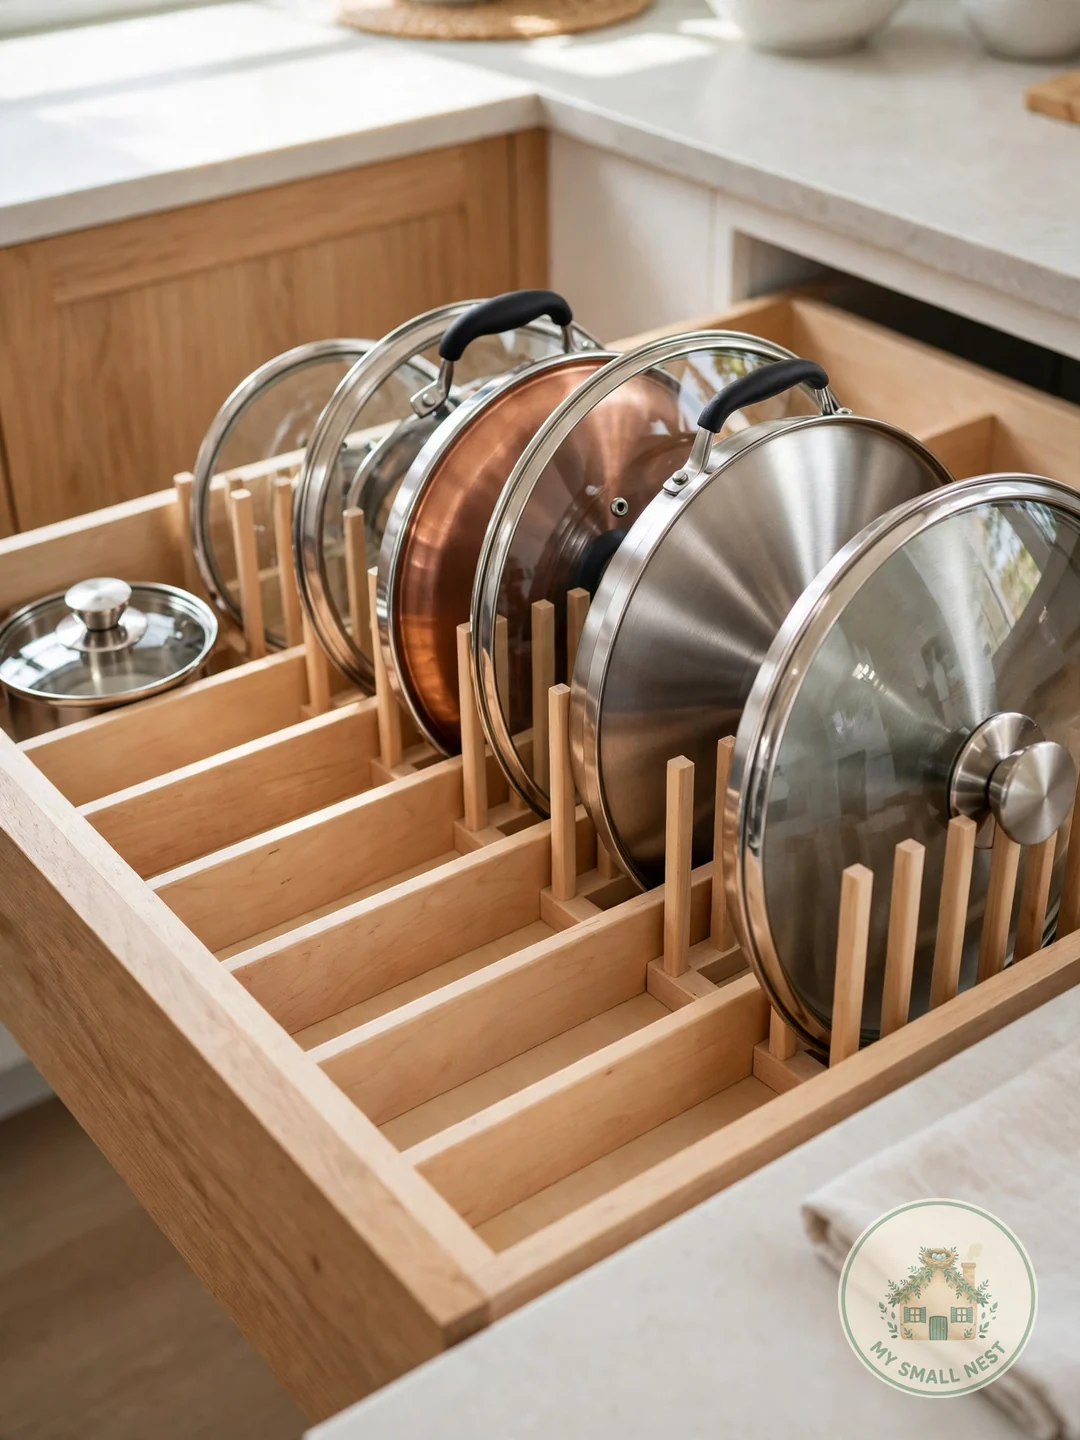
4. Add Adjustable Cabinet Dividers
Adjustable cabinet dividers ($12–$22 for a set of 4 on Amazon) let you build custom lid slots in any cabinet, no tools required. The spring-loaded or tension-fit dividers wedge between shelf and cabinet top, creating vertical bays sized exactly for your lids.
This is the renter’s dream solution: nothing screwed, nothing stuck, fully reconfigurable when your cookware changes. Measure your shelf height first — most dividers adjust from 10–16 inches — and leave half an inch of clearance above the tallest lid so nothing scrapes. Make it work: pair dividers with a non-slip shelf liner ($8 a roll) so lids don’t migrate when you close the cabinet.
 Pin it
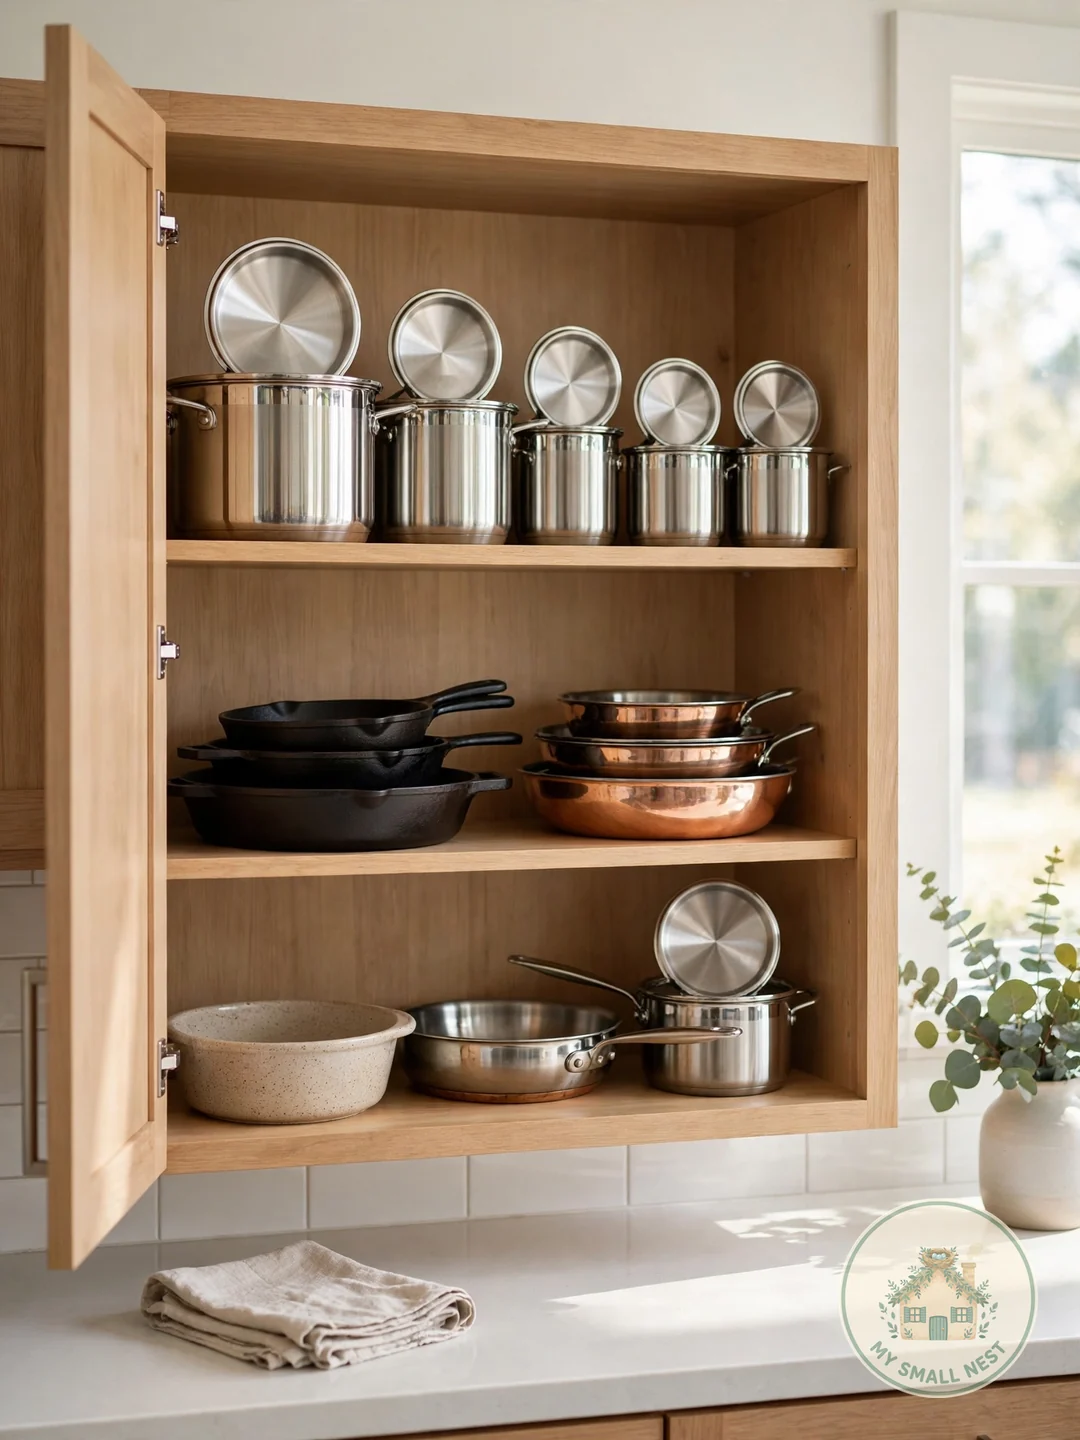
5. Store Each Lid With Its Matching Pot
The most intuitive system of all: store each lid with its matching pot. Nest the lid upside-down on the pot (knob down protects the knob and keeps the stack stable), or rest it on top right-side-up if the pot is in daily use.
This works best for your 3–4 daily pots; the full 12-piece set stored this way eats cabinet space fast. For the rest, combine with vertical filing — daily lids with their pots, occasional lids in the file. The rule is simple: the lid you reach for most should require exactly one motion to grab. Make it work: if lids slide off stacked pots, a $5 roll of shelf liner cut into circles between pot and lid stops the slip.
 Pin it
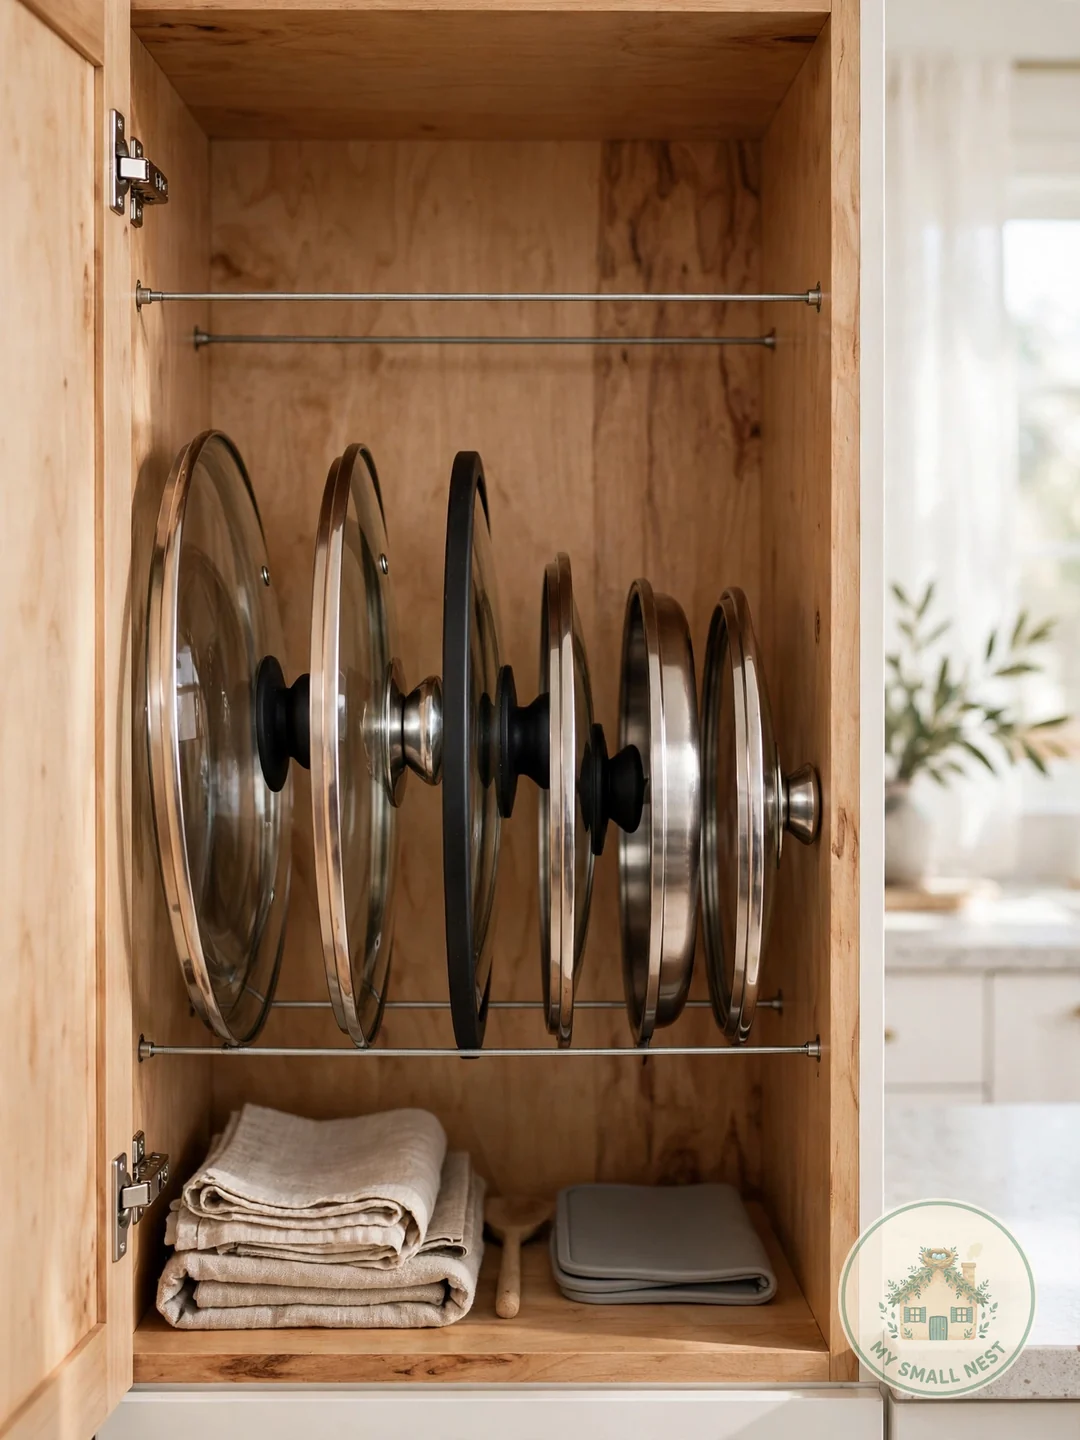
6. Create Slots With Tension Rods
Two spring-loaded tension rods ($8–$12 for a pair at Walmart) wedged horizontally across a cabinet create instant lid slots — the rods act as rails, and lids slide in vertically between them. It’s the cheapest custom divider you’ll ever install, and it takes about ninety seconds.
I tried this in my studio’s narrow cabinet beside the oven: two rods at different heights created three slots that hold my skillet lids perfectly, total cost $9. Measure the cabinet’s interior width and buy rods that extend 1–2 inches beyond it for a snug tension fit. This is fully renter-friendly — the rods pop out without a trace. Make it work: wrap the rods in a strip of shelf liner where lids rest, so metal-on-metal doesn’t scratch.
 Pin it
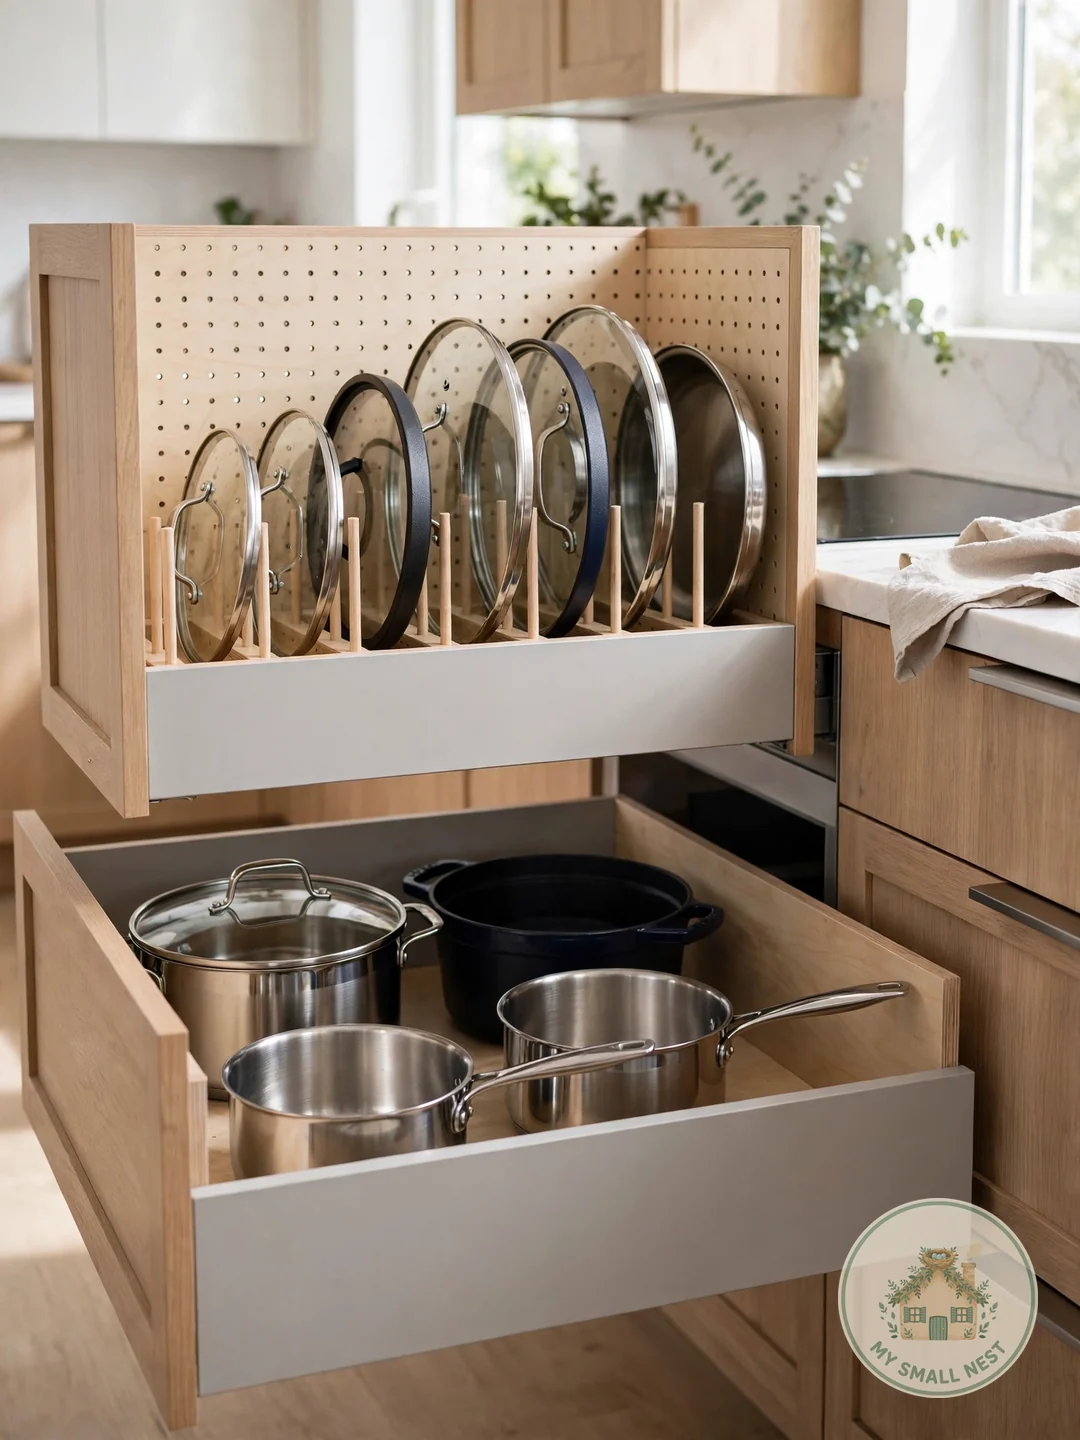
7. Convert a Deep Drawer Into a Lid Station
A deep drawer beats a deep cabinet for lids every time — you see everything from above instead of excavating from the front. Convert one deep drawer into a lid station with a pegboard-style drawer organizer ($18–$30) or simple vertical dividers, filing lids on edge like records.
A standard 24-inch-wide drawer fits 6–8 lids filed vertically with room to spare. If your drawers are shallow, lids with tall knobs may not fit — measure the drawer’s interior height against your tallest lid (knobs add 1–2 inches) before committing. Make it work: keep the drawer closest to the stove; lids travel less and the cooking flow stays smooth.
 Pin it
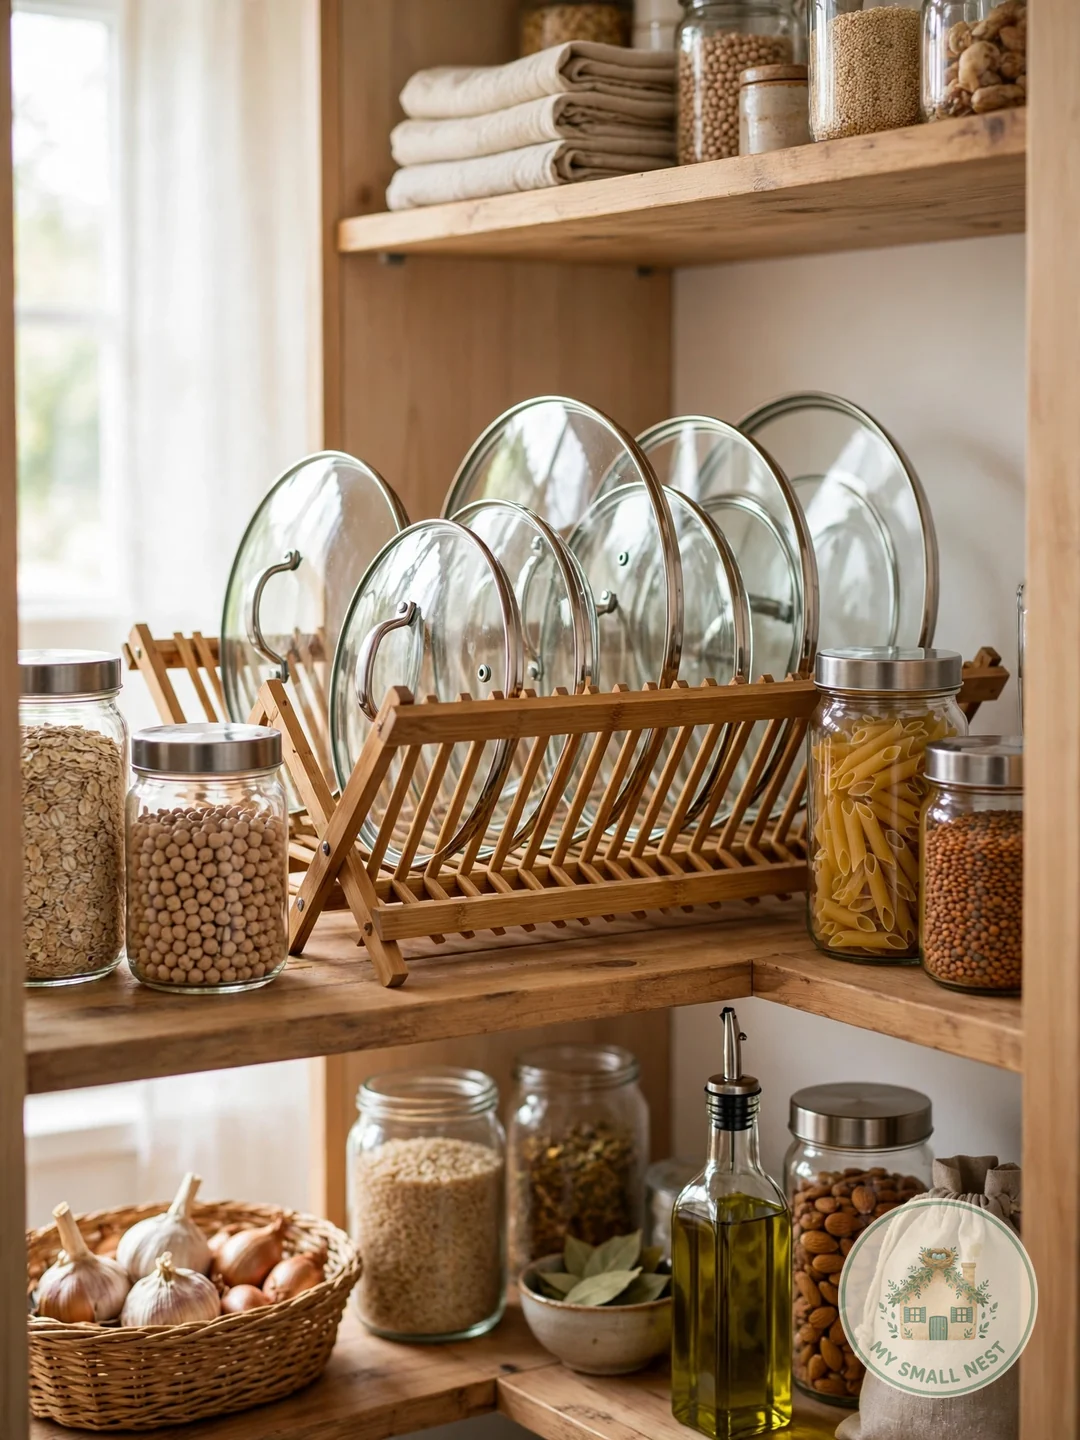
8. Repurpose a Dish Drying Rack
A dish drying rack you already own makes a surprisingly good lid file. Stand it in a cabinet or on a pantry shelf, slide lids into the plate slots vertically, and you’ve got organized lid storage for exactly zero dollars.
Wire dish racks ($10–$15 if you need to buy one) have plate slots spaced about an inch apart — perfect for standard lids. Bamboo racks look nicer for open shelving. The slots won’t fit oversized or oddly-shaped lids (looking at you, 14-inch skillet lid), so reserve this for the standard 8–12 inch range. Make it work: dedicate the rack solely to lids — the moment dishes move back in, the system collapses.
 Pin it
9. Hang Lids on a Wall-Mounted Rail
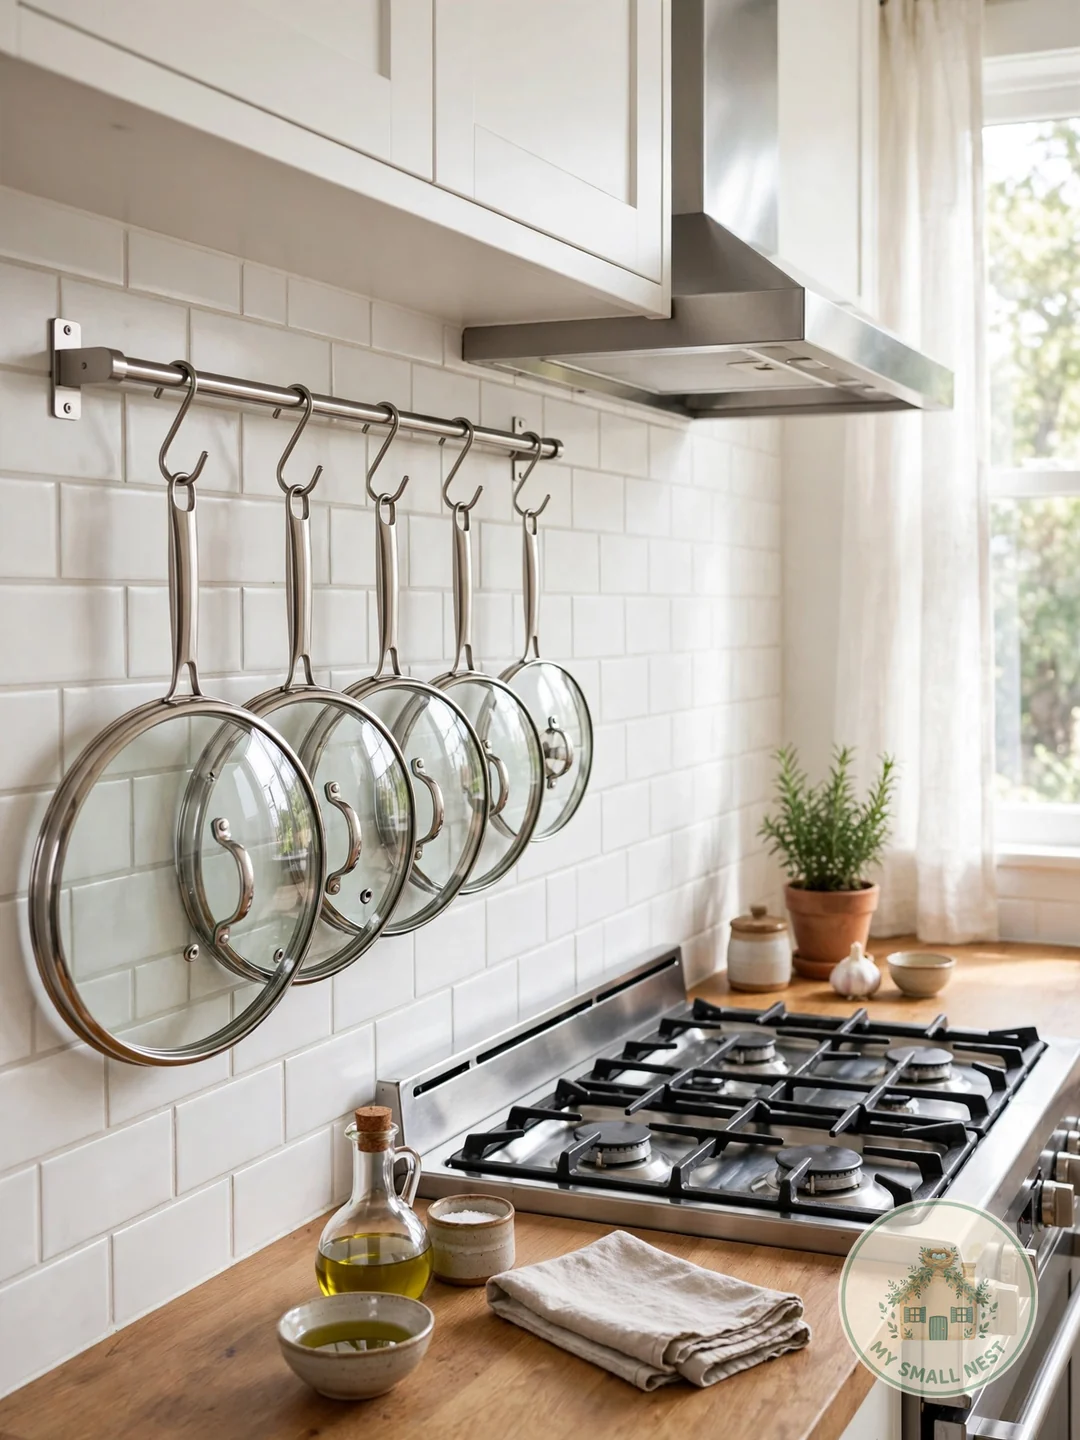
A wall-mounted rail with S-hooks ($15–$25 for a 24-inch stainless rail at IKEA’s KUNGSFORS line) turns lids into wall art — hang them by their knobs or handles, spaced 3–4 inches apart. This is ideal for beautiful lids (enameled cast iron, copper) and for kitchens where cabinet space is truly maxed out.
I tried this in my studio above the stove with a $18 rail: three everyday lids hang within arm’s reach of the burners, and honestly they look intentional — like a chef’s kitchen, not a storage hack. Mount into studs or use heavy-duty drywall anchors rated for 15+ pounds; a rail of cast-iron lids gets heavy fast. Renters: a heavy-duty adhesive rail ($12–$16) holds lighter lids without holes. Make it work: hang lids with the cooking side facing the wall to keep the pretty exterior visible.
 Pin it
10. Give Oversized Lids Their Own Zone
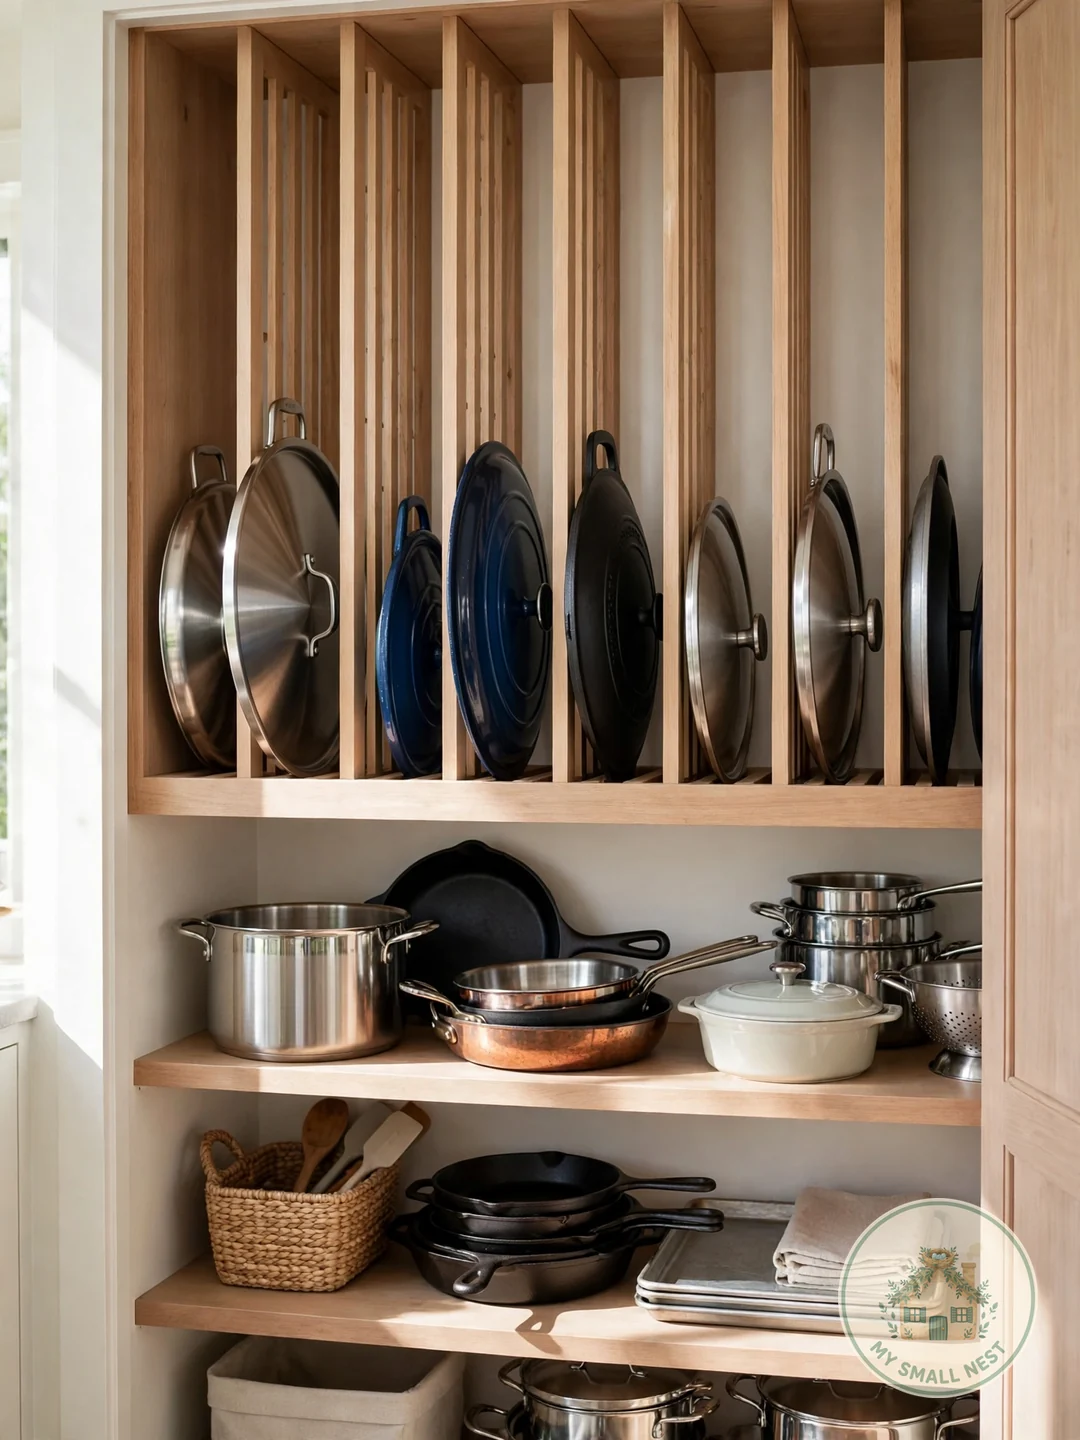
Oversized lids — the 14-inch skillet lid, the stockpot lid, the wok lid — break every standard organizer, so give them their own zone instead of forcing them to fit. A single deep shelf, the cabinet above the fridge, or a dedicated pantry section works; the key is that big lids never share space with standard ones.
Store them vertically with a large plate rack ($12–$18) or simply lean them against the cabinet wall with a bookend-style divider ($8). Measure your biggest lid’s diameter plus 2 inches of clearance before choosing the spot — the number one oversized-lid mistake is a zone that’s an inch too short. Make it work: if you only own one oversized lid, store it with its pot and skip the dedicated zone entirely.
 Pin it
11. Dedicate a Pantry Shelf to Lids
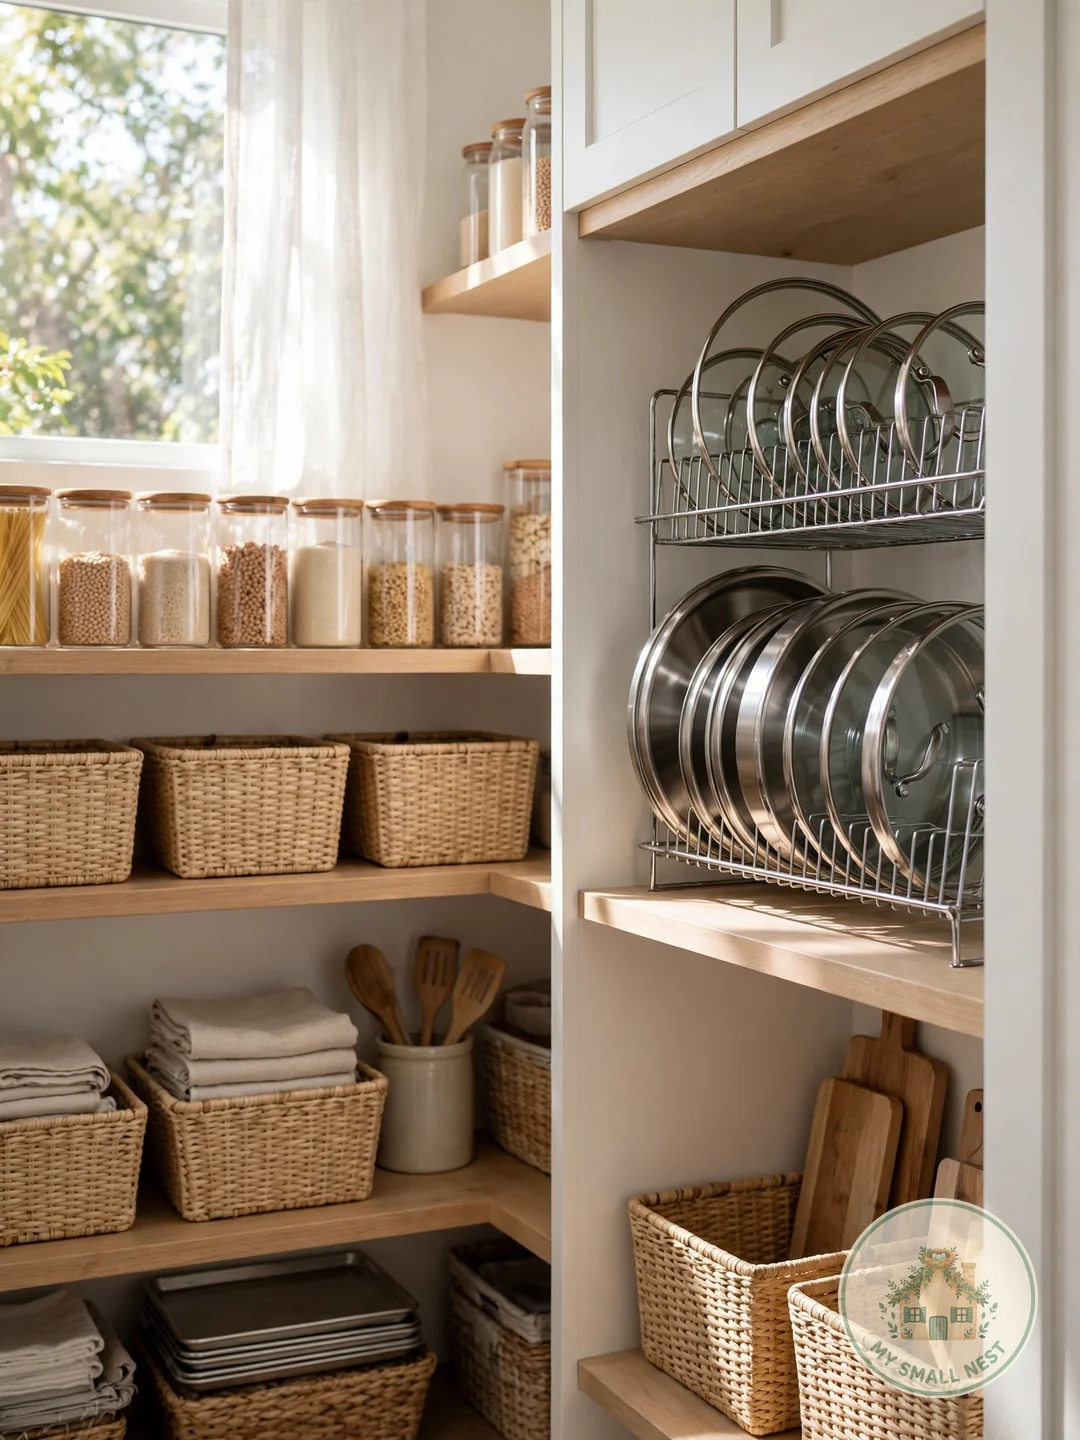
If kitchen cabinets are full, a pantry shelf absorbs the lid overflow beautifully. Dedicate one shelf — ideally at eye level — to lids filed vertically in a rack, and the kitchen cabinets breathe again.
Wire pantry shelving typically supports 25–50 pounds per shelf, more than enough for a rack of lids. Add a $10 shelf liner so lids don’t slide on the wire, and keep the shelf near the kitchen end of the pantry to minimize the trip. Make it work: this is the perfect home for seasonal and occasional lids — the turkey roaster lid, the canning pot lid — while daily lids stay in the kitchen.
 Pin it
12. File Lids by Size, Smallest to Largest
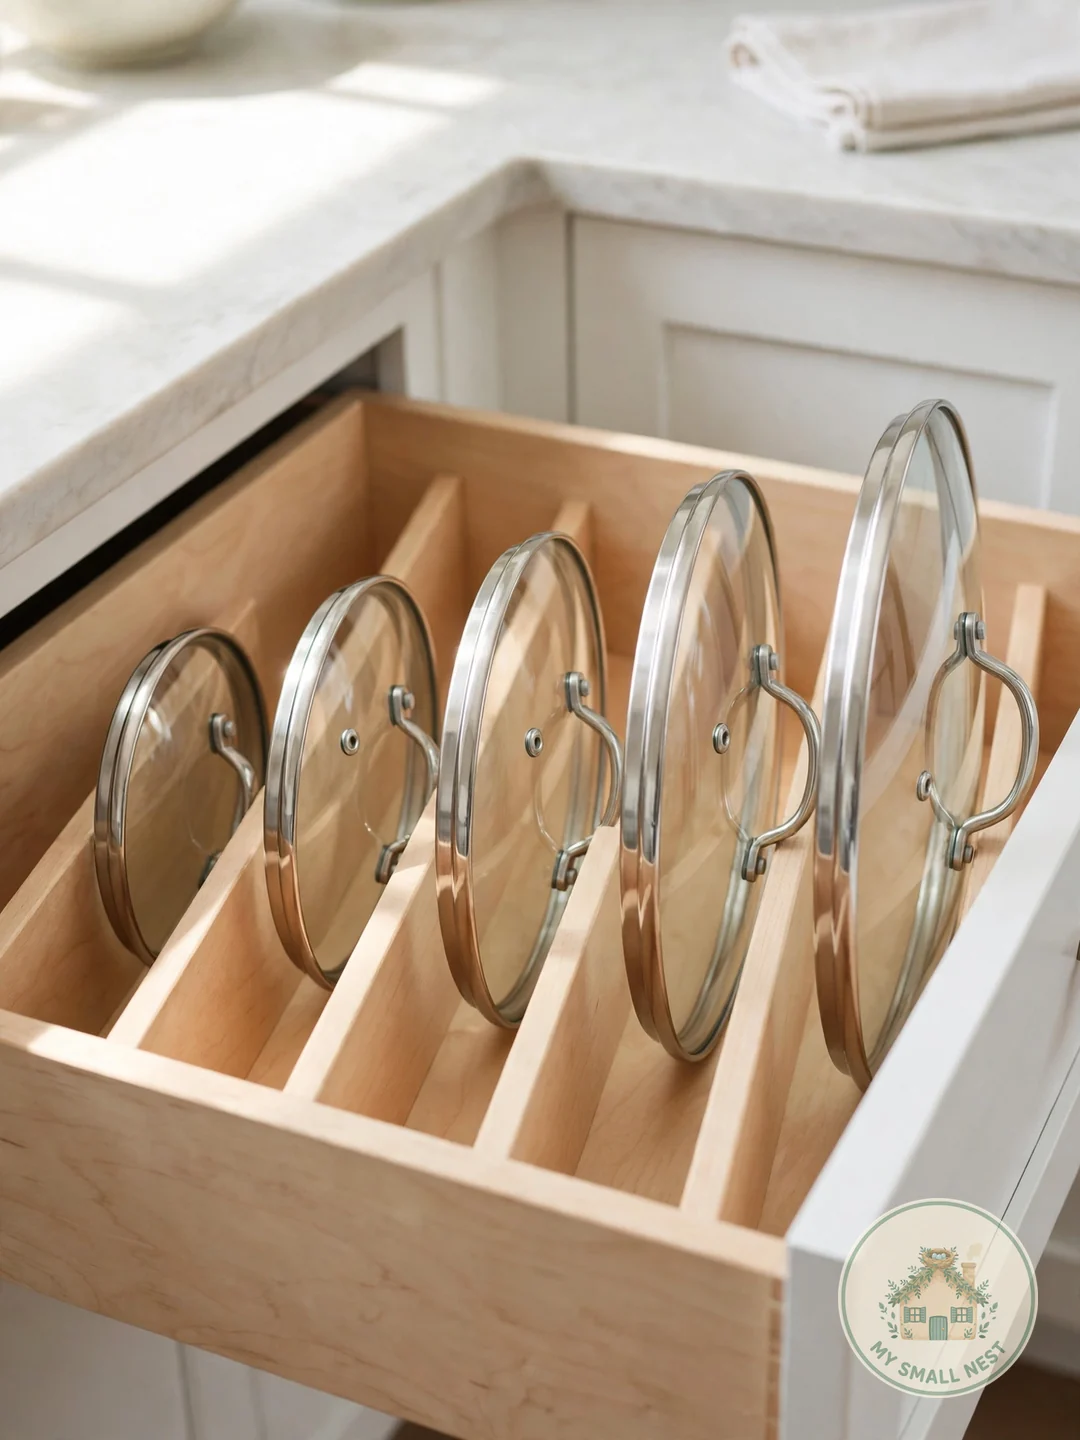
File lids by size, smallest to largest, and you’ll never dig again. Whether it’s a rack, a drawer, or a tension-rod setup, the size order means your hand learns where each lid lives — small lids front-left, large lids back-right, muscle memory does the rest.
I tried this in my studio after months of random stacking: the first week felt fussy, and by week two I was grabbing lids without looking. The system works because it’s the same logic as a filing cabinet — predictable order beats clever gadgets. Label the slots with a $5 label maker if you share the kitchen; “8-inch,” “10-inch,” “12-inch” ends all lid debates. Make it work: when you buy a new pot, immediately assign its lid a slot — unassigned lids are how chaos creeps back.
 Pin it
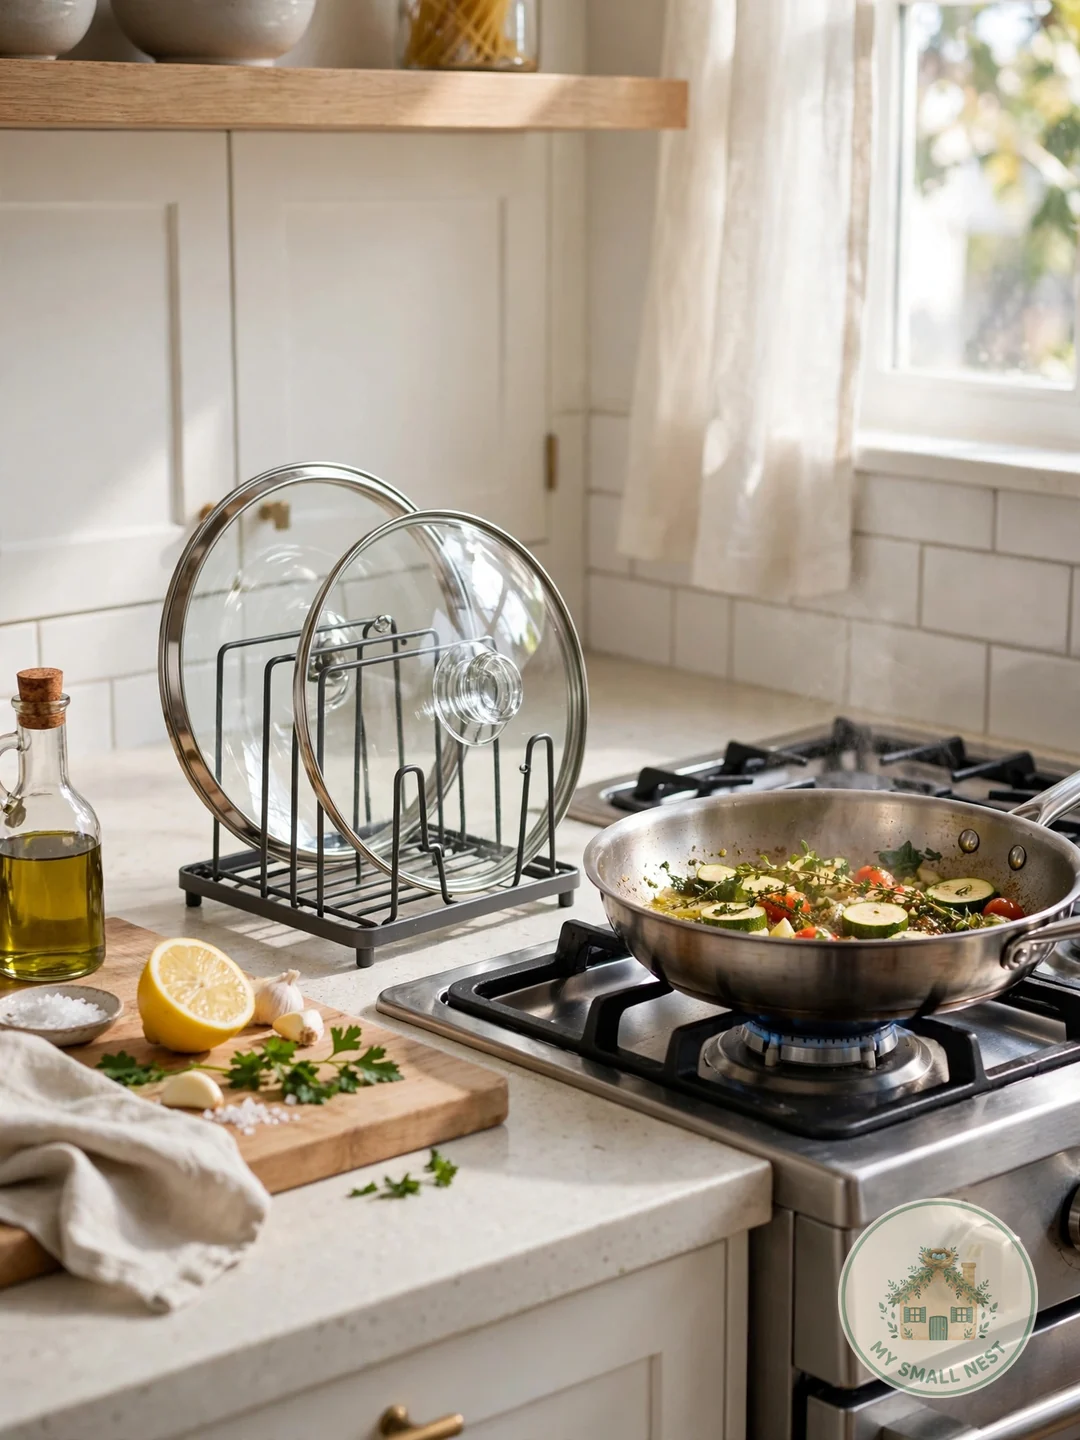
13. Repurpose a Sturdy Magazine Holder
A sturdy metal or bamboo magazine holder ($8–$14 at Target or IKEA’s FLYT line) is a perfect lid file: lids slide in vertically, the holder’s footprint is tiny, and it sits neatly on any shelf. One holder fits 3–4 standard lids.
Choose metal mesh or bamboo over cardboard — kitchen humidity destroys cardboard in months. The FLT magazine file at IKEA ($9 for a 2-pack) is the budget sweet spot: sturdy, washable, and sized right for 10–12 inch lids. Make it work: anchor the holder with museum putty ($5) so it doesn’t tip when you pull a lid out one-handed.
 Pin it
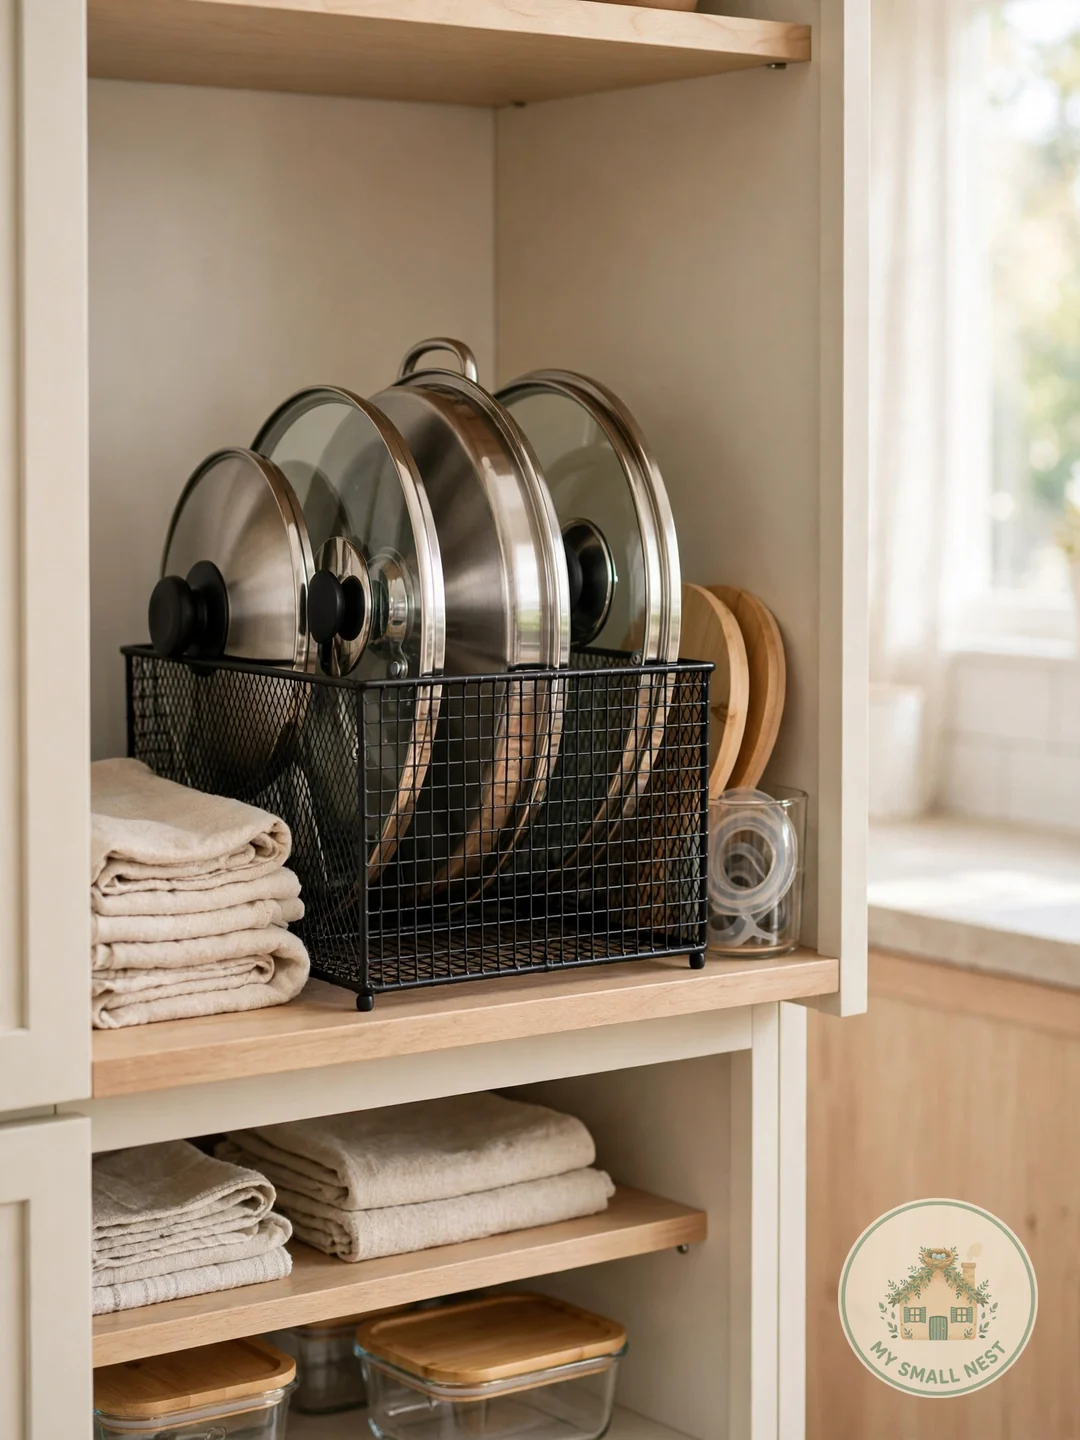
14. Add Under-Shelf Baskets for Thin Lids
Under-shelf baskets ($8–$14 for a 2-pack) hook onto an existing shelf and create a bonus layer underneath — perfect for thin lids like skillet covers and splatter screens that don’t need full slots. They use zero shelf space and install in seconds with no tools.
Check your shelf thickness before buying: most baskets fit shelves 0.5–1 inch thick. Thin lids slide in horizontally and stay visible from below — ideal for the splatter screen you grab daily but never had a home for. Make it work: reserve under-shelf baskets for lids under half an inch thick; heavier lids stress the hooks over time.
 Pin it
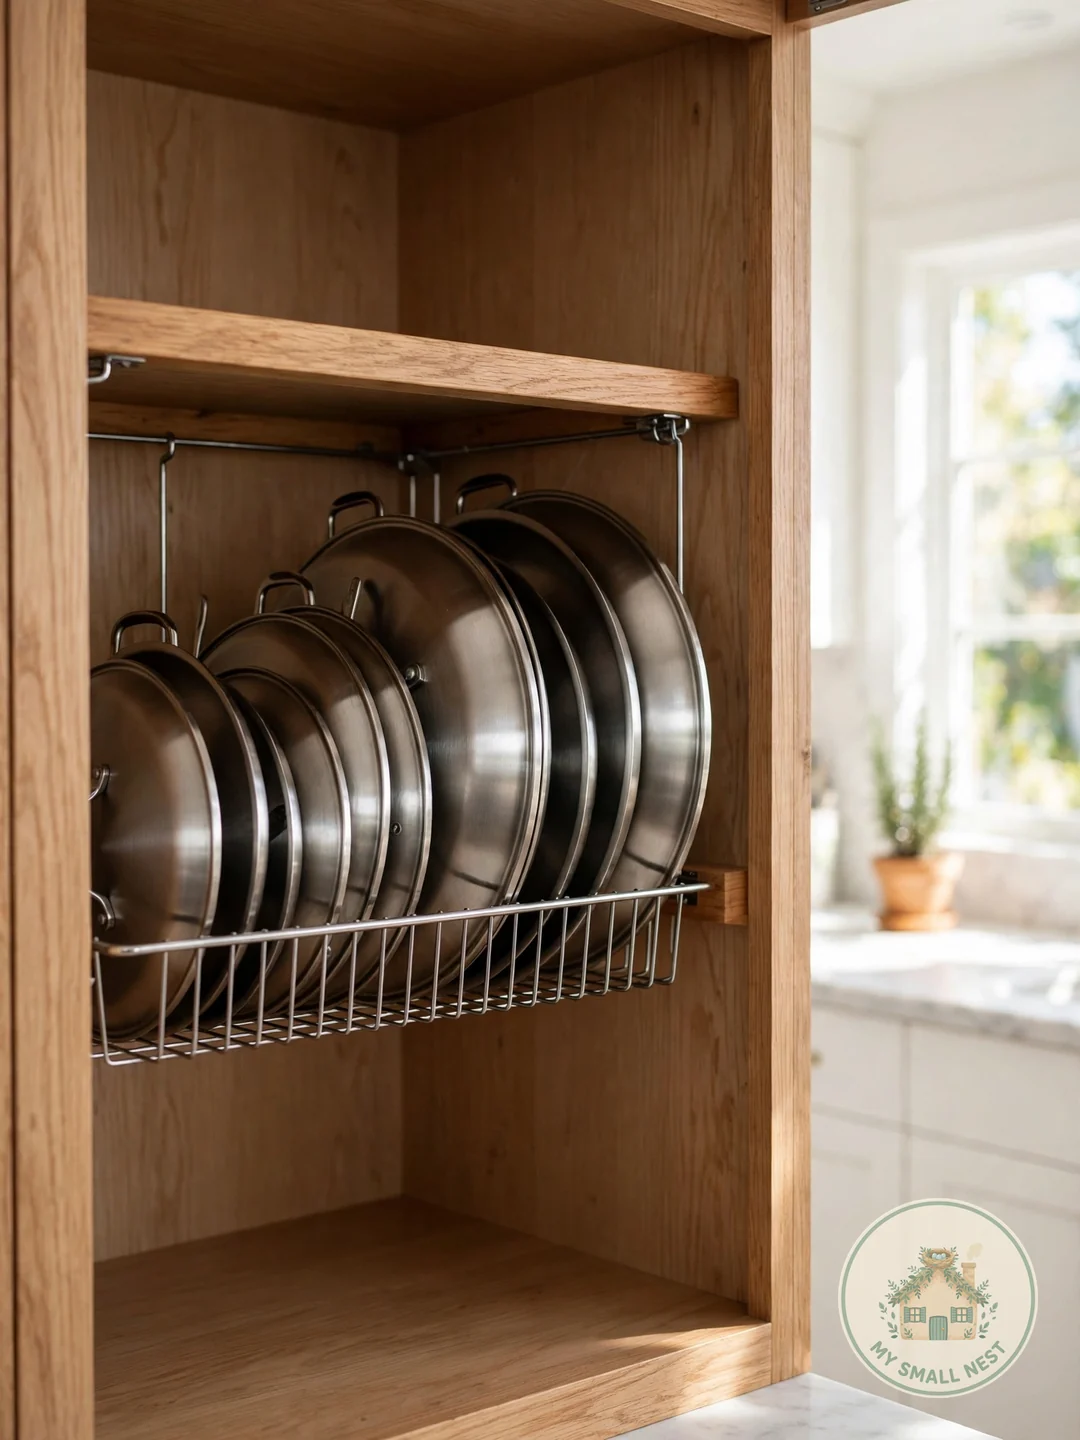
15. Label Zones by Cookware Type
Labels turn a good lid system into a household system. A $10 label maker marking each zone — “daily lids,” “baking lids,” “big lids” — or each slot by size means roommates, partners, and guests put lids back correctly without being taught.
I tried this in my studio with simple painter’s-tape labels on the shelf edge: my sister visited, cooked twice, and put every lid back in the right slot without asking once. That’s the test — if a guest can maintain your system, it’s a real system. Label the zone, not the lid; zones are stable, lids come and go. Make it work: add a small “lids live here” label inside the cabinet door as a backup for the truly label-blind.
 Pin it
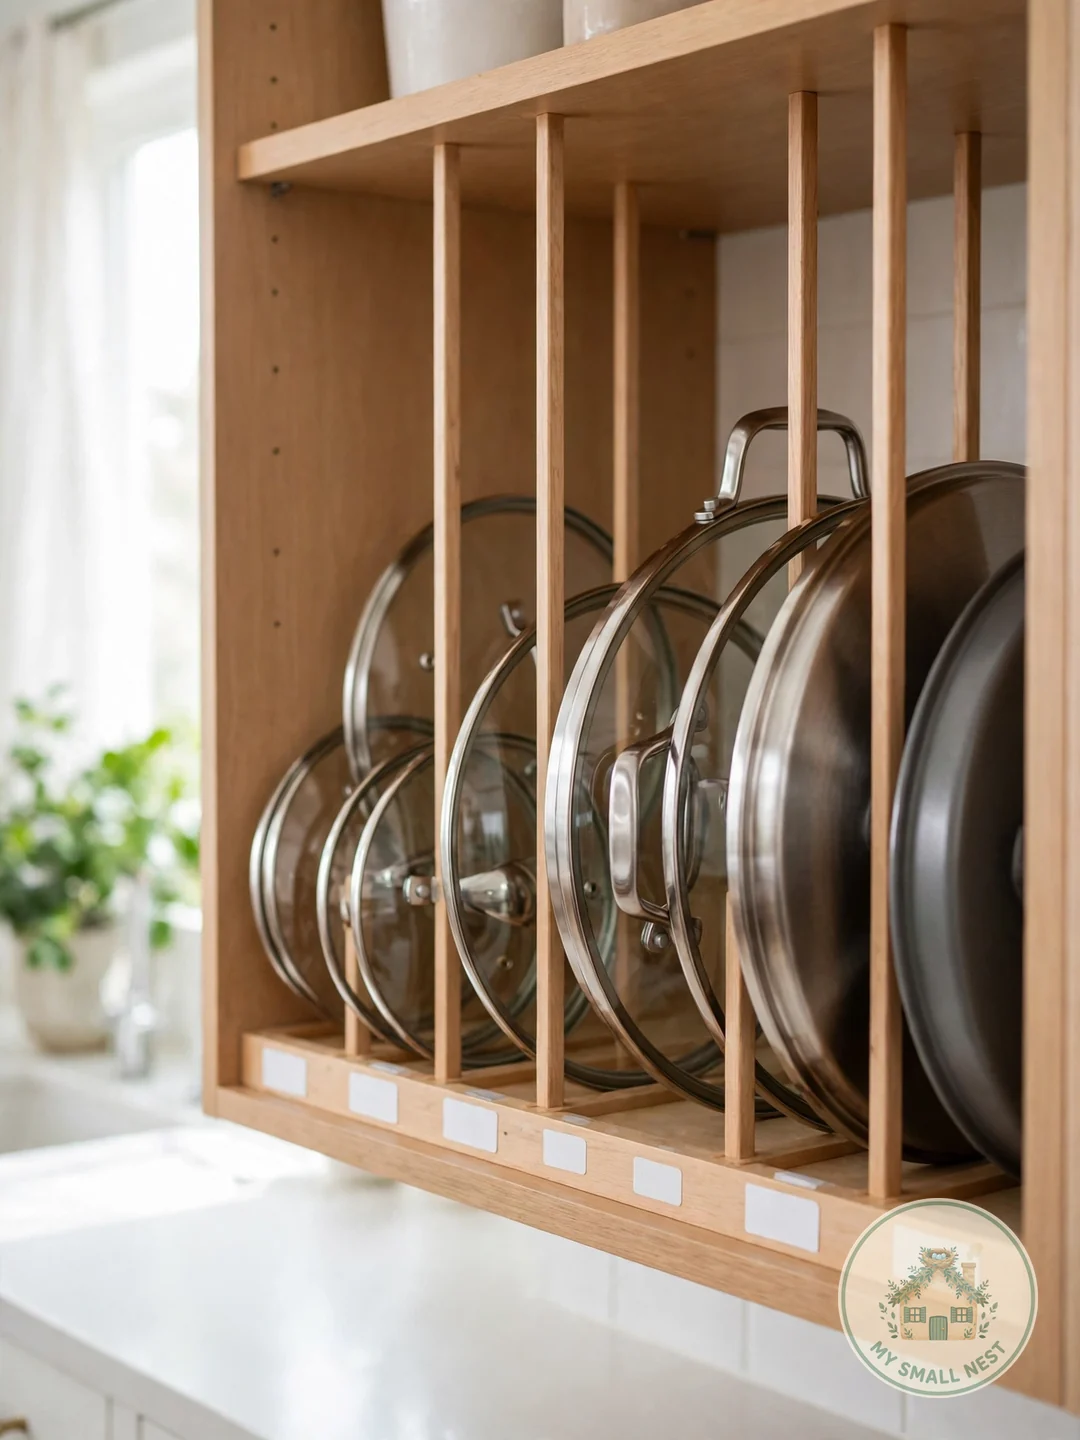
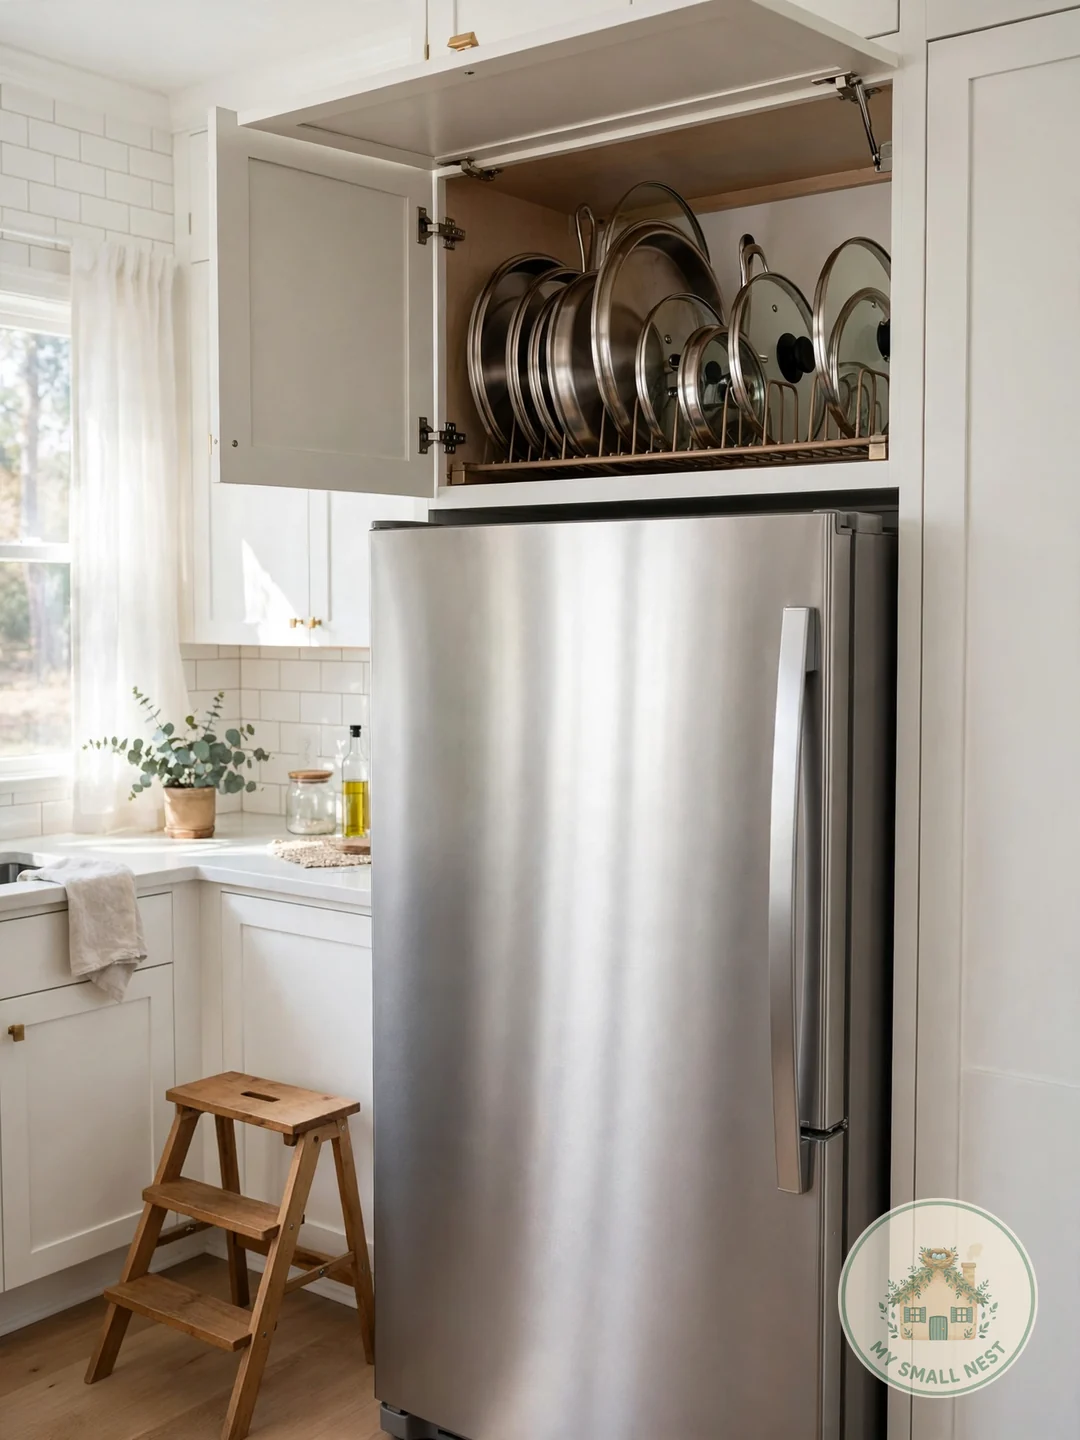
16. Use the Cabinet Above the Fridge Wisely
The cabinet above the fridge is the Bermuda Triangle of kitchens — too high for daily use, too deep to see into. It’s actually ideal for occasional-use lids: the turkey roaster lid, the pressure canner lid, the fondue pot lid. Out of the way, but findable.
Use a step stool safely (never a chair), and store these lids in a labeled bin ($10–$15) so you’re grabbing one bin, not fishing blind. Line the cabinet with shelf liner since this spot collects greasy fridge-top dust. Make it work: keep a written inventory taped inside the door — “above fridge: turkey lid, canner lid, wok lid” — so you don’t buy duplicates or forget what lives up there.
 Pin it
17. Try a Countertop Lid Holder for Daily Lids
For the 2–3 lids you grab every single day, a countertop lid holder ($12–$20) earns its footprint. Keep it next to the stove with today’s lids filed vertically — no cabinet door between you and the lid mid-cooking.
Choose a holder with a drip tray or raised base ($15–$20 models) since these lids are often wet or greasy straight off the pot. Bamboo and stainless options wipe clean in seconds. The rule: countertop holders are for daily lids only — the moment a weekly lid moves in, the counter starts looking cluttered again. Make it work: empty and wipe the holder weekly; it’s the one lid spot that collects cooking grime visibly.
 Pin it
5 Pot Lid Storage Mistakes to Avoid
1. Stacking Lids Flat in a Pile
The classic avalanche. Flat-stacked lids require unstacking everything to reach the bottom one — file them vertically instead, always.
2. Storing Lids Far From Their Pots
A lid three cabinets from its pot might as well not exist. Keep daily lids within one step of the cookware they cover.
3. Buying Organizers Before Measuring
Cabinet interiors vary wildly. Measure width, depth, and height before ordering any rack, divider, or holder — returns are the tax on guessing.
4. Forgetting the Knob Clearance
Lid knobs add 1–2 inches of height. That perfect slot is useless if the knob keeps the cabinet door from closing — measure with the knob on.
5. Mixing All Sizes in One Zone
Standard and oversized lids stored together means neither fits well. Give big lids their own zone and let the standard sizes file neatly.
Pot Lid Storage FAQs
What’s the best way to store pot lids in a small kitchen?
File them vertically — in a rack, with dividers, or between tension rods — inside the cabinet nearest your pots. Vertical filing uses a third of the space of flat stacking and ends the avalanche problem completely. A $10–$15 rack is all it takes.
How do you store lids without a lot of cabinet space?
Use the inside of cabinet doors with adhesive lid holders, hang a rail on the wall, or file lids in a magazine holder on a pantry shelf. The door-interior and wall options add storage without taking a single inch of shelf space.
Should pot lids be stored with their pots?
For your 3–4 daily pots, yes — store the lid upside-down on the pot or right-side-up if it’s in constant use. For the rest of the set, vertical filing in a dedicated zone is more space-efficient than pairing every lid with its pot.
How do I stop lids from sliding and clattering in the cabinet?
Non-slip shelf liner ($8 a roll) under and between lids stops most sliding. For vertical filing, make sure slots are snug — lids clatter when they have room to wobble. Felt pads ($3) between metal lids prevent scratching and dampen noise.
Are over-the-door lid holders worth it for renters?
Absolutely — adhesive-mounted holders ($12–$15) install without screws and remove cleanly. They’re the highest-impact renter-friendly lid solution: 2–3 lids organized in previously wasted door space, zero damage.


What readers are saying
No comments yet — yours could be the first.